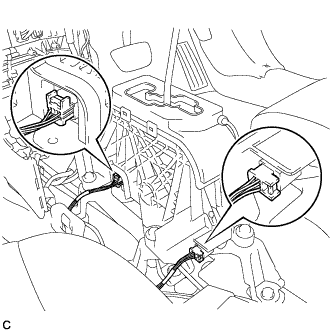
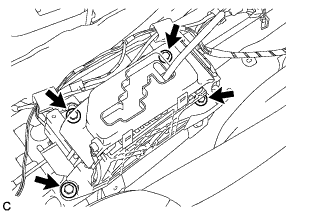
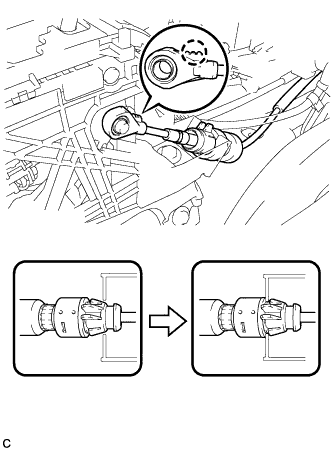
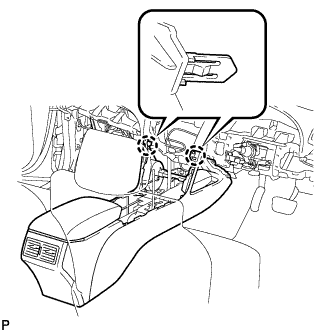
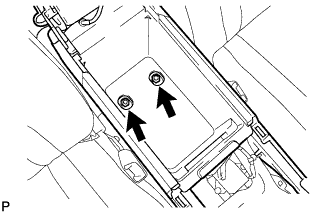
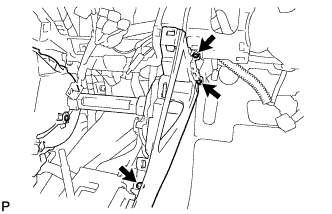
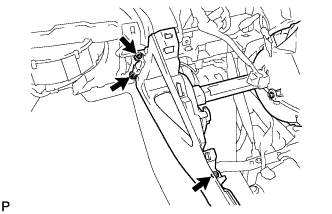
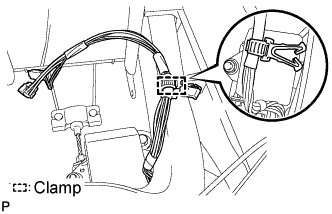
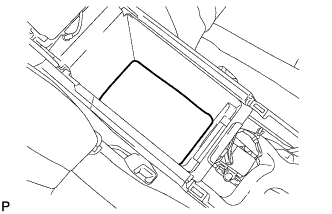
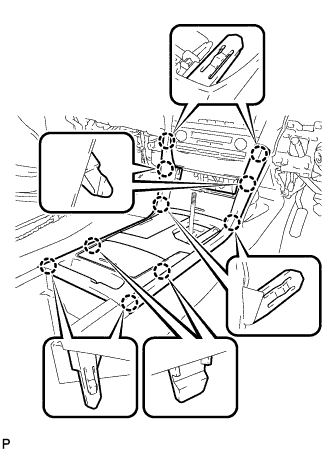
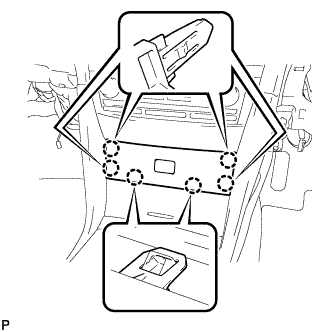
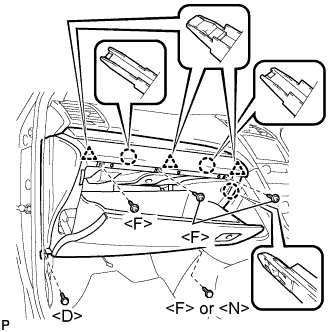
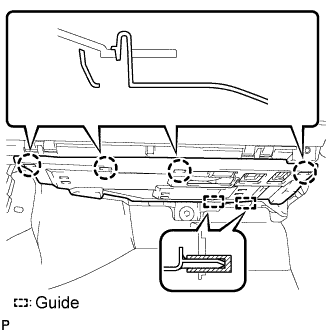
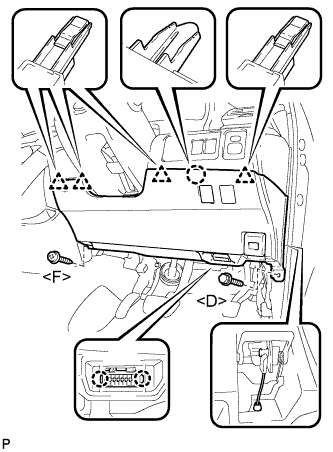
Install the lower No. 1 instrument panel finish panel with the screw <F> and bolt <D>.
13.
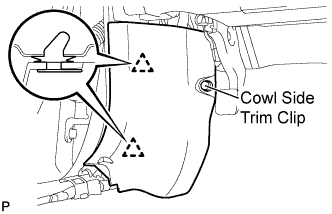
INSTALL COWL SIDE TRIM SUB-ASSEMBLY LH
Engage the 2 clips.
Install the cowl side trim sub-assembly LH with the cowl side trim clip.
14.
INSTALL FRONT DOOR SCUFF PLATE LH
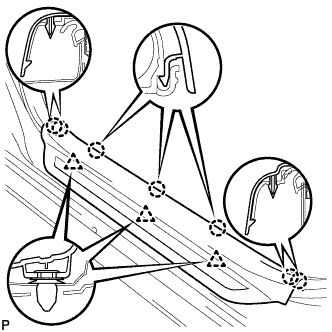
Engage the 7 claws and 3 clips, then install the front door scuff plate LH.
15.
CONNECT CABLE TO NEGATIVE BATTERY TERMINAL
Torque:
6.9 N*m{
70 kgf*cm
, 61 in.*lbf
}
16.
INSPECT SHIFT LEVER POSITION
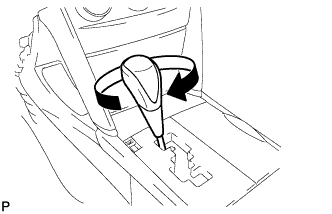
When shifting from the P to the R position with the ignition switch on (IG) and the brake pedal depressed, make sure that the shift lever moves smoothly and moves correctly into position.
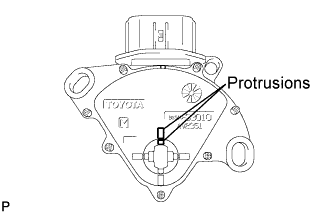
Start the engine and make sure that the vehicle moves forward when shifting from the N to the D position and moves rearward when shifting to the R position. If operation cannot be done as specified, inspect the park/neutral position switch assembly and check the shift lever assembly installation condition.
17.
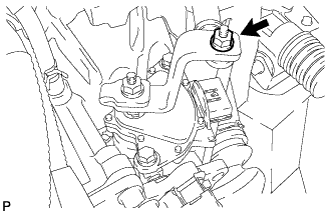
ADJUST SHIFT LEVER POSITION
Remove the cool air intake duct seal (Click here).
Remove the air cleaner inlet assembly (Click here).
Remove the air cleaner cap sub-assembly (Click here).
Remove the air cleaner case sub-assembly (Click here).
Install the air cleaner case sub-assembly (Click here).
Install the air cleaner cap sub-assembly (Click here).
Install the air cleaner inlet assembly (Click here).
Install the cool air intake duct seal (Click here).
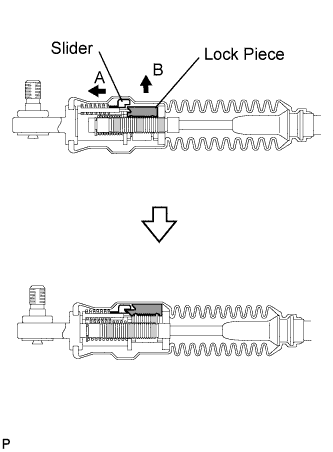
Start the engine and make sure that the vehicle moves forward when moving the lever from the N to the D position and moves rearward when moving it to the R position. If it becomes hard to move the shift lever, readjust the shift lever position.