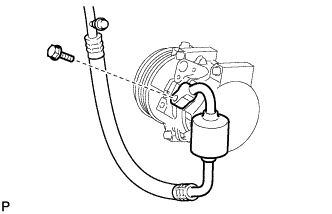
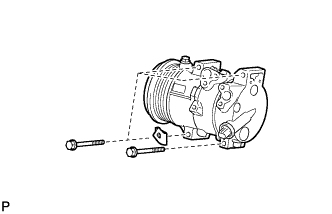
Operate the cooler compressor at an engine speed of approximately 1,000 rpm for 5 to 6 minutes to circulate the refrigerant. This causes most of the compressor oil from the various components of the A/C system to collect in the A/C compressor.
Stop the engine.
Recover the refrigerant from the A/C system using a refrigerant recovery unit.
2.
DISCONNECT CABLE FROM NEGATIVE BATTERY TERMINAL
CAUTION:
Wait for 90 seconds after disconnecting the cable to prevent airbag deployment. (Click here)
3.
DRAIN ENGINE COOLANT
NOTICE:
Do not remove the radiator cap sub-assembly while the engine and radiator are still hot. Pressurized, hot engine coolant and steam may be released and cause serious burns.
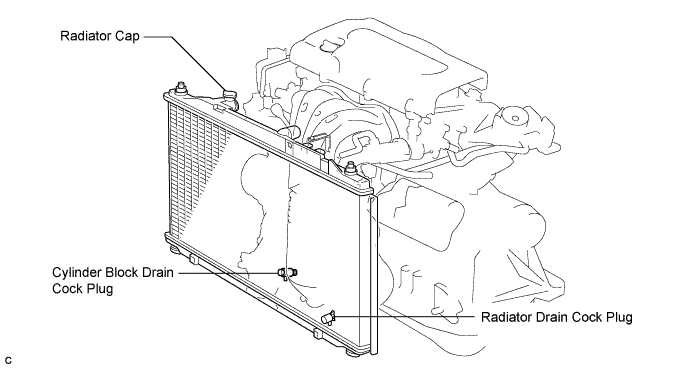
Remove the radiator cap sub-assembly from the radiator assembly.
Loosen the radiator drain cock plug and cylinder block drain cock plug, then drain the coolant.
HINT:
Collect the coolant in a container and dispose of it according to the regulations in your area.
4.
REMOVE FRONT WHEEL RH
5.
REMOVE ENGINE UNDER COVER RH
6.
REMOVE FRONT FENDER APRON SEAL RH
7.
REMOVE V-RIBBED BELT
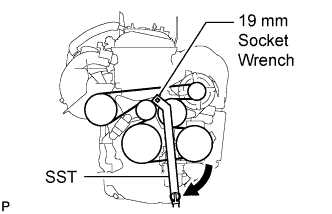
Using SST and a 19 mm socket wrench, loosen the V-ribbed belt tensioner arm clockwise, then remove the V-ribbed belt.
SST
09216-42010
NOTICE:
Be sure to connect SST and the tools so that they are in line during use.
When retracting the tensioner, turn it clockwise slowly for 3 seconds or more. Do not apply force rapidly.
After the tensioner is fully retracted, do not apply more force than necessary.
8.
REMOVE GENERATOR ASSEMBLY
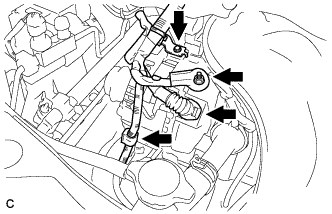
Disconnect the generator connector.
Remove the nut and disconnect the wire harness from terminal B.
Remove the bolt and wire harness clamp bracket.
Remove the wire harness clamp.
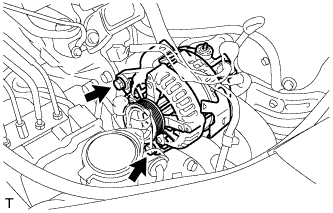
Remove the 2 bolts and generator assembly.
9.
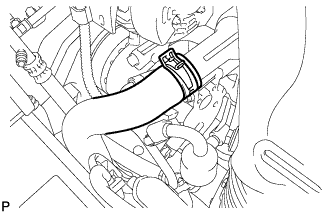
DISCONNECT RADIATOR HOSE OUTLET
Using pliers, grip the claws of the clip and slide the clip to disconnect the radiator hose outlet.
10.
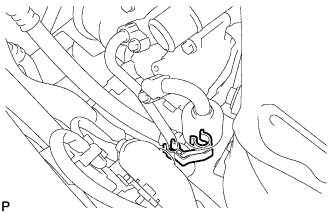
REMOVE PIPING CLAMP
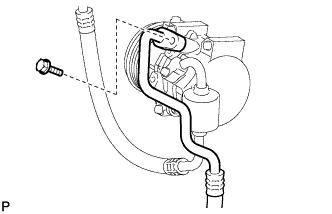
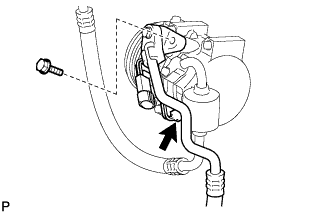
Remove the piping clamp from the No. 1 cooler refrigerant discharge hose and No. 1 cooler refrigerant suction hose.