 |
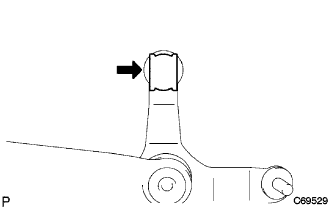
Remove the control shift lever bushing from the No. 2 selecting bellcrank.
SHIFT AND SELECT LEVER SHAFT > DISASSEMBLY |
| 1. REMOVE CONTROL SHIFT LEVER BUSHING |
|
Remove the control shift lever bushing from the No. 2 selecting bellcrank.
| 2. REMOVE NO. 1 SELECTING BELLCRANK DUST COVER |
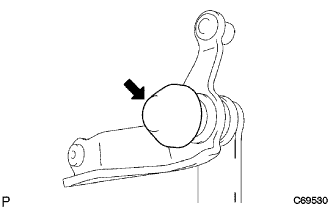 |
Remove the No. 1 selecting bellcrank dust cover from the No. 2 selecting bellcrank.
| 3. REMOVE SELECTING BELLCRANK SUPPORT SUB-ASSEMBLY |
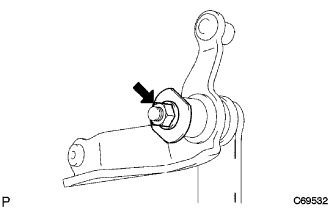 |
Remove the nut, wave washer, and selecting bellcrank No. 2 plate washer from the No. 2 selecting bellcrank.
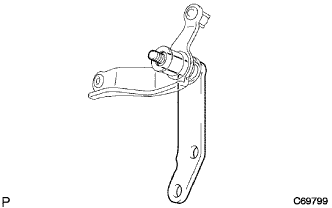 |
Remove the selecting bellcrank support sub-assembly from the No. 2 selecting bellcrank.
| 4. REMOVE NO. 2 SELECTING BELLCRANK DUST COVER |
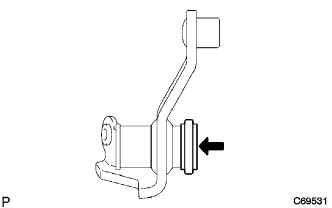 |
Remove the No. 2 selecting bellcrank dust cover from the No. 2 selecting bellcrank.
| 5. REMOVE SELECTING BELLCRANK NO. 2 BUSHING |
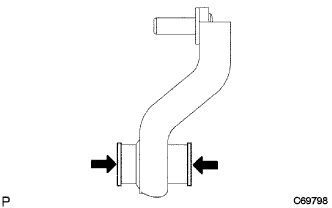 |
Remove the selecting bellcrank bushing from the No. 2 selecting bellcrank.
| 6. REMOVE NO. 2 SHIFT LEVER INNER |
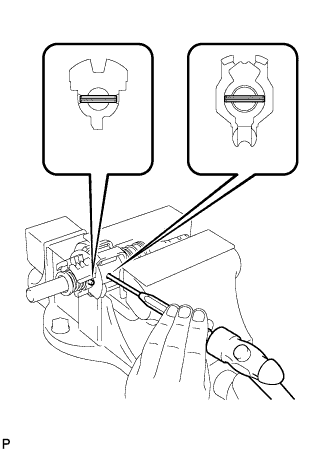 |
Hold the shift and select lever in a vise using aluminum plates.
Using a pin punch (φ 5 mm), remove the 2 shift inner lever slotted pins.
Apply force to the No. 1 select return compression spring and No. 2 select return compression spring, then hold them in a vise using aluminum plates.
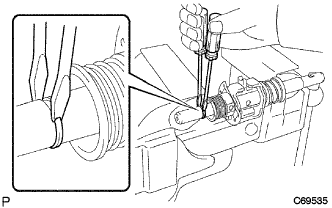 |
Using 2 screwdrivers and a hammer, remove the select spring No. 2 seat snap ring from the shift and select lever shaft.
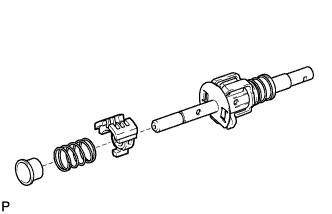 |
Remove the No. 2 select spring seat, No. 2 select return compression spring, and No. 2 shift lever inner from the shift and select lever shaft.
| 7. REMOVE NO. 1 SELECT SPRING SEAT |
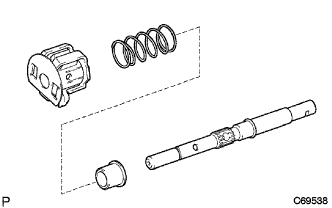 |
Remove the shift inter lock plate, No. 1 select return compression spring and No. 1 select spring seat from the shift and select lever shaft.
| 8. REMOVE SHIFT INTERLOCK PLATE COVER |
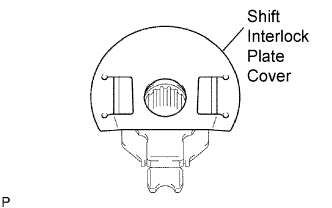 |
Remove the shift interlock plate cover from the shift interlock plate.
| 9. REMOVE NO. 1 SHIFT LEVER INNER |
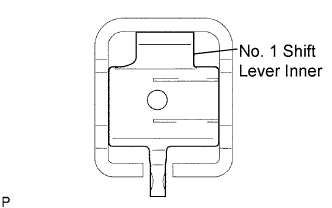 |
Remove the No. 1 shift lever inner from the shift interlock plate.
| 10. REMOVE SELECT SPRING NO. 1 SEAT SHAFT SNAP RING |
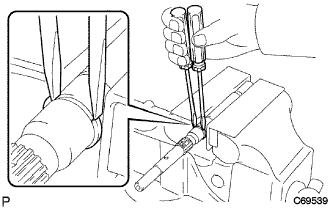 |
Using 2 screwdrivers and a hammer, remove the select spring No. 1 seat shaft snap ring.
| 11. REMOVE CONTROL SHAFT COVER OIL SEAL |
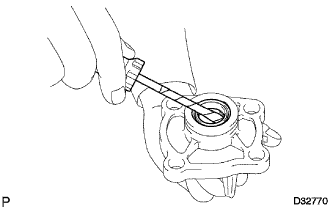 |
Using a screwdriver, remove the control shaft cover oil seal from the control shaft cover.