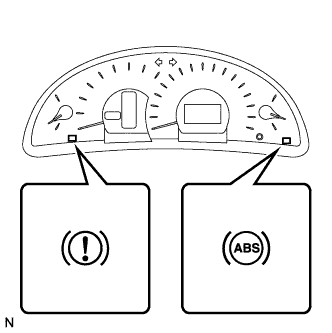
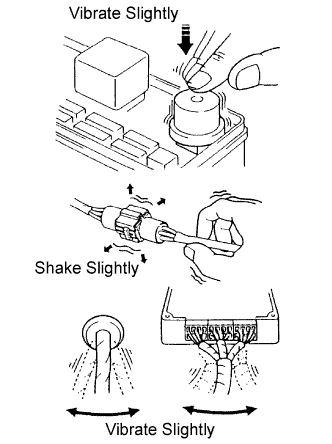
Inspect the battery voltage.
- Standard voltage:
- 11 to 14 V
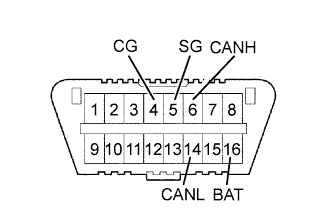 |
The vehicle's ECU uses the ISO 15765-4 for communication protocol. The terminal arrangement of the DLC3 complies with ISO 15031-3 and matches the ISO 15765-4 format.
| Symbols (Terminal No.) | Terminal Description | Condition | Specified Condition |
| CG (4) - Body ground | Chassis ground | Always | Below 1 Ω |
| SG (5) - Body ground | Signal ground | Always | Below 1 Ω |
| BAT (16) - Body ground | Battery positive | Always | 9 to 14 V |
| CANH (6) - CANL (14) | CAN bus line | Ignition switch OFF* | 54 to 69 Ω |
| CANH (6) - Battery positive | HIGH-level CAN bus line | Ignition switch OFF* | 6 kΩ or higher |
| CANH (6) - CG (4) | HIGH-level CAN bus line | Ignition switch OFF* | 200 Ω or higher |
| CANL (14) - Battery positive | LOW-level CAN bus line | Ignition switch OFF* | 6 kΩ or higher |
| CANL (14) - CG (4) | LOW-level CAN bus line | Ignition switch OFF* | 200 Ω or higher |
- HINT:
- Connect the cable of the intelligent tester to the DLC3, turn the ignition switch to the ON position and attempt to use the intelligent tester. If the screen displays a communication error message, a problem exists on either the vehicle side or the tester side.
If the communication is still impossible when the tester is connected to another vehicle, the problem is probably in the tester itself. Consult the Service Department listed in the tester's instruction manual.
- NOTICE:
- *: Before measuring the resistance, leave the vehicle as is for at least 1 minute and do not operate the ignition switch, any other switches or the doors.