 |
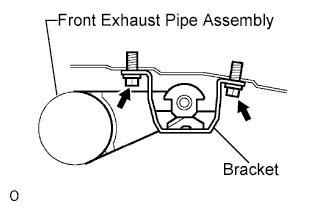
Install the rear support bracket with the 2 bolts.
- Torque:
- 33 N*m{ 337 kgf*cm , 24 ft.*lbf }
- NOTICE:
- Be sure to install the bracket in the correct direction.
EXHAUST PIPE > INSTALLATION |
| 1. INSTALL REAR EXHAUST PIPE NO. 1 SUPPORT BRACKET |
|
Install the rear support bracket with the 2 bolts.
| 2. INSTALL HEATED OXYGEN SENSOR |
Temporarily tighten the heated oxygen sensor.
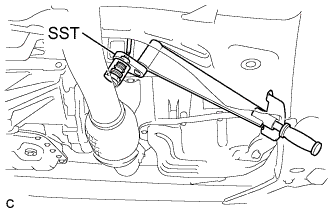 |
Using SST, fully tighten the heated oxygen sensor.
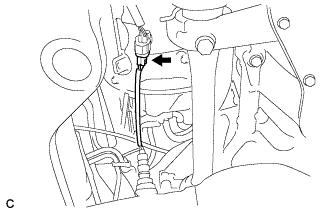 |
Connect the heated oxygen sensor connector.
| 3. INSTALL FRONT EXHAUST PIPE ASSEMBLY |
Install a new gasket onto the front exhaust pipe assembly.
Install the front exhaust pipe assembly with the 2 nuts.
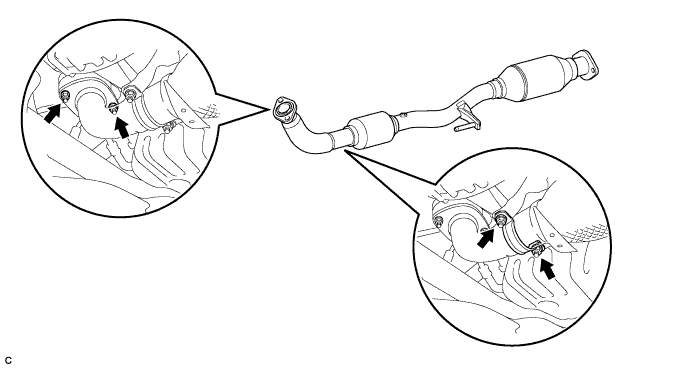
Install the front exhaust pipe No. 1 support bracket with the 2 nuts .
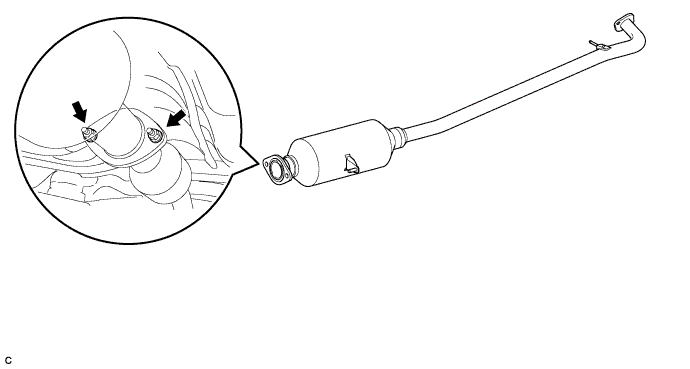
| 4. INSTALL CENTER EXHAUST PIPE ASSEMBLY |
Install a new gasket onto the front exhaust pipe.
Install the center exhaust pipe assembly with the 2 bolts and 2 nuts.
| 5. INSTALL TAIL PIPE ASSEMBLY |
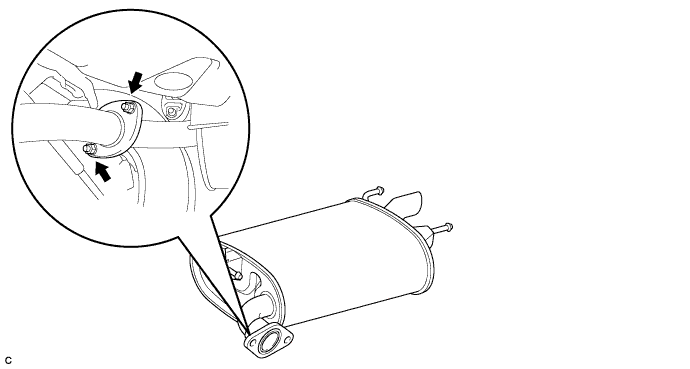
Install a new gasket onto the tail pipe assembly.
Install the tail pipe assembly with the 2 nuts.
| 6. CHECK FOR EXHAUST GAS LEAKS |