 |
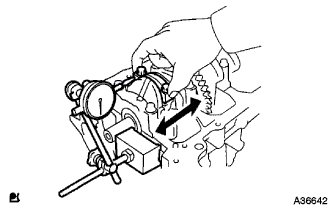
Using a dial indicator, measure the thrust clearance while moving the connecting rod back and forth.
- Standard thrust clearance:
- 0.160 to 0.362 mm (0.00630 to 0.0143 in.)
- Maximum thrust clearance:
- 0.362 mm (0.0143 in.)
CYLINDER BLOCK > DISASSEMBLY |
| 1. INSPECT CONNECTING ROD THRUST CLEARANCE |
Install the connecting rod cap .
|
Using a dial indicator, measure the thrust clearance while moving the connecting rod back and forth.
| 2. INSPECT CONNECTING ROD OIL CLEARANCE |
Clean the crank pin and bearing.
Check the crank pin and bearing for pitting and scratches.
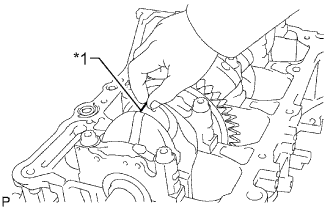 |
Lay a strip of Plastigage on the crank pin.
| *1 | Plastigage |
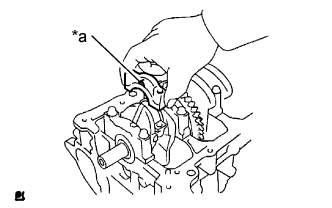 |
Check that the front mark of the connecting rod cap is facing forward.
| *a | Front Mark |
Install the connecting rod cap .
Remove the 2 bolts and connecting rod cap .
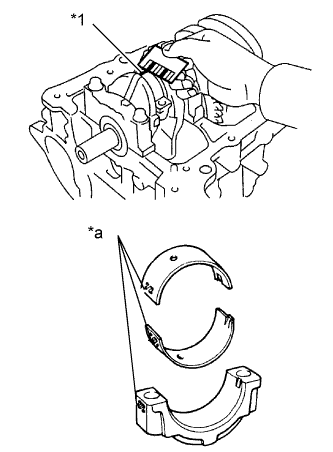 |
Measure the Plastigage at its widest point.
| *1 | Plastigage |
| *a | 1, 2, or 3 Mark |
| Mark | Specified Condition |
| Mark 1 | 51.000 to 51.007 mm (2.0079 to 2.0082 in.) |
| Mark 2 | 51.008 to 51.013 mm (2.0082 to 2.0084 in.) |
| Mark 3 | 51.014 to 51.020 mm (2.0084 to 2.0087 in.) |
| Mark | Specified Condition |
| Mark 1 | 1.485 to 1.488 mm (0.0585 to 0.0586 in.) |
| Mark 2 | 1.489 to 1.491 mm (0.0586 to 0.0587 in.) |
| Mark 3 | 1.492 to 1.494 mm (0.0587 to 0.0588 in.) |
| 3. REMOVE PISTON SUB-ASSEMBLY WITH CONNECTING ROD |
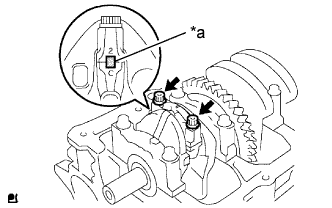 |
Check that the matchmarks on the connecting rod and connecting rod cap are aligned to ensure the correct reassembly.
| *a | Matchmark |
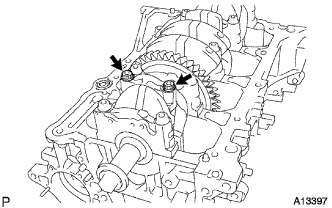 |
Using a 12 mm socket wrench, uniformly loosen and remove the 2 bolts.
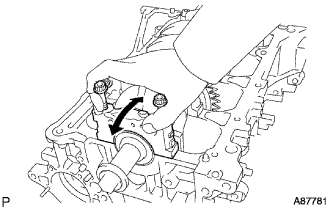
Using the 2 removed connecting rod cap bolts, remove the connecting rod cap and No. 2 crankshaft bearing by wiggling the connecting rod cap right and left.
Push the piston, connecting rod assembly and No. 1 crankshaft bearing through the top of the cylinder block.
| 4. REMOVE CONNECTING ROD BEARING |
Remove the connecting rod bearings.
| 5. REMOVE PISTON RING SET |
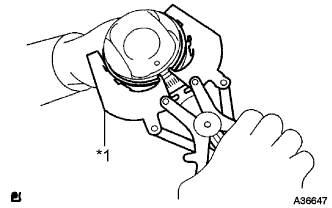 |
Using a piston ring expander, remove the 2 compression rings.
| *1 | Piston Ring Expander |
Remove the 2 oil ring side rails and oil ring expander by hand.
| 6. REMOVE PISTON PIN HOLE SNAP RING |
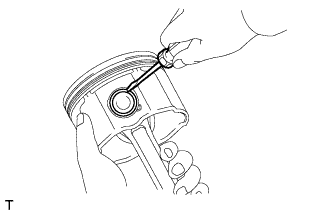 |
Using a screwdriver, pry out the 2 piston pin hole snap rings.
| 7. REMOVE PISTON |
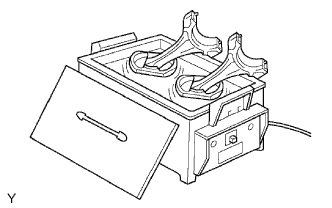 |
Gradually heat the pistons to between 80 and 90°C (176 and 194°F).
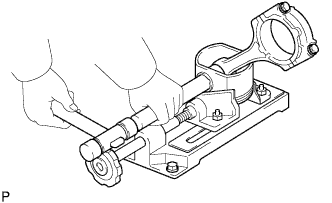 |
Using a plastic hammer and brass bar, lightly tap out the piston pin and remove the connecting rod.
| 8. INSPECT CRANKSHAFT THRUST CLEARANCE |
Install the crankshaft bearing cap .
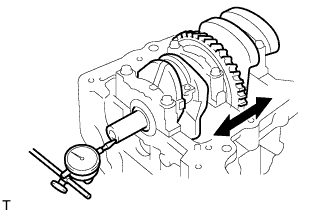 |
Using a dial indicator, measure the thrust clearance while prying the crankshaft back and forth with a screwdriver.
| 9. REMOVE CRANKSHAFT |
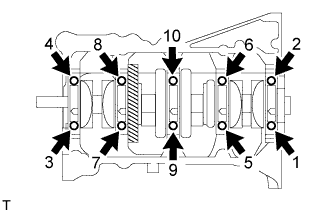 |
Uniformly loosen and remove the 10 crankshaft bearing cap set bolts in the sequence shown in the illustration.
 |
Use 2 removed bearing cap set bolts to remove the 5 crankshaft bearing caps and 5 No. 2 crankshaft bearings.
Lift out the crankshaft.
| 10. REMOVE UPPER CRANKSHAFT THRUST WASHER |
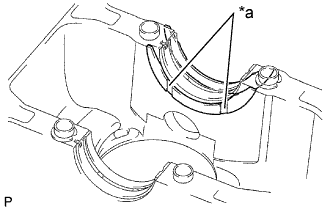 |
Remove the upper crankshaft thrust washers from the cylinder block.
| *a | Oil Groove |
| 11. REMOVE CRANKSHAFT BEARING |
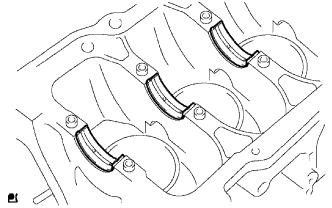 |
Remove the 5 crankshaft bearings from the cylinder block.
| 12. REMOVE NO. 2 CRANKSHAFT BEARING |
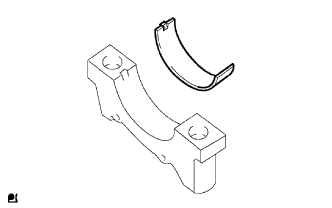 |
Remove the 5 No. 2 crankshaft bearings from the 5 crankshaft bearing caps.
| 13. REMOVE STUD BOLT |
| 14. REMOVE RING PIN |
| 15. REMOVE STRAIGHT PIN |