 |
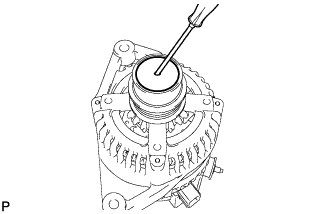
Using a screwdriver, puncture the center of the generator pulley cap and pry it off.
- NOTICE:
- Do not reuse the generator pulley cap.
GENERATOR > DISASSEMBLY |
| 1. REMOVE GENERATOR PULLEY CAP |
|
Using a screwdriver, puncture the center of the generator pulley cap and pry it off.
| 2. REMOVE GENERATOR PULLEY WITH CLUTCH |
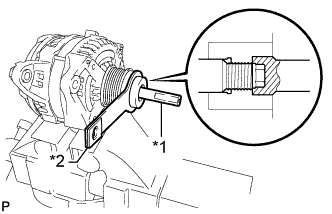 |
Mount the generator in a vise.
| *1 | SST (A) |
| *2 | SST (B) |
Install SST (A) and (B) to the pulley as shown in the illustration.
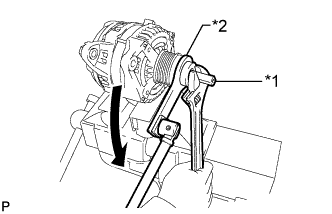 |
Use a wrench to hold SST (A), and turn SST (B) counterclockwise to loosen the generator pulley.
| *1 | SST (A) |
| *2 | SST (B) |
Remove the generator pulley.
| 3. REMOVE GENERATOR REAR END COVER |
Place the generator on the generator pulley.
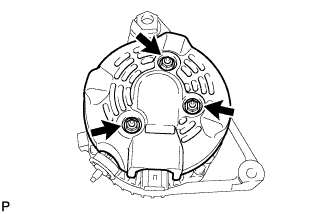 |
Remove the 3 nuts and generator rear end cover.
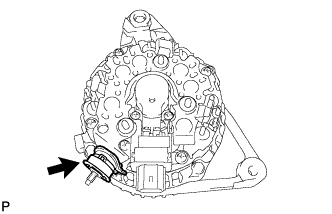 |
Remove the terminal insulator.
| 4. REMOVE GENERATOR BRUSH HOLDER ASSEMBLY |
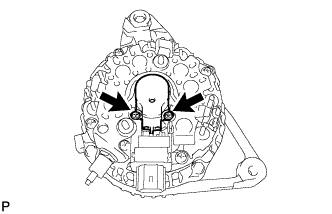 |
Remove the 2 screws and generator brush holder.
| 5. REMOVE GENERATOR COIL ASSEMBLY |
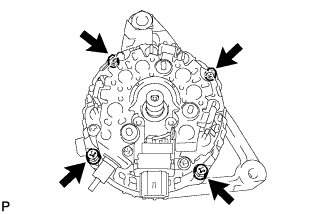 |
Remove the 4 bolts.
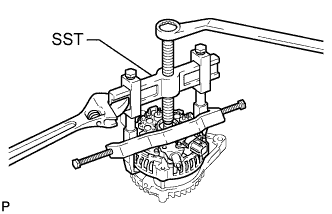 |
Using SST, remove the generator coil.
| 6. REMOVE GENERATOR ROTOR ASSEMBLY |
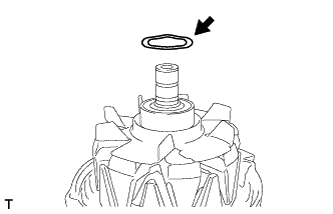 |
Remove the generator washer.
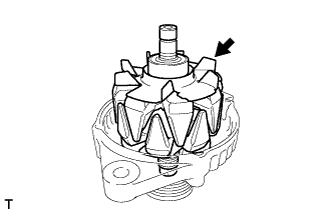 |
Remove the generator rotor assembly.
| 7. INSPECT GENERATOR DRIVE END FRAME BEARING |
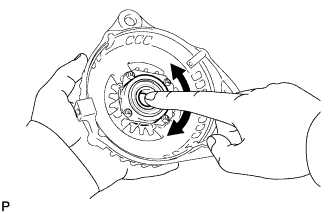 |
Check that the bearing is not rough or worn and that it rotates smoothly.
| 8. REMOVE GENERATOR DRIVE END FRAME BEARING |
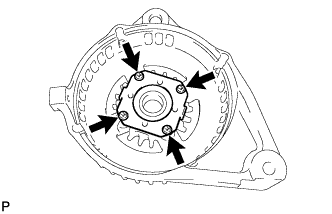 |
Remove the 4 screws and bearing retainer.
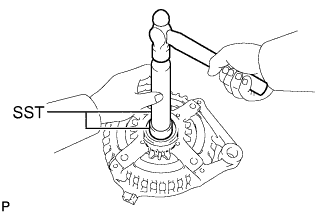 |
Using SST and a hammer, tap out the bearing.