AUDIO / VIDEO MICROPHONE REMOVAL
PROCEDURE

 63650A
1.REMOVE ROOF CONSOLE BOX ASSEMBLY (w/o Sliding Roof)
63650A
2.REMOVE ROOF CONSOLE BOX ASSEMBLY (w/ Sliding Roof)
86730A
3.REMOVE TELEPHONE MICROPHONE ASSEMBLY (w/o Sliding Roof)
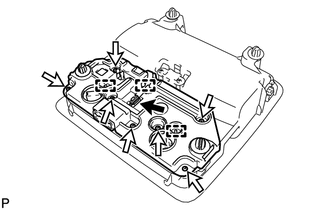
| *a | Clamp |
| *b | Guide |
Disconnect the connector and remove the 7 screws.
Disengage the clamp, 2 guides and remove the cover.
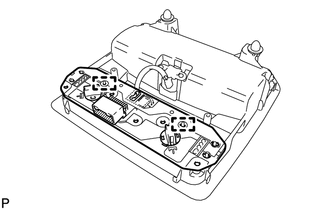
Disengage the 2 guides and remove the illumination circuit assembly.
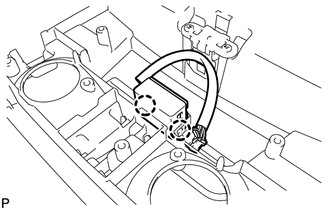
Disengage the 2 claws and remove the telephone microphone assembly.
86730A
4.REMOVE TELEPHONE MICROPHONE ASSEMBLY (w/ Sliding Roof)
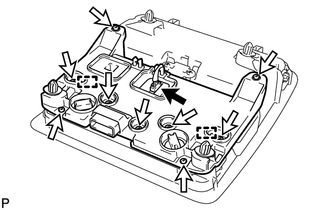
Disconnect the connector and remove the 9 screws.
Disengage the 2 guides and remove the cover.
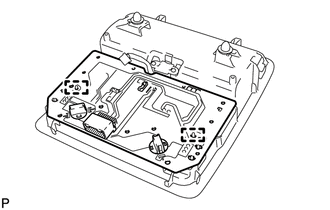
Disengage the 2 guides and remove the illumination circuit assembly.
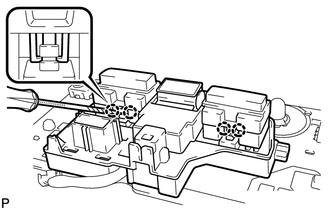
| *a | Protective Tape |
Using a screwdriver with its tip wrapped with protective tape, disengage the 4 claws and remove the knob guide from the illumination circuit assembly.
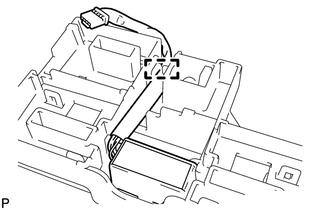
Disengage the clamp.
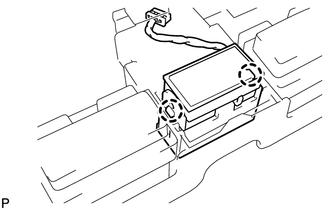
Disengage the 2 claws and remove the telephone microphone assembly.
86250E
5.REMOVE AMPLIFIER MICROPHONE ASSEMBLY
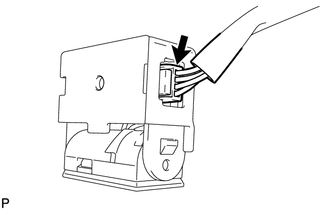
Disconnect the connector and remove the amplifier microphone assembly from the wire.