 |
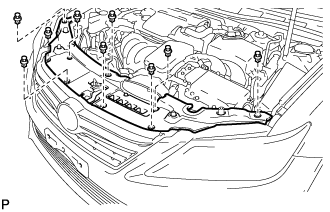
Remove the 9 clips and cool air intake duct seal.
FRONT BUMPER > REMOVAL |
| 1. REMOVE COOL AIR INTAKE DUCT SEAL |
|
Remove the 9 clips and cool air intake duct seal.
| 2. REMOVE FRONT BUMPER ASSEMBLY |
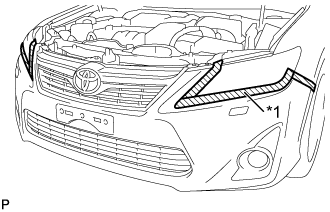 |
Put protective tape around the front bumper assembly.
| *1 | Protective Tape |
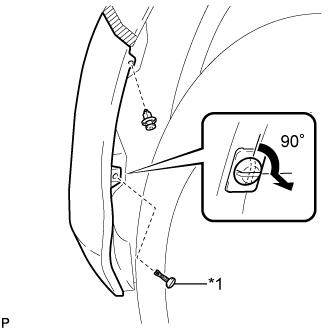 |
Using a screwdriver, turn the pins 90 degrees and remove the pin hold clip.
| *1 | Pin Hold Clip |
Remove the clip.
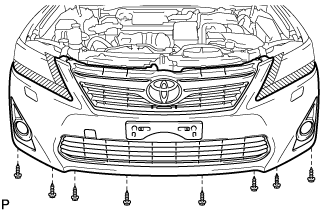 |
Remove the 8 screws.
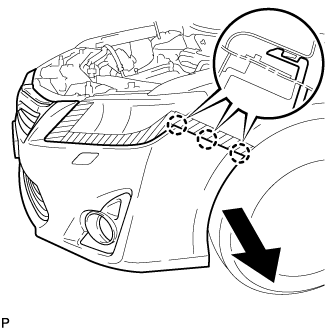 |
Disengage the 3 claws as shown in the illustration.
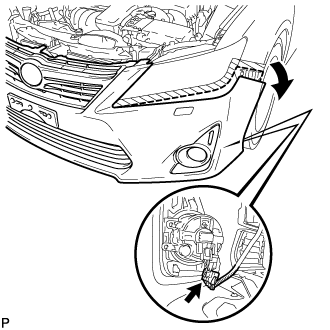 |
Pull back the side of the front bumper assembly as shown in the illustration and disconnect each connector.
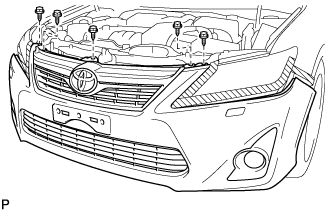 |
Remove the 2 screws.
Using a clip remover, remove the 3 clips.
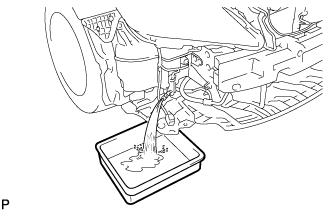 |
Disconnect the headlight cleaner hose and drain the washer fluid.
Remove the front bumper assembly.