 |
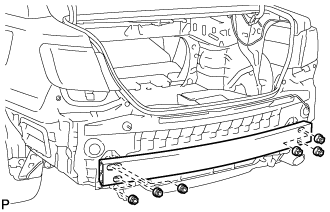
Install the rear bumper reinforcement sub-assembly with the 6 nuts.
- Torque:
- 61 N*m{ 622 kgf*cm , 45 ft.*lbf }
REAR BUMPER > REASSEMBLY |
| 1. INSTALL REAR BUMPER REINFORCEMENT SUB-ASSEMBLY |
|
Install the rear bumper reinforcement sub-assembly with the 6 nuts.
| 2. INSTALL WHEEL HOUSE REINFORCEMENT LH |
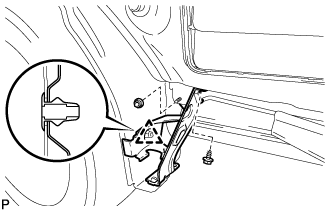 |
Engage the clip.
Install the wheel house reinforcement LH with the screw and nut.
| 3. INSTALL WHEEL HOUSE REINFORCEMENT RH |
| 4. INSTALL REAR BUMPER SIDE RETAINER LH |
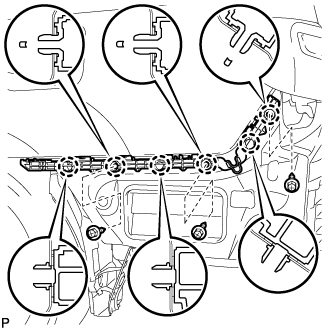 |
Engage the 6 claws.
Install the rear bumper side retainer LH with the 3 screws.
| 5. INSTALL REAR BUMPER SIDE RETAINER RH |
| 6. INSTALL LOWER REAR BUMPER COVER |
Engage the 8 guides.
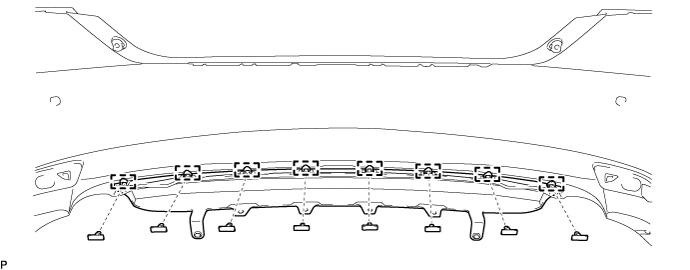
Install the lower rear bumper cover to the rear bumper cover with the 8 outside moulding retainers.
| 7. INSTALL NO. 1 ULTRASONIC SENSOR RETAINER |
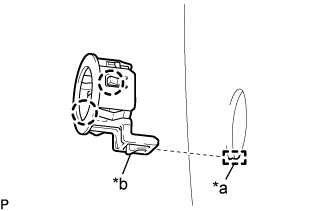 |
Engage the 2 claws to install the No. 1 ultrasonic sensor retainer to the rear bumper assembly.
| *a | Cutout |
| *b | Protrusion |
| 8. INSTALL NO. 1 ULTRASONIC SENSOR |
Engage the 2 claws to install the No. 1 ultrasonic sensor to the No. 1 ultrasonic sensor retainer.
| 9. INSTALL ULTRASONIC SENSOR CLIP |
Engage the 4 claws to install the ultrasonic sensor clip.
| 10. INSTALL NO. 2 LUGGAGE ROOM WIRE |
Connect the connector to install the No. 2 luggage room wire.
Engage the clamp.
| 11. INSTALL REFLEX REFLECTOR ASSEMBLY LH |
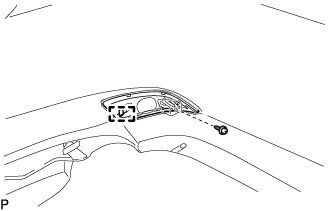 |
Engage the guide.
Install the reflex reflector assembly LH with the screw.
| 12. INSTALL REFLEX REFLECTOR ASSEMBLY RH |
| 13. INSTALL REAR BUMPER PAD LH |
Clean the rear bumper assembly.
Remove any remaining double-sided tape from the rear bumper assembly.
Wipe off any tape adhesive residue with cleaner.
Install a new rear bumper pad LH.
Remove the release paper from a new rear bumper pad LH.
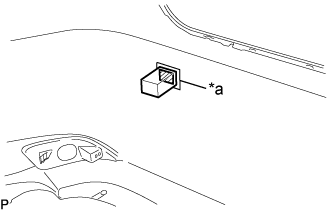 |
Install the rear bumper pad LH as shown in the illustration.
| *a | Line |
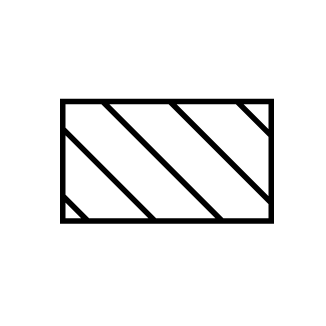 | Double-sided Tape |
| 14. INSTALL REAR BUMPER PAD RH |
Clean the rear bumper assembly.
Remove any remaining double-sided tape from the rear bumper assembly.
Wipe off any tape adhesive residue with cleaner.
Install a new rear bumper pad RH.
Remove the release paper from a new rear bumper pad RH.
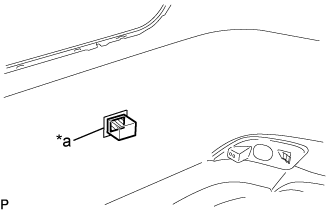 |
Install the rear bumper pad RH as shown in the illustration.
| *a | Line |
| Double-sided Tape |