K120 CVT TRANSMISSION CONTROL CABLE REMOVAL
CAUTION / NOTICE / HINT
The necessary procedures (adjustment, calibration, initialization or registration) that must be performed after parts are removed and installed, or replaced during transmission control cable assembly removal/installation are shown below.
| Replaced Part or Performed Procedure | Necessary Procedure | Effect/Inoperative Function when Necessary Procedure not Performed | Link |
|---|---|---|---|
| Gas leak from exhaust system is repaired | Inspection after repair | ·
Poor idle, etc. ·
Engine start function, etc. |
( ) |
- CAUTION:
-
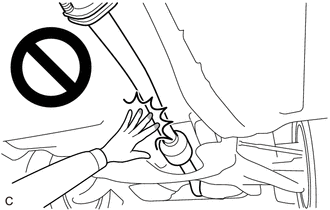
-
To prevent burns, do not touch the engine, exhaust pipe or other high temperature components while the engine is hot.
PROCEDURE

 53295E
1.REMOVE COOL AIR INTAKE DUCT SEAL
12601B
2.REMOVE NO. 1 ENGINE COVER SUB-ASSEMBLY
17750A
3.REMOVE INLET AIR CLEANER ASSEMBLY
4.REMOVE AIR CLEANER ASSEMBLY WITH AIR CLEANER HOSE
17410
5.REMOVE FRONT EXHAUST PIPE ASSEMBLY (TWC: Rear Catalyst)
58152A
6.REMOVE FRONT LOWER NO. 1 FLOOR HEAT INSULATOR
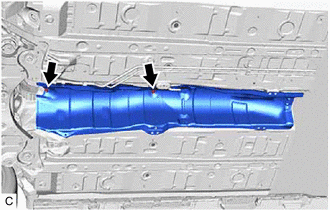
Remove the 2 nuts and front lower No. 1 floor heat insulator from the vehicle body.
7.REMOVE TRANSMISSION FLOOR SHIFT ASSEMBLY
58861B
8.REMOVE NO. 1 CONSOLE BOX DUCT
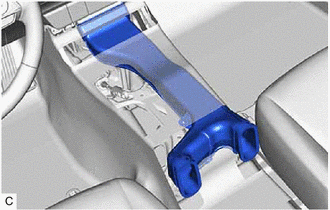
Remove the No. 1 console box duct.
33820B
9.REMOVE TRANSMISSION CONTROL CABLE ASSEMBLY
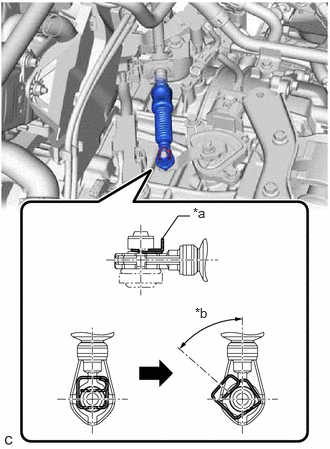
| *a | Clip |
| *b | 45° to 60° |
While disengaging the clip as shown in the illustration, disconnect the transmission control cable assembly from the transmission control shaft lever together with the clip.
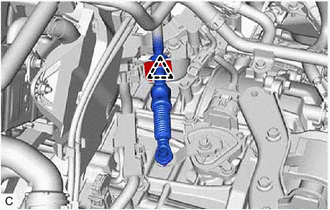
Remove the clip and disconnect the transmission control cable assembly from the No. 1 transmission control cable bracket.
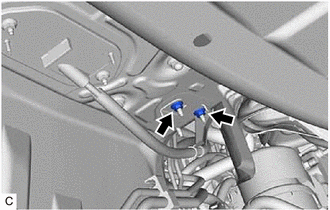
Remove the 2 nuts and disconnect the transmission control cable assembly from the vehicle body.
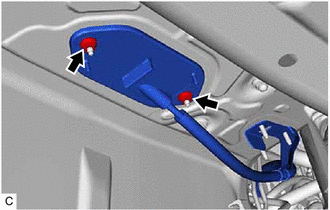
Remove the 2 nuts and then remove the transmission control cable assembly from the vehicle body.