METER / GAUGE / DISPLAY HEADUP DISPLAY REASSEMBLY
PROCEDURE

 83163
1.INSTALL NO. 1 COMBINATION METER MIRROR PLATE
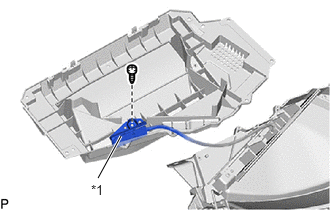
| *1 | Light Sensor Assembly |
Connect the light sensor assembly with the screw.
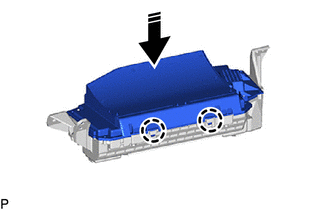

|
Install in this Direction |
Engage the 2 claws as shown in the illustration.
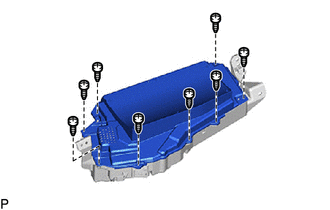
Install the No. 1 combination meter mirror plate with the 8 screws.
83847A
2.INSTALL COMBINATION SPEED METER CUSHION
Clean the meter mirror sub-assembly surface.
Remove any remaining double-sided tape from the meter mirror sub-assembly.
Wipe off any tape adhesive residue with cleaner.
Remove the release paper from a new combination speed meter cushion.
- HINT:
-
After removing the release paper, keep the exposed adhesive free from foreign matter.
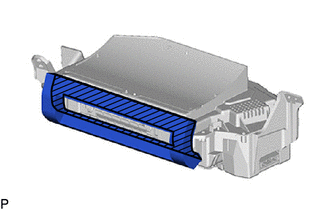

|
Double-sided Tape |
Install the combination speed meter cushion.
83847
3.INSTALL NO. 1 COMBINATION SPEED METER CUSHION
Clean the meter mirror sub-assembly surface.
Remove any remaining double-sided tape from the meter mirror sub-assembly.
Wipe off any tape adhesive residue with cleaner.
Remove the release paper from a new No. 1 combination speed meter cushion.
- HINT:
-
After removing the release paper, keep the exposed adhesive free from foreign matter.
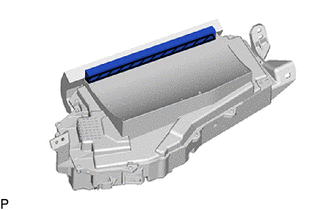
|
|
Double-sided Tape |
Install the No. 1 combination speed meter cushion.
82149C
4.INSTALL METER MIRROR WIRE
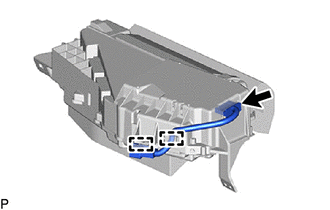
Engage the 2 clamps.
Connect the connector to install the meter mirror wire.