REAR SUSPENSION REAR STABILIZER BAR REMOVAL
CAUTION / NOTICE / HINT
The necessary procedures (adjustment, calibration, initialization, or registration) that must be performed after parts are removed and installed, or replaced during rear stabilizer bar removal/installation are shown below.
| Replaced Part or Performed Procedure | Necessary Procedure | Effect/Inoperative Function when Necessary Procedure not Performed | Link |
|---|---|---|---|
| Gas leak from exhaust system is repaired | Inspection After Repair | ·
Poor idle, etc. ·
Engine start function, etc. |
( )w/o Canister Pump Module ( )w/ Canister Pump Module
|
- CAUTION:
-
-
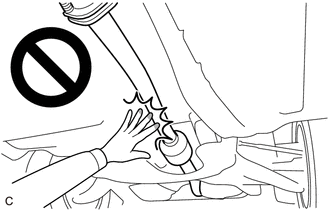
To prevent burns, do not touch the engine, exhaust pipe or other high temperature components while the engine is hot.
PROCEDURE

 1.REMOVE REAR WHEEL
17420
2.REMOVE CENTER EXHAUST PIPE ASSEMBLY
48840A
3.REMOVE REAR STABILIZER LINK ASSEMBLY LH
Remove the cap from the rear stabilizer link assembly LH.
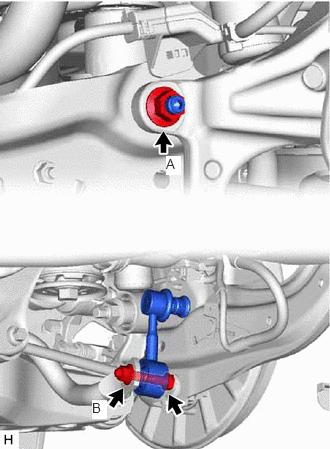
Loosen the nut (A) of the rear stabilizer link assembly LH.
- HINT:
-
If the ball joint turns together with the nut, use a 6 mm hexagon socket wrench to hold the stud bolt.
Loosen the nut (B) of the rear stabilizer link assembly LH.
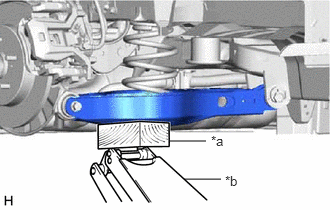
| *a | Wooden Block |
| *b | Jack |
Using a jack and a wooden block, support the rear No. 2 suspension arm assembly.
- NOTICE:
- ·
When jacking up the rear No. 2 suspension arm assembly, be sure to jack it up slowly.
·Make sure to perform this operation with the vehicle kept as low as possible.
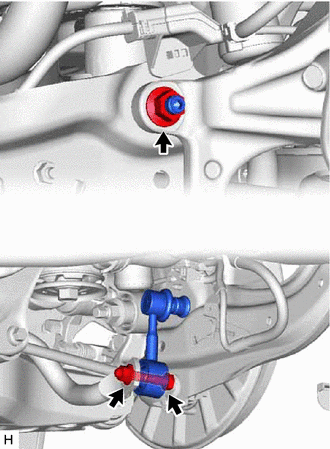
Remove the bolt, 2 nuts and rear stabilizer link assembly LH.
48830D
4.REMOVE REAR STABILIZER LINK ASSEMBLY RH
- HINT:
-
Perform the same procedure as for the LH side.
48812
5.REMOVE REAR STABILIZER BAR
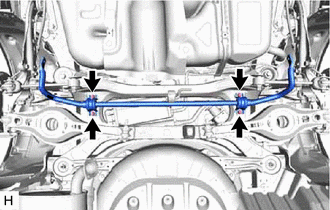
Remove the 4 bolts, rear stabilizer bar, 2 rear No. 1 stabilizer bar brackets and 2 rear stabilizer bushings from the rear suspension member sub-assembly.
48832A
6.REMOVE REAR NO. 1 STABILIZER BAR BRACKET
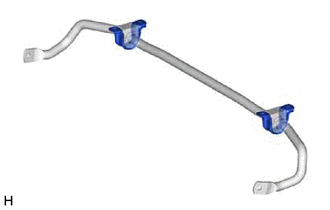
Remove the 2 rear No. 1 stabilizer bar brackets from the 2 rear stabilizer bushings.
48818
7.REMOVE REAR STABILIZER BUSHING
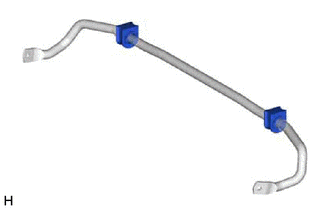
Remove the 2 rear stabilizer bushings from the rear stabilizer bar.