1HZ FUEL FUEL INJECTION PUMP INSPECTION
CAUTION / NOTICE / HINT
- NOTICE:
-
-
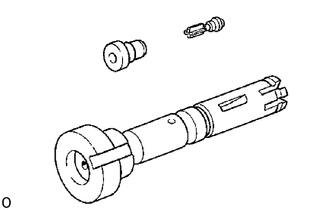
Do not touch the sliding surfaces of the pump plunger and delivery valves.
PROCEDURE

 1.INSPECT DELIVERY VALVES, SPRINGS AND HOLDERS
1PZ and 1HZ
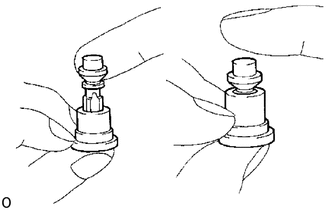
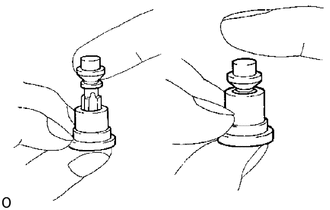
Pull up the valve and close the hole at the valve seat bottom end with your thumb.
When the valve is released, it should sink down quickly and stop at the position where the relief ring closes the valve seat hole.
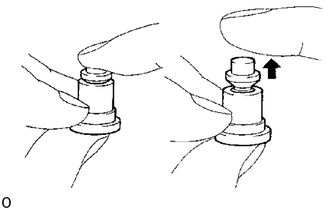
Close the hole at the valve seat bottom end with your thumb.
Insert the valve into the valve seat and press down with your finger. When your finger is released, the valve should rise back to its original position.
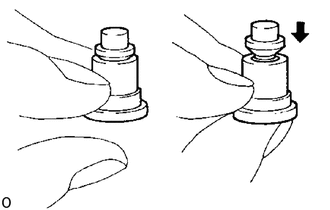
Remove your thumb from the valve seat hole. The valve should close completely by its own weight.
If operation is not as specified, replace the valve as a set.
- HINT:
-
Before using a new valve set, wash off the rust prevention compound with light oil or gasoline. Then re-wash with diesel fuel and perform the above tests.
1HD-T
Pull up the valve. When the valve is released, it should sink down quickly.
If operation is not as specified, replace the valve as a set.
- HINT:
-
Before using a new valve set, wash off the rust prevention compound with light oil or gasoline. Then re-wash with diesel fuel and perform the above tests.
2.INSPECT PUMP PLUNGER, SPILL RING AND DISTRIBUTIVE HEAD
Tilt the spill ring {distributive head) slightly and pull out the plunger.
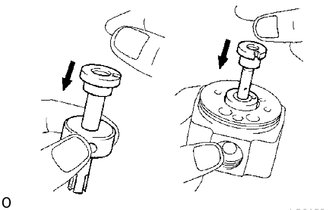
When released, the plunger should sink down smoothly into the spill ring (distributive head) by its own weight.
Rotate the plunger and repeat the test at various positions.
If the plunger sticks at any position, replace the parts as a set.
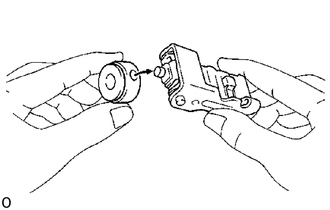
Insert the governor link ball pin into the spill ring and check that it moves smoothly without any play.
3.INSPECT PLUNGER SPRINGS FOR SQUARENESS
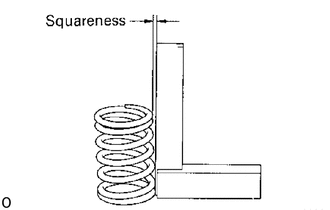
Using a steel square, check the squareness of the plunger springs.
- Maximum squareness:
2.0 mm (0.079 in.)
If squareness is greater than maximum, replace the springs.
4.INSPECT SPRING LENGTH
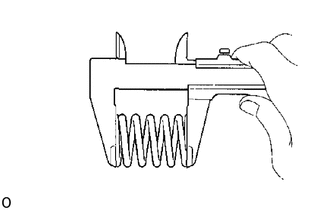
Using vernier calipers, measure the free length of each spring.
- Spring free length:
- Delivery valve spring:
1PZ and 1HZ 24.4 mm (0.961 in.)
1HD-T 19.1 mm (0.752 in.)
- Plunger spring:
1PZ and 1HZ 30.0 mm (1.181 in.)
1HD-T 31.2 mm (1.228 in.)
- Coupling spring:
1PZ and 1HZ 16.6 mm (0.654 in.)
1HD-T 15.5 mm (0.610 in.)
- Pneumatic bellows spring (w/ HAC):
1PZ and 1HZ (w/ HAC) 35.0 mm (1.378 in.)
- Boost compensator spring:
1HD-T (Europe) 19.7 mm (0.776 in.)
1HD-T (Others w/o BACS) 19.6 mm (0.772 in.)
1HD-T (Others w/ BACS) 21.8 mm (0.858 in.)
If the free length is not as specified, replace the spring(s).
5.INSPECT ROLLER RING AND ROLLERS
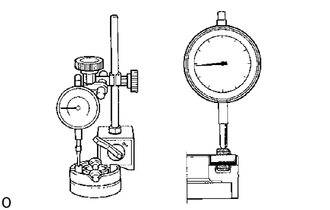
Using a dial indicator, measure the roller height.
- Roller height variation:
0.02 mm (0.0008 in.)
If the variation is greater than specification, replace the roller ring and roller as a set.
6.INSPECT FUEL CUT SOLENOID
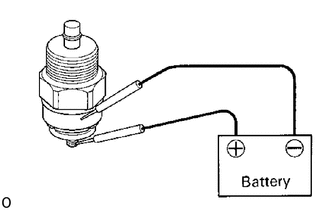
Connect the solenoid valve body and terminal to the battery terminals.
You should feel the click from the solenoid valve when the battery power is connected and disconnected.
If the solenoid valve is not operating properly, replace it.
7.INSPECT PICKUP SENSOR
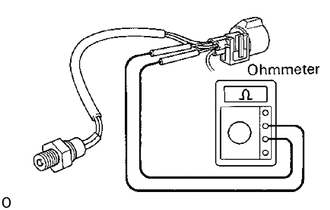
Using an ohmmeter, measure the resistance between the terminals.
- Resistance:
600 - 800 Ω
If resistance is not as specified, replace the sensor.
8.IF NECESSARY, REPLACE OIL SEAL
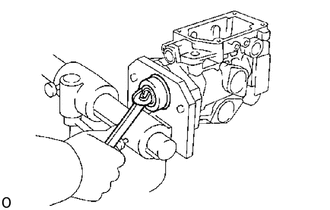
Using a wrench, pry out the oil seal.
- NOTICE:
-
Be careful not to damage to the pump body.
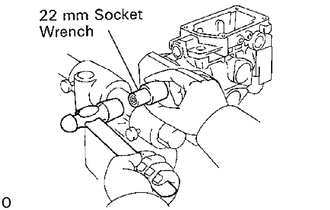
Apply MP grease to the lip of a new oil seal.
Using a 22 mm socket wrench, tap in the oil seal until its surface is flush with the pump housing.