BRAKE SYSTEM (OTHER) VACUUM PUMP(for N04C Series Engine) DISASSEMBLY
PROCEDURE

 1.REMOVE CHECK VALVE SUB-ASSEMBLY
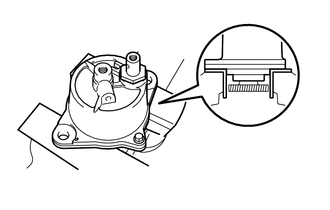
Put the vacuum pump assembly in a vise between aluminum plates as shown in the illustration.
- NOTICE:
- ·
Do not tighten the vise.
·Do not damage the vacuum pump assembly.
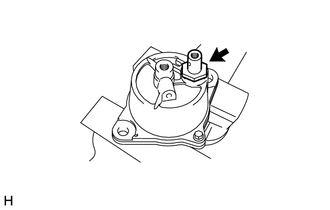
Remove the check valve sub-assembly and gasket.
2.REMOVE VACUUM PUMP HOUSING
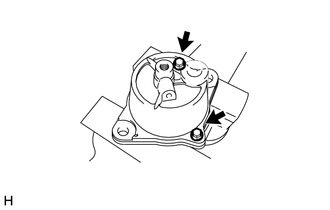
Remove the 2 bolts from vacuum pump assembly.
- NOTICE:
-
Do not damage the vacuum pump assembly.
Temporarily install the 2 bolts to the vacuum pump assembly.
- Recommended Service Bolt:
Bolt Length 25 mm (0.984 in.)
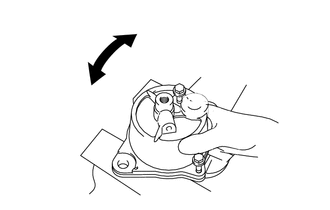
Pry the vacuum pump housing in the direction of the arrow shown in the illustration while supporting the vacuum pump end cover sub-assembly with one hand.
- HINT:
-
Check that the vacuum pump end cover sub-assembly and vacuum pump housing are detached.
Remove the 2 bolts, vacuum pump housing and O-ring.
- NOTICE:
-
Do not drop the vacuum pump rotor sub-assembly and or vacuum pump vanes.
29303
3.REMOVE VACUUM PUMP ROTOR SUB-ASSEMBLY
Remove the vacuum pump rotor sub-assembly together with the vacuum pump vanes.
- NOTICE:
-
Do not drop the vacuum pump rotor sub-assembly and or vacuum pump vanes.
29331A
4.REMOVE VACUUM PUMP VANE
Remove the 5 vacuum pump vanes.
- NOTICE:
-
When reusing the vacuum pump rotor sub-assembly and vacuum pump vanes, make sure to make a note of the installation position and orientation.