BRAKE CONTROL / DYNAMIC CONTROL SYSTEMS ABS ACTUATOR(Only for Israel) ON-VEHICLE INSPECTION
PROCEDURE

 1.INSPECT BATTERY VOLTAGE
Battery voltage: 22 - 26 V
2.DISCONNECT CONNECTORS
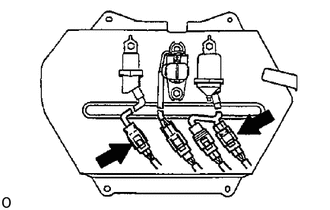
Disconnect the 2 connectors from the solenoid relay and motor sub-relay.
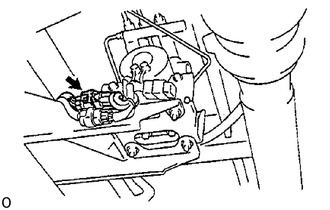
Disconnect the connector from the actuator.
3.CONNECT ACTUATOR CHECKER (SST) TO ACTUATOR
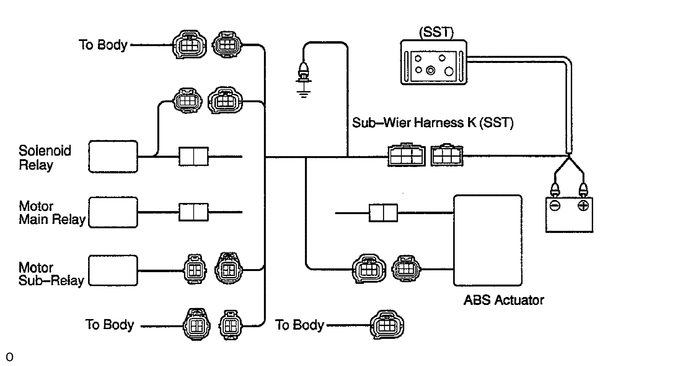
Connect the actuator checker (SST) to the actuator, control relay and body side wire harness through the sub-wire harness K (SST), as shown.
- SST
- 09990-10120
09990-00320
Connect the red cable of the checker to the battery positive (+) terminal and black cable to the negative (-) terminal. Connect the black cable of the sub-wire harness to the battery negative (-) terminal or body ground.
4.INSPECT BRAKE ACTUATOR OPERATION
Start the engine, and run it at idle.
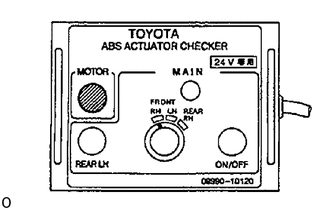
Tum the selector switch of the actuator checker to "FRONT RH" position.
Push and hold in the MOTOR switch for a few seconds.
Depress the brake pedal and hold it until the step (g) is completed.
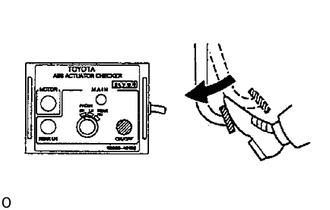
Push the POWER switch, and check that the brake pedal does not go down.
- NOTICE:
-
Do not keep the POWER switch pushed down for more than 10 seconds.
Release the switch, and check that the pedal goes down.
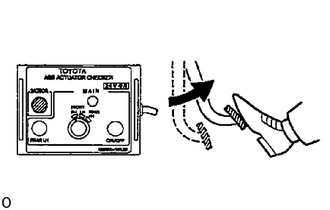
Push and hold in the MOTOR switch for a few seconds, and check that the pedal returns.
Release the brake pedal.
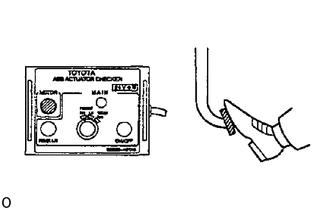
Push and hold in the MOTOR switch for a few seconds.
Depress the brake pedal and hold it for about 15 seconds.
As you hold the pedal down, push the MOTOR switch for a few seconds. Check that the brake pedal does not pulsate.
Release the brake pedal.
5.INSPECT FOR OTHER WHEELS
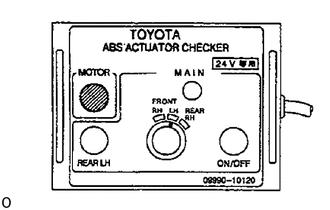
Turn the selector switch to "FRONT LH" position.
Repeating (c) to (j) of the step 4, check the actuator operation similarly.
Similarly, inspect "REAR RH" position.
6. PUSH MOTOR SWITCH
Push and hold in the MOTOR switch for a few seconds.
Stop the engine
7.DISCONNECT ACTUATOR CHECKER (SST) FROM ACTUATOR
Disconnect the actuator checker (SST) and sub-wire harness (SST) from the actuator, control relay and body side wire harness.
- SST:
09990-00120
09990-00320
8.CONNECT CONNECTORS
Connect the 2 connectors to the control relay.
Connect the connector to the actuator.
Install the control relay to the actuator bracket.
9. CLEAR DTC
(Click here XXXXX)