REASSEMBLY
Removal / installation · Vehicles built Jul 2007 – Oct 2010
Versions by build date: Jul 2007 – Oct 2010 from Nov 2010
| 1.
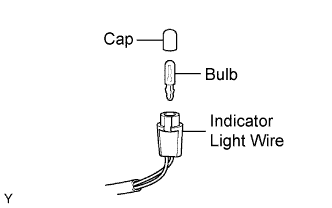
INSTALL INDICATOR LIGHT WIRE SUB-ASSEMBLY |
 |
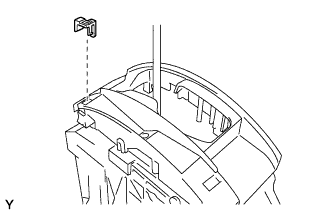
Install the bulb and cap onto the indicator light wire.
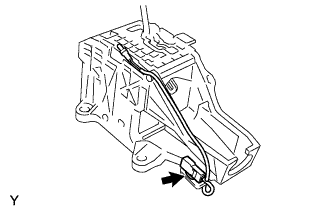
- Connect the indicator light wire connector onto the shift lever assembly.
| 2.
INSTALL POSITION INDICATOR HOUSING LOWER |
|
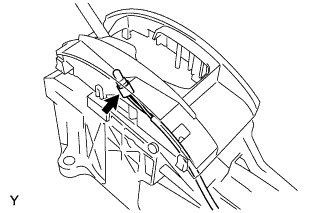
Connect the indicator light wire connector onto the position indicator housing lower.
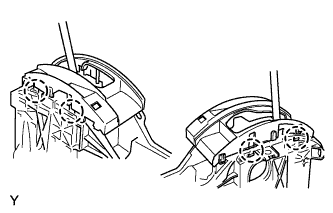
- Engage the 4 claws to install the position indicator housing lower.
| 3.
INSTALL SHIFT LOCK RELEASE BUTTON |
|
Install the shift lock release button onto the shift lever assembly.
| 4.
INSTALL NO. 2 POSITION INDICATOR SLIDE COVER |
|
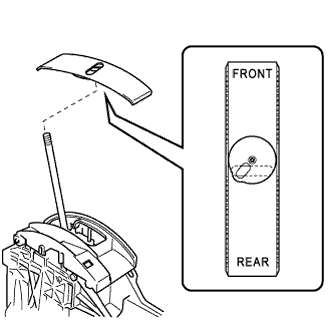
- Install the No. 2 position indicator slide cover onto the position indicator slide cover.
| 5.
INSTALL POSITION INDICATOR SLIDE COVER |
|
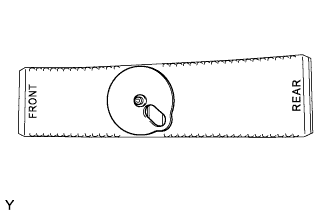
- Install the position indicator slide cover onto the shift lever assembly.
- HINT:
- Install the position indicator slide cover so that its FRONT mark faces the vehicle front.
| 6.
INSTALL SHIFT LOCK RELEASE BUTTON COVER |
|
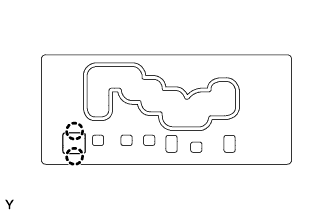
- Engage the 2 claws to install the shift lock release button cover.
| 7.
INSTALL FLOOR SHIFT POSITION INDICATOR HOUSING SUB-ASSEMBLY |
|
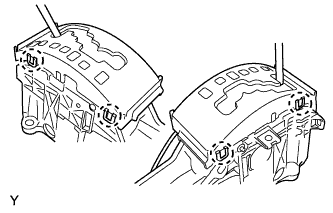
Engage the 4 claws to install the position indicator housing.
| 8.
INSTALL SHIFT LEVER KNOB SUB-ASSEMBLY |
|
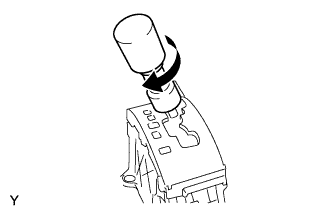
- Rotate the shift lever knob clockwise to install the shift lever knob onto the shift lever.
- HINT:
- When installing the shift lever knob, rotate it clockwise for at least 1 full rotation but not more than 4 full rotations.