INSTALLATION
Removal / installation · Vehicles built from Jul 2007
| 1.
INSTALL BACK DOOR OUTSIDE GARNISH SUB-ASSEMBLY |
 |
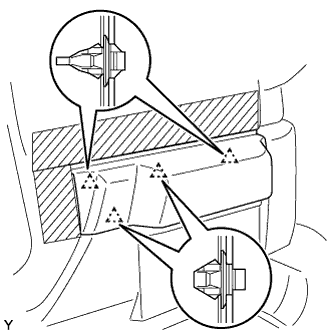
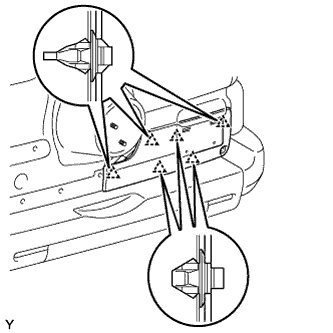
- Engage the 4 clips and install the back door outside garnish.
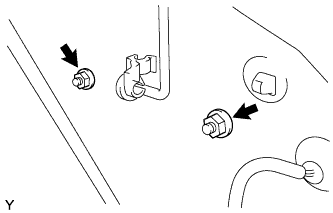
- Tighten the 2 nuts.
-
Torque:
- 6.0 N*m{
60 kgf*cm
, 53 in.*lbf
}
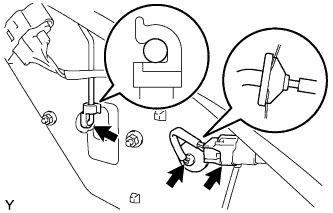
- Connect the back door lock rod.
Connect the license light connector.
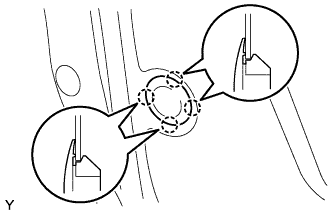
- Engage the 4 claws and install the plug hole.
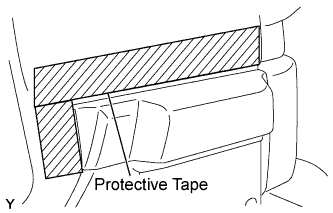
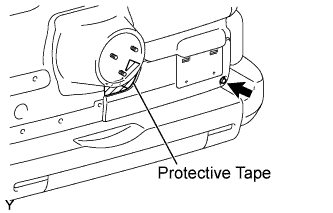
- Remove the protective tape.
| 2.
INSTALL BACK DOOR SERVICE HOLE COVER |
|
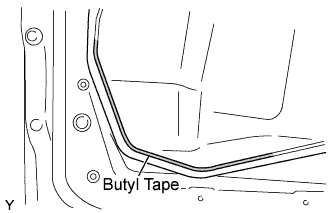
- Install the back door service hole cover.
| 3.
INSTALL BACK DOOR TRIM BOARD
|
|
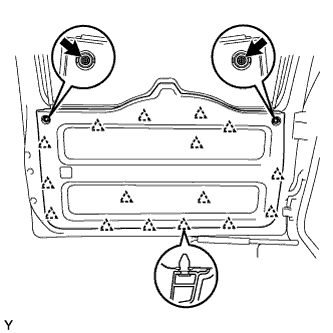
- Engage the 16 clips and install the back door trim board.
Install the 2 screws.
| 4.
INSTALL BACK DOOR TRIM COVER RH
|
|
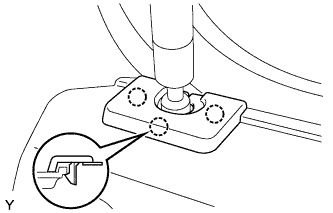
Engage the 3 claws and back door trim cover.
| 5.
INSTALL BACK DOOR TRIM COVER LH
|
|
- HINT:
- Use the same procedure as described for the RH side.
| 6.
INSTALL BACK DOOR OUTSIDE MOULDING
|
|
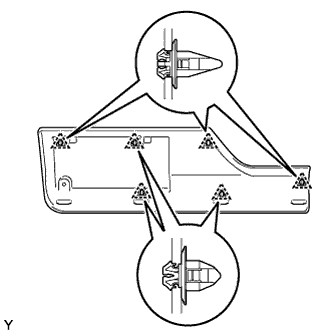
- Install 6 new clips in the positions shown in the illustration.
- NOTICE:
- If you install the clips wrongly, the installation of the back door outside moulding will be improper.
- Engage the 6 clips and install the back door outside moulding.
- Tighten the screw.
Remove the protective tape.
| 7.
INSTALL SPARE TIRE |
|
-
Torque:
- 88 N*m{
897 kgf*cm
, 65 ft.*lbf
}
| 8.
CONNECT CABLE TO NEGATIVE BATTERY TERMINAL |
|
-
Torque:
- 3.9 N*m{
40 kgf*cm
, 35 in.*lbf
}