REMOVAL
Removal / installation · Vehicles built from Jul 2007
- HINT:
- Use the same procedure for both the RH and LH sides.
- The procedure described below is for the LH side.
- Use the same procedure for both the RH and LH sides.
| 1. DISCONNECT CABLE FROM NEGATIVE BATTERY TERMINAL |
| 2. REMOVE ACCESS PANEL REAR WEATHERSTRIP |

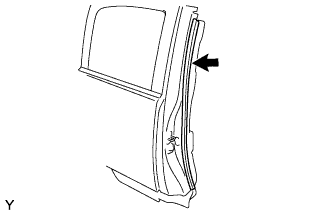  |
Remove the access panel rear weatherstrip.
| 3. REMOVE LAP BELT OUTER ANCHOR COVER |
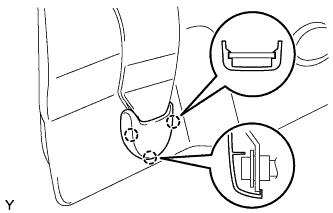 |
Disengage the 3 claws and remove the lap belt outer anchor cover.
| 4. REMOVE REAR DOOR INSIDE HANDLE SUB-ASSEMBLY |
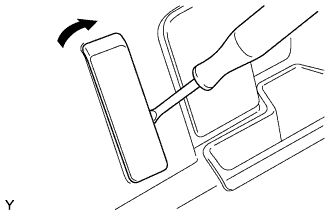 |
Insert a clip remover between the handle and door trim.
Turn the handle with the clip remover inserted, as shown in the illustration.
Remove the rear door inside handle and snap ring.
| 5. REMOVE NO. 1 CUP HOLDER |
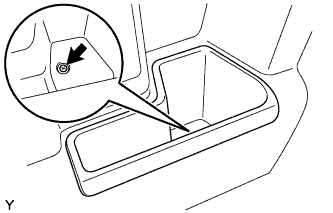 |
Remove the screw and the No. 1 cup holder.
| 6. REMOVE REAR DOOR TRIM BOARD SUB-ASSEMBLY |
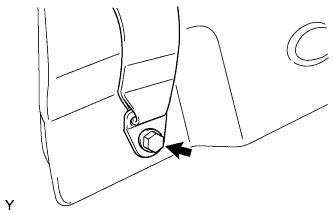 |
Remove the bolt and separate the front seat belt outer (floor side).
Disengage the 9 clips and remove the rear door trim panel.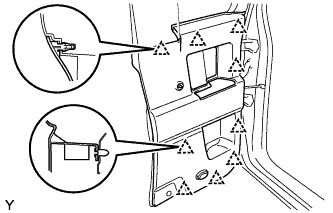
| 7. REMOVE CENTER PILLAR UPPER GARNISH |
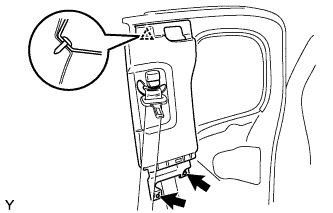 |
Remove the clip.
Remove the 2 screws.
Disengage the 2 clips and remove the center pillar upper garnish.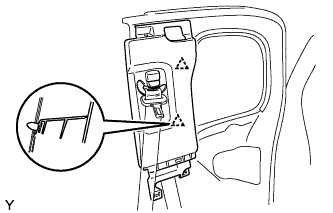
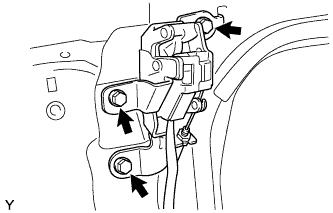
| 8. REMOVE ACCESS PANEL UPPER LOCK ASSEMBLY |
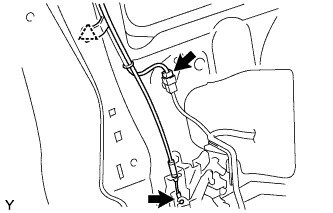 |
Disconnect the connector, harness clamp and the access panel lock control cable.
Remove the 3 bolts, then remove the access panel upper lock.