 |
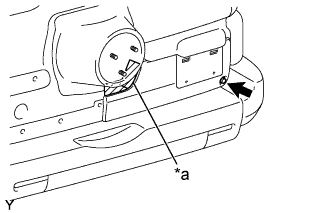
Apply protective tape to the back door panel in the area around the back door outside moulding RH.
| *a | Protective Tape |
BACK DOOR OUTSIDE GARNISH > REMOVAL |
| 1. REMOVE CABLE FROM NEGATIVE BATTERY TERMINAL |
| 2. REMOVE SPARE TIRE |
| 3. REMOVE BACK DOOR OUTSIDE MOULDING |
|
Apply protective tape to the back door panel in the area around the back door outside moulding RH.
| *a | Protective Tape |
Remove the screw.
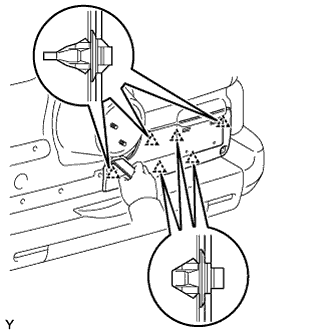 |
Using a moulding remover, disengage the 6 clips and remove the back door outside moulding RH.
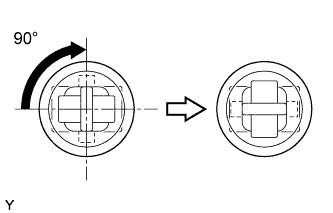 |
Turn the clips 90° clockwise and remove them.
| 4. REMOVE BACK DOOR TRIM COVER RH |
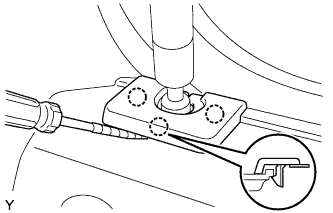 |
Using a screwdriver with its tip wrapped in protective tape, disengage the 3 claws and remove the back door trim cover.
| 5. REMOVE BACK DOOR TRIM COVER LH |
| 6. REMOVE BACK DOOR TRIM BOARD |
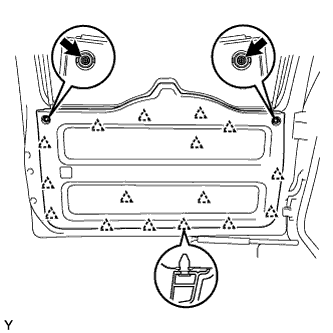 |
Remove the 2 screws.
Disengage the 16 clips and remove the back door trim board.
| 7. REMOVE BACK DOOR SERVICE HOLE COVER |
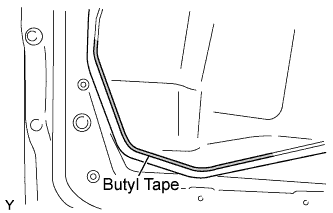 |
Remove the back door service hole cover to the extent that the back door outside garnish can be removed.
| 8. REMOVE BACK DOOR OUTSIDE GARNISH SUB-ASSEMBLY |
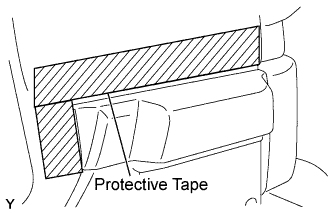 |
Apply protective tape to the back door panel in the area around the back door outside garnish.
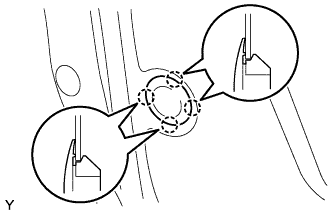 |
Using a clip remover, disengage the 4 claws and remove the plug hole.
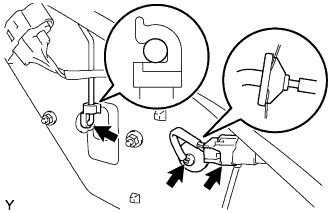 |
Disconnect the license light connector.
Disconnect the back door lock rod.
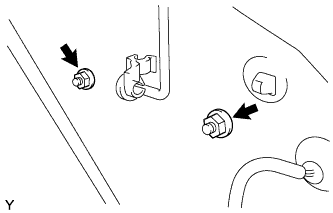 |
Remove the 2 nuts.
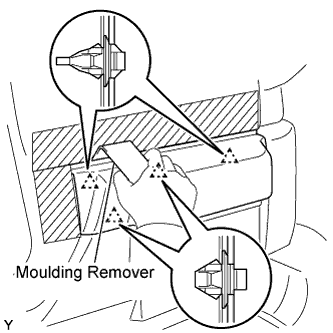 |
Using a moulding remover, disengage the 4 clips and remove the back door outside garnish.