 |
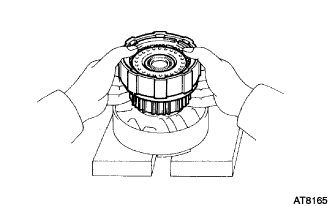
Place wooden blocks or similar objects to prevent forward clutch shaft from touching the work stand, and place the O/D support on them.
FORWARD CLUTCH > DISASSEMBLY |
| 1. FIX FORWARD CLUTCH ASSEMBLY |
|
Place wooden blocks or similar objects to prevent forward clutch shaft from touching the work stand, and place the O/D support on them.
Place the forward clutch onto the O/D support.
| 2. INSPECT PISTON STROKE OF FORWARD CLUTCH |
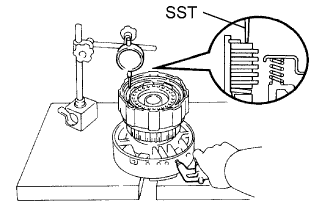 |
Using SST and a dial indicator, measure the forward clutch piston stroke while applying and releasing compressed air (392 to 785 kPa, 4.0 to 8.0 kgf/cm2, 57 to 114 psi).
| 3. REMOVE DISC |
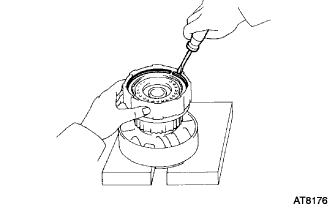 |
Using a screwdriver, remove the snap ring from the forward clutch drum.
Remove the flange, the 5 plates and the 5 discs.
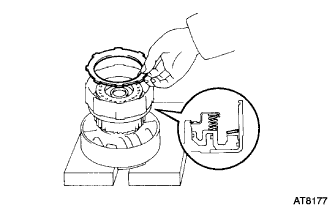 |
Remove the cushion plate.
| 4. INSPECT FORWARD MULTIPLE DISC CLUTCH CLUTCH DISC |
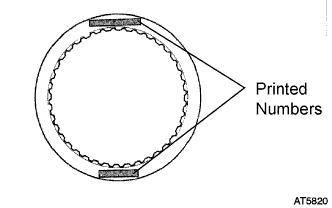 |
Check to see if the sliding surfaces of the disc, plate and flange are worn or burnt. If necessary, replace them.
| 5. REMOVE FORWARD CLUTCH RETURN SPRING SUB-ASSEMBLY |
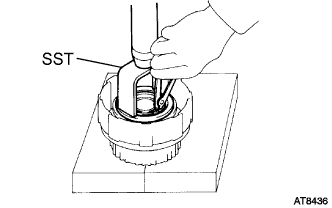 |
Place SST on the spring retainer and compress the return spring with a press.
Using SST, remove the snap ring.
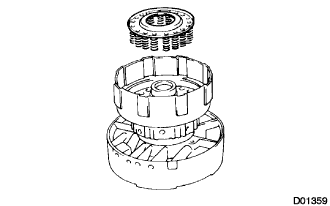 |
Remove the piston return spring.
| 6. REMOVE FRONT CLUTCH PISTON SUB-ASSEMBLY |
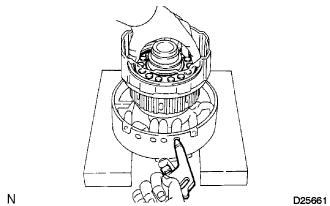 |
Place the forward clutch drum onto the O/D support.
Hold the forward clutch piston by hand, and apply compressed air (196 kPa, 2.0 kgf/cm2, 28.5 psi) to the O/D support to remove the forward clutch piston.
Remove the forward clutch piston.
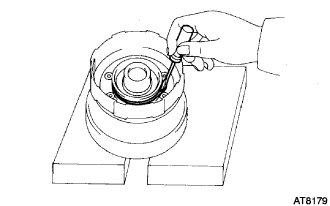 |
Remove the O-ring from the forward clutch drum.
| 7. REMOVE FORWARD CLUTCH PISTON O-RING |
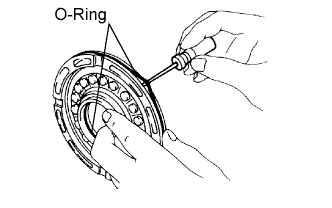 |
Using a small screwdriver, remove the 2 O-rings.
| 8. INSPECT FRONT CLUTCH PISTON SUB-ASSEMBLY |
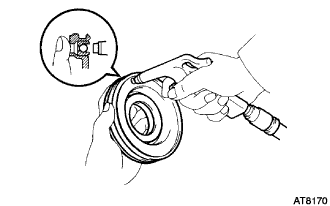 |
Check that the check ball is free by shaking the piston.
Check that the valve does not have leaks by applying low-pressure compressed air.
| 9. REMOVE INPUT SHAFT OIL SEAL RING |
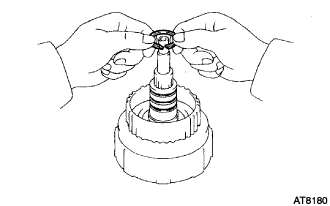 |
Remove the 3 oil seal rings from the forward clutch drum groove.
| 10. REMOVE INPUT SHAFT SUB-ASSEMBLY |