DISASSEMBLY
Removal / installation · Vehicles built Oct 2014 – Dec 2014
Versions by build date: Oct 2014 – Dec 2014 from Jan 2015
| 1.
REMOVE REPAIR SERVICE STARTER KIT |
 |
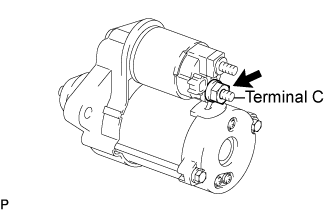
- Remove the nut, and disconnect the lead wire from terminal C.
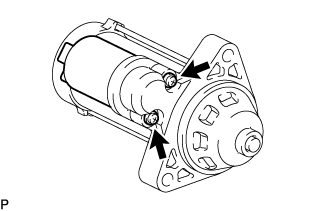
- Remove the 2 screws that holds the repair service starter kit from the starter drive housing.
Remove the repair service starter kit.
| 2.
REMOVE STARTER YOKE ASSEMBLY |
|
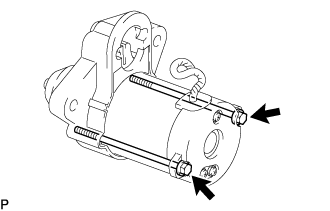
- Remove the 2 through bolts, and pull out the starter yoke assembly together with the starter commutator end frame assembly.
| 3.
REMOVE STARTER COMMUTATOR END FRAME ASSEMBLY |
|
Remove the starter commutator end frame assembly from the starter yoke.
| 4.
REMOVE STARTER ARMATURE PLATE |
|
- Remove the starter armature plate from the starter yoke.
| 5.
REMOVE STARTER COMMUTATOR END FRAME COVER |
|
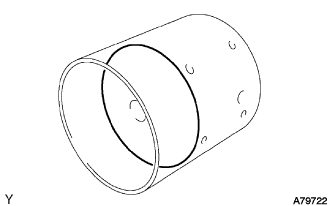
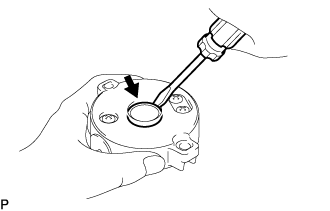
- Using a screwdriver, remove the starter commutator end frame cover.
| 6.
REMOVE STARTER ARMATURE ASSEMBLY |
|
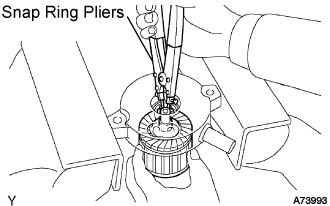
- Hold the starter commutator end frame in a vise between aluminum plates.
Using snap ring pliers, remove the snap ring and plate washer.
Remove the starter armature assembly from the commutator end frame.
| 7.
REMOVE PLANET GEAR |
|
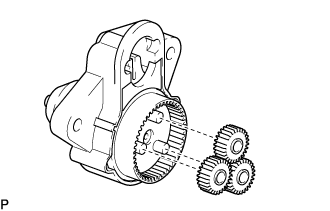
- Remove the 3 planet gears.
| 8.
REMOVE STARTER CENTER BEARING CLUTCH SUB-ASSEMBLY |
|
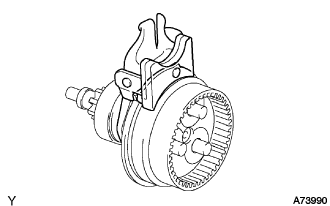
Remove the starter center bearing clutch sub-assembly with the starter drive lever set pin from the starter drive housing.
- Remove the starter drive lever set pin from the starter center bearing clutch sub-assembly.