DISASSEMBLY
Removal / installation · Vehicles built from Oct 2014
| 1.
REMOVE CHECK VALVE ASSEMBLY |
 |
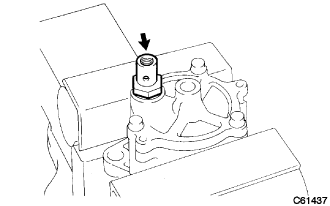
- Remove the check valve assembly and gasket.
| 2.
REMOVE VACUUM PUMP BLADE A |
|
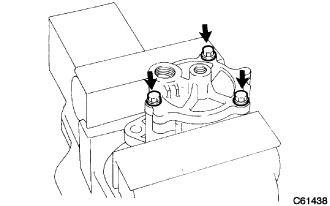
- Remove the 3 bolts.
- Place the vacuum pump in a vise as shown in the illustration.
- CAUTION:
- Do not tighten the vise too much.
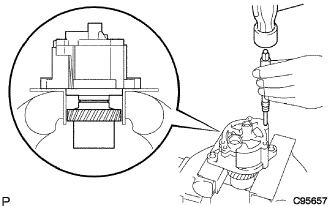
Using a pin punch (φ5 mm) and hammer, drive out the 2 straight pins.
Remove the end cover and 2 O-rings.
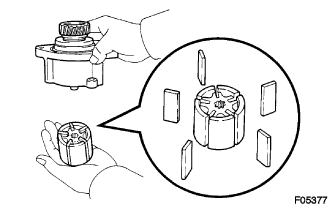
- Remove the vacuum pump rotor sub-assembly with 5 blades.
| 3.
REMOVE VACUUM PUMP GEAR |
|
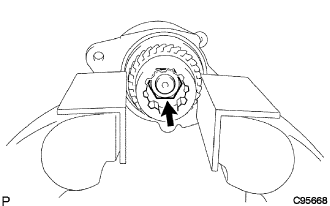
Using soft jaws, clamp the gear in the vise.
- NOTICE:
- Do not tighten the vise too much.
- Remove the gear lock nut.
Remove the vacuum pump gear and woodruff key.
| 4.
REMOVE VACUUM PUMP SHAFT |
|
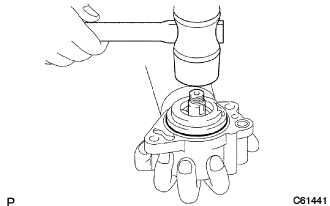
- Using a plastic hammer, tap out the vacuum pump shaft.
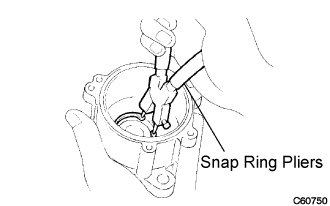
- Using snap ring pliers, remove the snap ring.
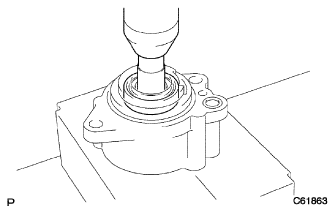
- Using a press and a 17mm socket wrench, press out the ball bearing.