REMOVAL
Removal / installation · Vehicles built from Oct 2014
| 1. DISCONNECT CABLE FROM NEGATIVE BATTERY TERMINAL |
| 2. REMOVE FRONT DOOR SCUFF PLATE RH |
| 3. REMOVE FRONT SEAT ASSEMBLY RH (for Hi-back Seat Type) |

- HINT:
- Use the same procedures described for the LH side. (Click here)
| 4. REMOVE FRONT SEAT ASSEMBLY RH (for Low-back Seat Type) |
- HINT:
- Use the same procedures described for the LH side. (Click here)
| 5. REMOVE ECM |
Fold back the floor carpet.
Remove the 3 bolts from the ECM.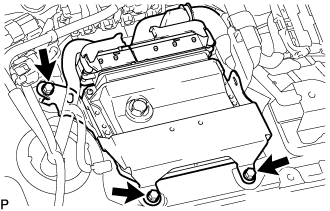

Detach the 2 wire harness clamps from the No. 1 ECM bracket and No. 2 ECM bracket.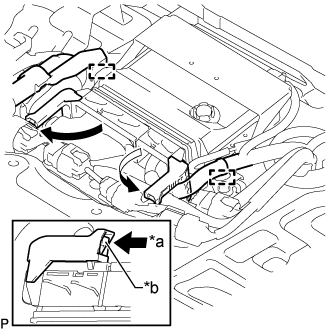
Raise the 2 levers while pushing the locks on the 2 levers, disconnect the 2 ECM connectors and remove the ECM.
Text in Illustration *a
Push
*b
Lock
- NOTICE:
- After disconnecting a ECM connector, make sure that dirt, water and other foreign matter does not contact the ECM connector.
| 6. REMOVE NO. 1 ECM BRACKET |
Remove the 3 screws and No. 1 ECM bracket.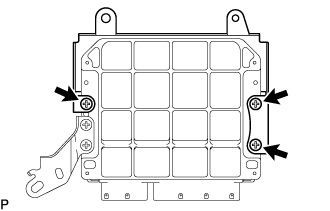
| 7. REMOVE NO. 2 ECM BRACKET |
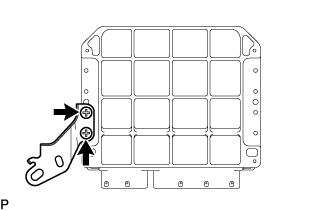
Remove the 2 screws and No. 2 ECM bracket.