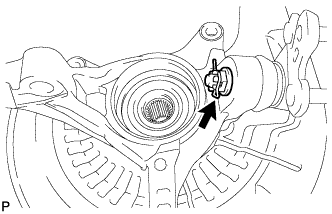
Install the front lower ball joint to the steering knuckle with the nut.
Torque:
123 N*m{
1254 kgf*cm
, 91 ft.*lbf
}
NOTICE:
Prevent oil from adhering to the screw and tapered parts.
Install a new cotter pin.
NOTICE:
If the holes for the cotter pin are not aligned, tighten the nut further up to 60°.
2.
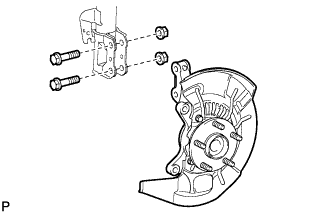
INSTALL FRONT AXLE ASSEMBLY
Install the front axle assembly to the front shock absorber with the 2 bolts and 2 nuts.
Torque:
290 N*m{
2956 kgf*cm
, 213 ft.*lbf
}
3.
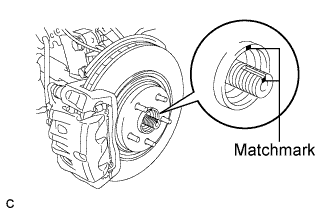
INSTALL FRONT DRIVE SHAFT ASSEMBLY
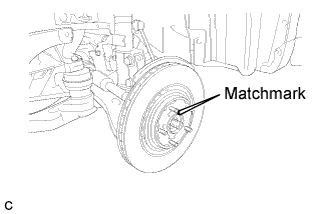
Align the matchmarks and install the front drive shaft assembly to the front axle hub sub-assembly.
4.
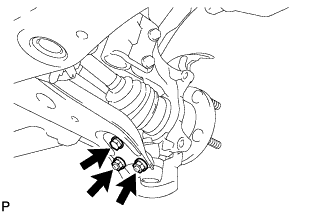
INSTALL FRONT LOWER SUSPENSION ARM
Install the front lower suspension arm to the front lower ball joint with the bolt and 2 nuts.
Torque:
92 N*m{
938 kgf*cm
, 68 ft.*lbf
}
5.
CONNECT TIE ROD ASSEMBLY
Connect the tie rod assembly LH to the steering knuckle with the nut.
Torque:
49 N*m{
500 kgf*cm
, 36 ft.*lbf
}
Install a new cotter pin.
NOTICE:
Further tighten the nut up to 60° if the holes for the cotter pin are not aligned.
6.
INSTALL FRONT DISC
Align the matchmarks and install the front disc.
NOTICE:
When replacing the disc with a new one, select the installation position where the front disc has minimal runout.
7.
INSTALL FRONT DISC BRAKE CALIPER ASSEMBLY
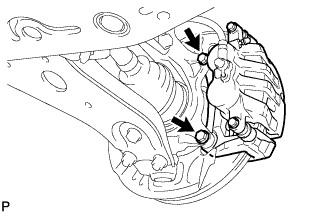
Install the front disc brake caliper assembly to the steering knuckle with the 2 bolts.
Torque:
104 N*m{
1060 kgf*cm
, 77 ft.*lbf
}
8.
INSTALL FRONT SPEED SENSOR
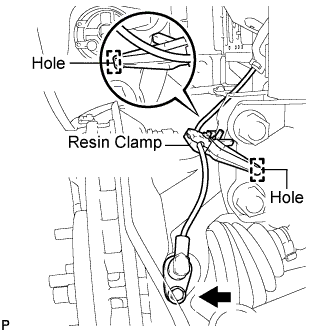
Install the clamp and front speed sensor with the bolt.
Torque:
8.5 N*m{
87 kgf*cm
, 75 in.*lbf
}
NOTICE:
Prevent foreign matter from attaching to the sensor tip.
Firmly insert the sensor body into the knuckle before tightening the bolt.
After installing the sensor to the knuckle, make sure that there is no clearance between the sensor stay and knuckle. Also make sure that no foreign matter is stuck between the parts.
To prevent interference between the sensor and magnetic rotor, do not rotate the sensor body during or after the insertion of the sensor body to the knuckle.
9.
INSTALL FRONT AXLE HUB NUT
Clean the threaded parts on the drive shaft and axle hub nut using a non-residue solvent.
HINT:
Be sure to perform this work for a new drive shaft.
Keep the threaded parts free of oil and foreign objects.
Using a socket wrench (30 mm), install a new axle hub nut.
Torque:
294 N*m{
2996 kgf*cm
, 216 ft.*lbf
}
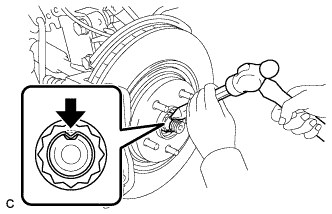
Using a chisel and hammer, stake the front axle hub nut.