REMOVAL
Removal / installation · Vehicles built from Jul 2010
Versions by build date: May 2007 – Jul 2008 Aug 2008 – Jun 2010 from Jul 2010
| 1.
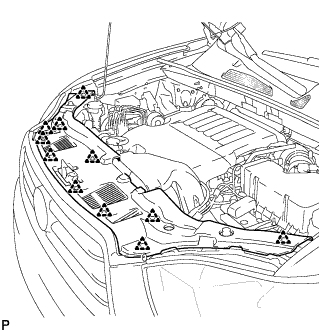
REMOVE COOL AIR INTAKE DUCT SEAL
|
 |
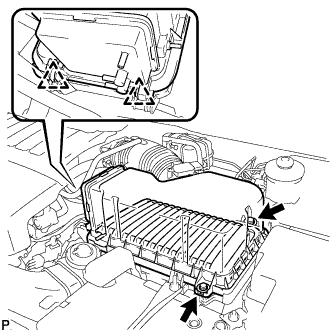
- Remove the 11 clips and cool air intake duct seal.
| 2.
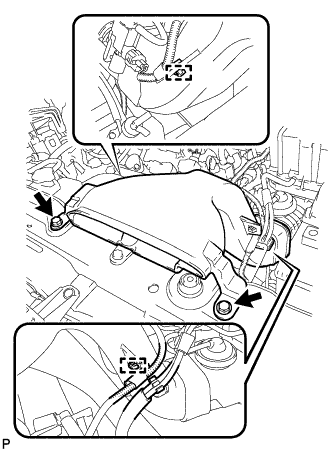
REMOVE NO. 2 AIR CLEANER INLET
|
|
- Disconnect the 2 vacuum switching valve clamps.
Disconnect the 2 vacuum hoses.
Remove the 2 bolts and No. 2 air cleaner inlet.
| 3.
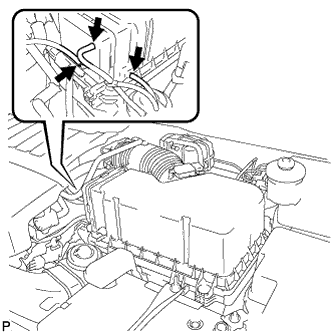
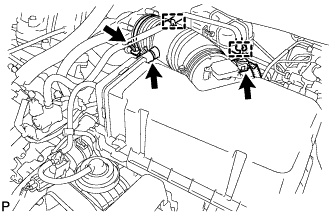
REMOVE AIR CLEANER CAP SUB-ASSEMBLY
|
|
- Disconnect the 3 vacuum hoses.
- Loosen the No. 1 air cleaner hose clamp.
Disconnect the hose clamps and No. 2 ventilation hose.
Disconnect the mass air flow meter connector.
- Release the 2 clips, and remove the 2 bolts.
Remove the air cleaner cap sub-assembly and air cleaner filter element.
| 4.
REMOVE AIR CLEANER CASE SUB-ASSEMBLY
|
|
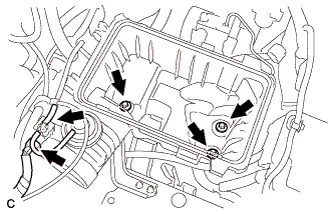
- Remove the 3 bolts, disconnect the hose and the connector, and remove the air cleaner case sub-assembly.
| 5.
REMOVE CHARCOAL CANISTER ASSEMBLY (for LHD) |
|
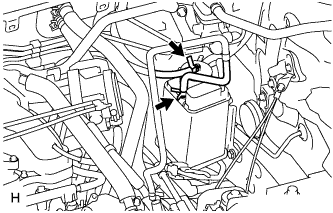
- Disconnect the 2 hoses.
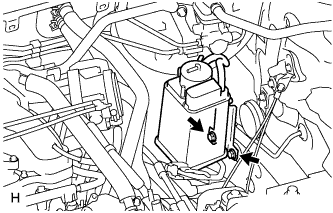
- Remove the 2 bolts and canister.
| 6.
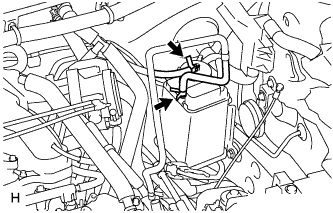
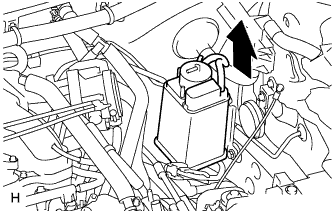
REMOVE CHARCOAL CANISTER ASSEMBLY (for RHD) |
|
- Disconnect the 2 hoses.
- Remove the canister from the bracket.