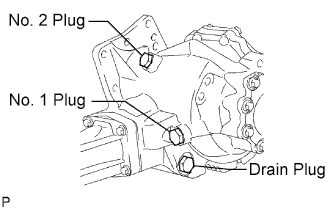
Remove the No. 1 gasket from the No. 1 transfer case plug.
2.
REMOVE TRANSFER DRAIN PLUG
Remove the transfer drain plug and bleed the oil.
Remove the drain gasket from the transfer drain plug.
3.
REMOVE PROPELLER WITH CENTER BEARING SHAFT ASSEMBLY
Depress the brake pedal and hold it.
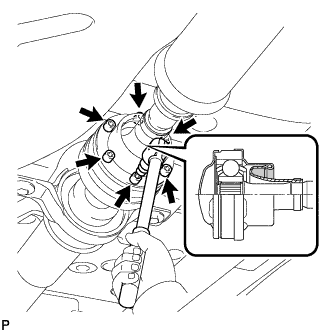
Using a hexagon wrench (6 mm), loosen the cross groove joint set bolts 1/2 turn.
HINT:
Put a piece of cloth or equivalent into the inside of the universal joint cover so that the boot does not touch the inside of the universal joint cover.
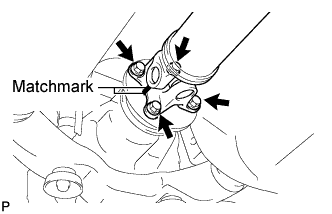
Place matchmarks on the rear propeller shaft and rear drive pinion flange sub-assembly.
Remove the 4 nuts, 4 bolts and 4 washers.
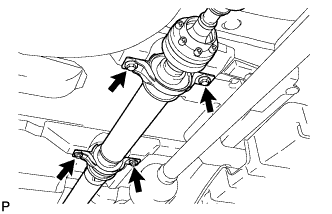
Remove the 4 bolts and 4 adjusting shims.
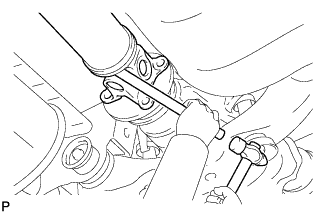
Using a brass bar and a hammer, remove the propeller shaft with center bearing shaft assembly.
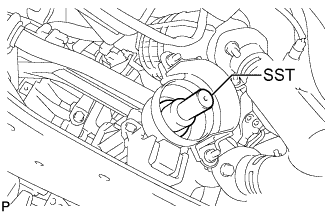
Insert SST into the transfer to prevent oil leakage.
SST
09325-20010
4.
REMOVE TRANSFER EXTENSION HOUSING TYPE T OIL SEAL
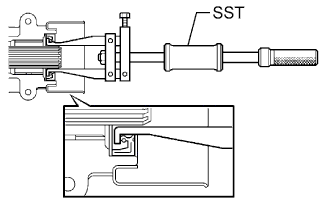
Using SST, remove the transfer extension housing type T oil seal from the transfer extension housing sub-assembly.
SST
09308-00010
NOTICE:
Be careful not to damage the oil-seal-fitted surface and the inside surface of the bush.