1.
REMOVE AIR FUEL RATIO SENSOR (for Bank 2 Sensor 1)
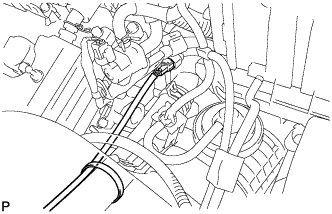
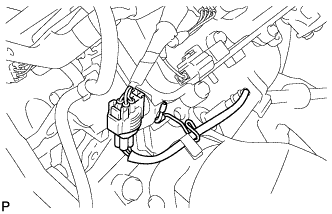
Disconnect the air fuel ratio sensor connector and remove the clamp.
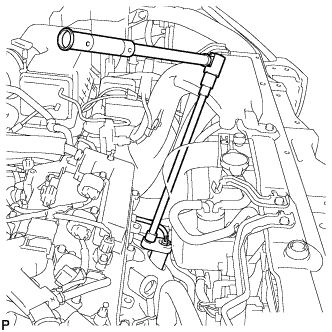
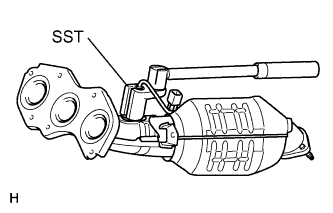
Using SST, remove the sensor from the exhaust manifold sub-assembly LH.
SST
09224-00010
2.
REMOVE ENGINE UNDER COVER ASSEMBLY
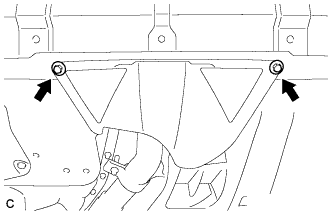
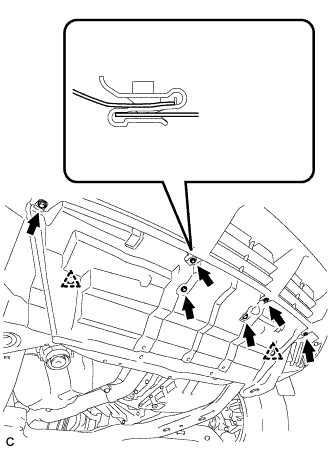
Remove the 2 bolts and engine under cover assembly RR.
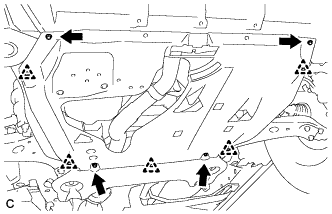
Remove the 2 bolts, 2 screws, 5 clips and engine under cover assembly.
3.
REMOVE NO. 1 ENGINE UNDER COVER
Remove the 6 bolts, 2 clips and No. 1 engine under cover.
4.
REMOVE NO. 2 ENGINE UNDER COVER
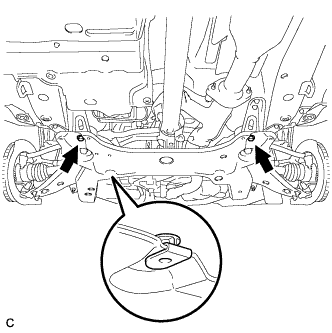
Remove the 2 bolts and No. 2 engine under cover.
5.
REMOVE FRONT FLOOR COVER LH
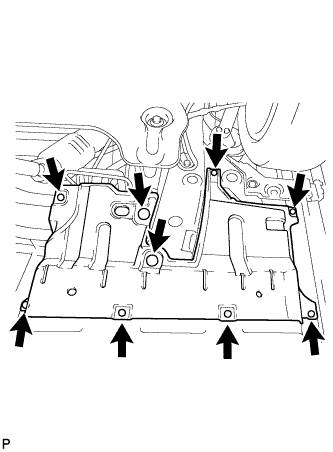
Remove the 3 clamps, 6 bolts and front floor cover LH.
6.
REMOVE PROPELLER WITH CENTER BEARING SHAFT ASSEMBLY (for 4WD)
Depress the brake pedal and hold it.
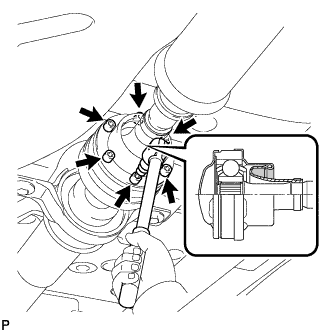
Using a hexagon wrench (6 mm), loosen the cross groove joint set bolts 1/2 turn.
HINT:
Put a piece of cloth or equivalent into the inside of the universal joint cover so that the boot does not touch the inside of the universal joint cover.
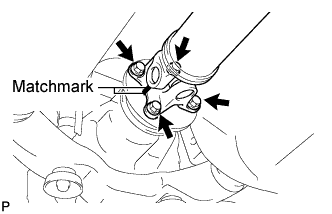
Place matchmarks on the rear propeller shaft and rear drive pinion flange sub-assembly.
Remove the 4 nuts, 4 bolts and 4 washers.
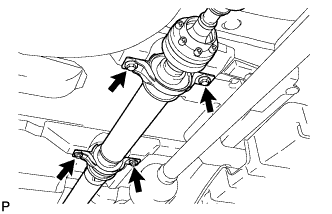
Remove the 4 bolts and 4 adjusting shims.
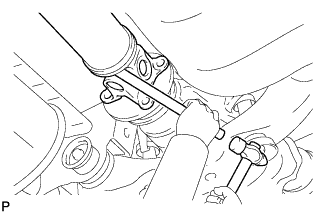
Using a brass bar and a hammer, remove the propeller shaft with center bearing shaft assembly.
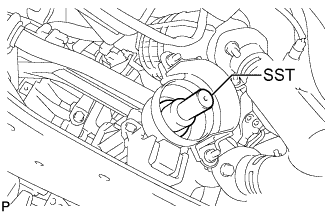
Insert SST into the transfer to prevent oil leakage.
SST
09325-20010
7.
REMOVE TAIL EXHAUST PIPE ASSEMBLY
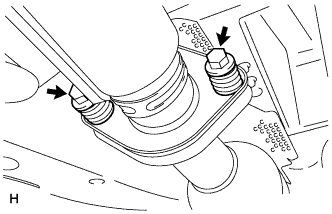
Remove the 2 bolts and 2 compression springs.
Disconnect the exhaust pipe support and remove the tail exhaust pipe assembly.
Remove the gasket from the center exhaust pipe assembly.
8.
REMOVE CENTER EXHAUST PIPE ASSEMBLY
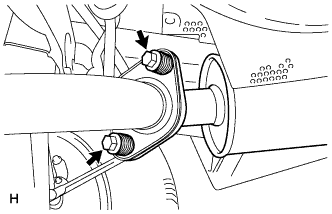
Remove the 2 bolts and 2 compression springs.
Disconnect the 3 exhaust pipe supports and remove the center exhaust pipe assembly.
Remove the gasket from the No. 3 exhaust pipe sub-assembly.
9.
REMOVE FRONT NO. 3 EXHAUST PIPE SUB-ASSEMBLY
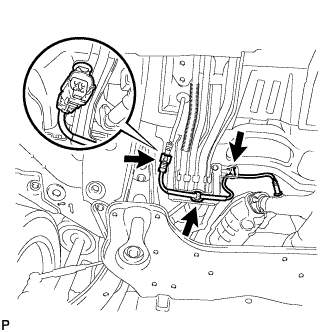
Remove the 3 clamps and disconnect the heated oxygen sensor (for bank 1 sensor 2) connector.
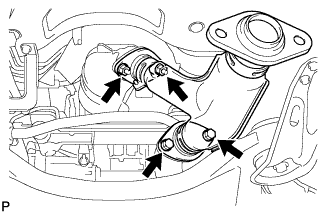
Remove the 2 bolts, 2 nuts and front No. 3 exhaust pipe sub-assembly.
Remove the 2 gaskets from the front No. 3 exhaust pipe sub-assembly.
10.
REMOVE MANIFOLD STAY
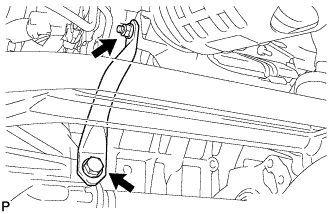
Remove the bolt, nut and manifold stay.
11.
REMOVE EXHAUST MANIFOLD SUB-ASSEMBLY RH
Disconnect the air fuel ratio sensor (for bank 1 sensor 1) connector and remove the clamp.
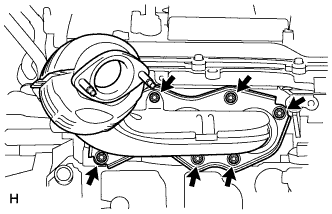
Remove the 6 nuts and exhaust manifold sub-assembly RH.
Remove the gasket.
12.
REMOVE AIR FUEL RATIO SENSOR (for Bank 1 Sensor 1)
Using SST, remove the air fuel ratio sensor from the exhaust manifold sub-assembly RH.