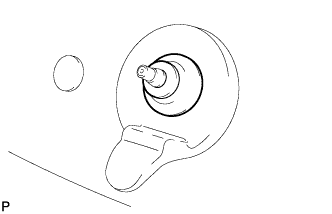
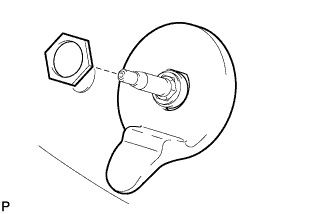
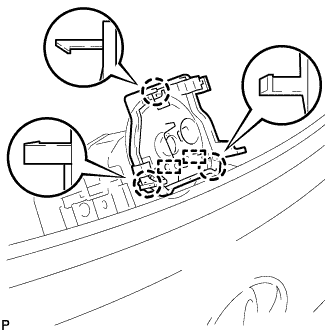
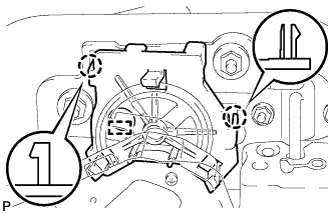
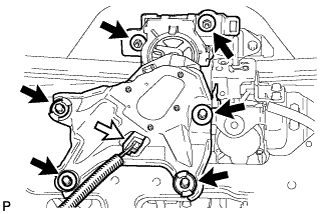
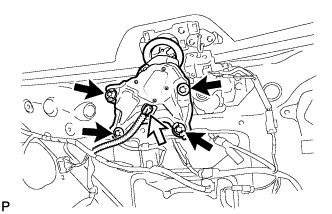
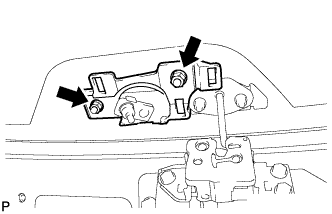
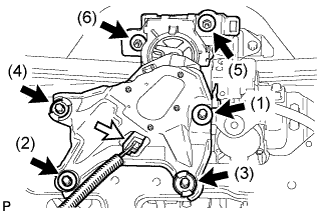
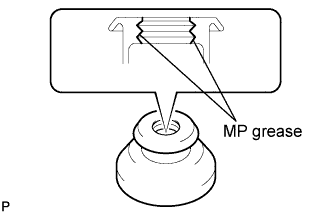
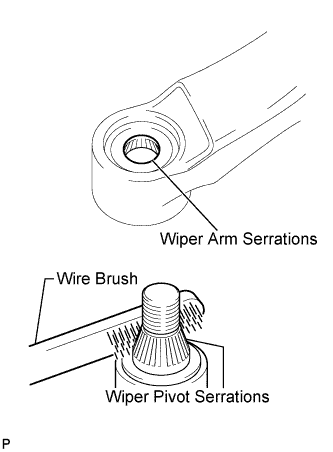
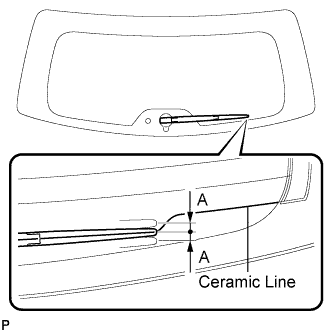
If a back window stay assembly is removed and installed, the location of the axis of the rear wiper motor assembly will change, causing the wiping angle to change. Be sure to remove and install the rear wiper motor assembly using the centering jig.
After installing a back window stay assembly, install the rear wiper motor assembly. Do not open the glass hatch before installing the rear wiper link pivot.
2.
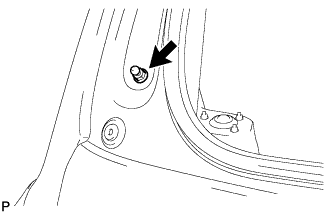
INSTALL BACK WINDOW STAY BOLT
When replacing the back window stay bolt with a new one:
Clean the threaded surface on the vehicle body with a non-residue solvent.
Install the back window stay bolt.
Torque:
22 N*m{
224 kgf*cm
, 16 ft.*lbf
}
When reusing the back window stay bolt:
Clean the threaded surface on the vehicle body with a non-residue solvent.
Apply adhesive to the threads of the back window stay bolt.
Adhesive:
Toyota Genuine Adhesive 1324, Three Bond 1324 or equivalent
Install the back window stay bolt.
Torque:
22 N*m{
224 kgf*cm
, 16 ft.*lbf
}
3.
INSTALL BACK WINDOW STAY ASSEMBLY
NOTICE:
Avoid touching the piston rod as much as possible to prevent foreign matter from attaching to it. Be sure to hold the cylinders while servicing.
Do not wear cotton gloves or other similar materials when handling the piston rod. Fibers may attach to the piston rod and result in gas leaks.
Do not apply any horizontal load to the cylinders in the in order to prevent the piston rod from deforming.
When replacing the back window stay assembly with a new one:
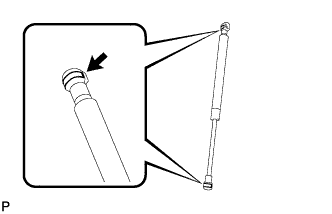
Install the 2 stop rings to the back window stay assembly.
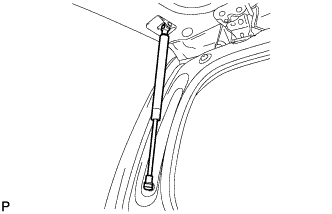
Install the back window stay assembly.
NOTICE:
Install the back door stay assembly while supporting the back door by hand.
Check that the hood support assembly is engaged in the ball joint and that the hood support assembly cannot be pulled out.
4.
REMOVE BACK WINDOW UPPER TRIM PANEL ASSEMBLY
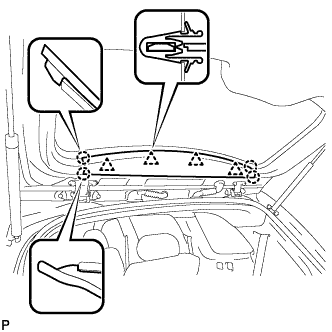
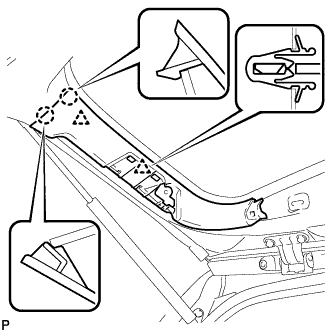
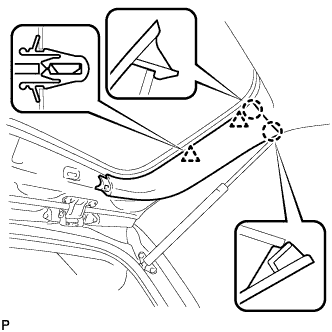
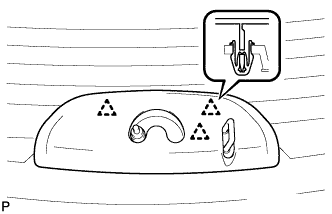
Disengage the 4 clips and 4 claws, and remove the back window upper trim panel assembly.
5.
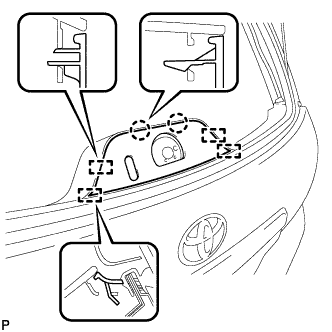
REMOVE BACK DOOR TRIM COVER LH (w/o Power Back Door)
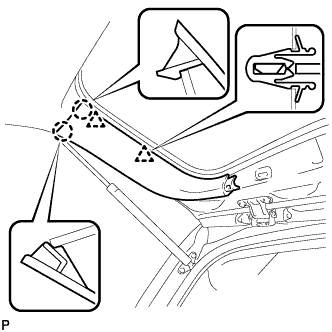
Disengage the 2 clips and 2 claws, and remove the back door trim cover LH.
6.
REMOVE BACK DOOR SERVICE HOLE COVER LH (w/ Power Back Door)
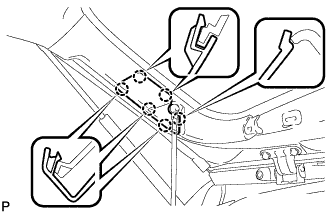
Disengage the 6 claws, and remove the back door service hole cover LH.
7.
DISCONNECT POWER BACK DOOR ROD (w/ Power Back Door)
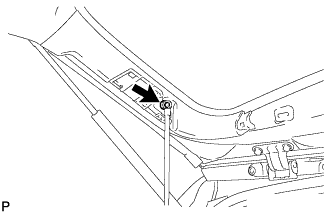
Disconnect the power back door rod and remove the back door stay plate.
8.
REMOVE BACK DOOR TRIM COVER LH (w/ Power Back Door)
Disengage the 2 clips and 2 claws, and remove the back door trim cover LH.
9.
REMOVE BACK DOOR TRIM COVER RH
Disengage the 2 clips and 2 claws, and remove the back door trim cover RH.
10.
REMOVE BACK DOOR LOCK COVER (for Glass Hatch Type)
Disengage the 2 claws and 4 guides, and remove the back door lock cover.
11.
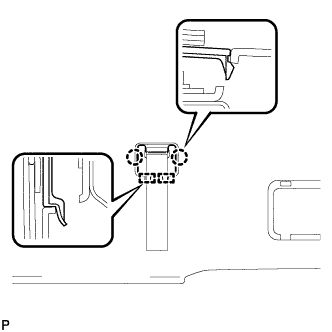
REMOVE ASSIST STRAP HOLE COVER
Disengage the 2 claws and 2 guides, and remove the assist strap hole cover.
12.
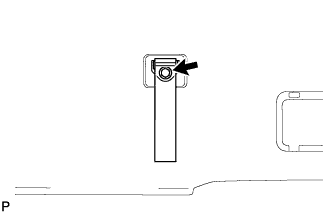
REMOVE ASSIST STRAP ASSEMBLY
Remove the bolt and assist strap assembly.
13.
REMOVE BACK DOOR TRIM PANEL ASSEMBLY
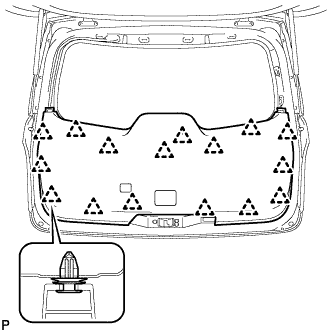
Disengage the 16 clips and remove the back door trim panel assembly.
Engage the 3 clips and install the rear wiper shaft cover.
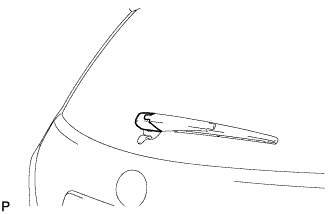
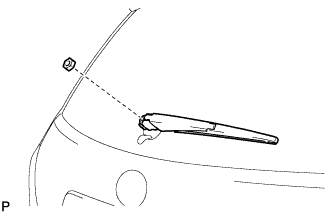
Operate the rear wiper while spraying washer fluid on the glass. Make sure that the rear wiper functions properly and there is no interference with the vehicle body.
26.
INSTALL BACK DOOR TRIM PANEL ASSEMBLY
Engage the 16 clips and install the back door trim panel assembly.
27.
INSTALL ASSIST STRAP ASSEMBLY
Install the assist strap assembly with the bolt.
28.
INSTALL ASSIST STRAP HOLE COVER
Engage the 2 guides and 2 claws, and install the assist strap hole cover.
29.
INSTALL BACK DOOR LOCK COVER (for Glass Hatch Type)
Engage the 4 guides and 2 claws, and install the back door lock cover.
30.
INSTALL BACK DOOR TRIM COVER LH (w/o Power Back Door)
Engage the 2 clips and 2 claws, and install the back door trim cover LH.
31.
INSTALL BACK DOOR TRIM COVER LH (w/ Power Back Door)
Engage the 2 clips and 2 claws, and install the back door trim cover LH.
32.
CONNECT POWER BACK DOOR ROD (w/ Power Back Door)
Install the back door stay plate and connect the power back door rod.
Torque:
18 N*m{
184 kgf*cm
, 13 ft.*lbf
}
33.
INSTALL BACK DOOR SERVICE HOLE COVER LH (w/ Power Back Door)
Engage the 6 claws and install the back door service hole cover LH.
34.
INSTALL BACK DOOR TRIM COVER RH
Engage the 2 clips and 2 claws, and install the back door trim cover RH.
35.
INSTALL BACK WINDOW UPPER TRIM PANEL ASSEMBLY
Engage the 4 clips and 4 claws, and install the back window upper trim panel assembly.