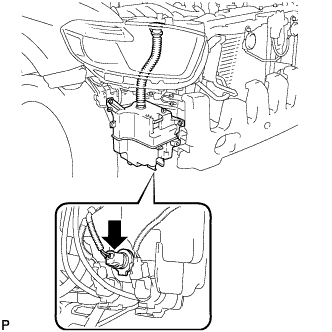
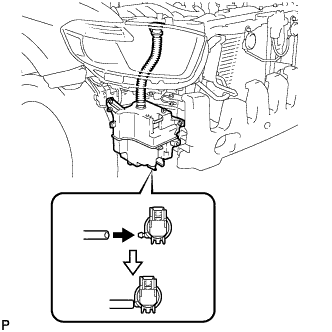
Connect the washer hose to the front washer motor and pump assembly and fill the washer jar with washer fluid.
3.
INSTALL FRONT FENDER LINER RH
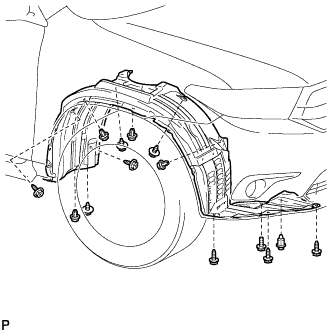
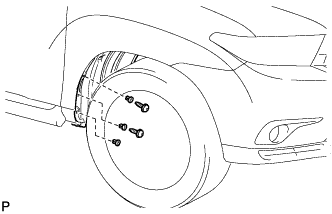
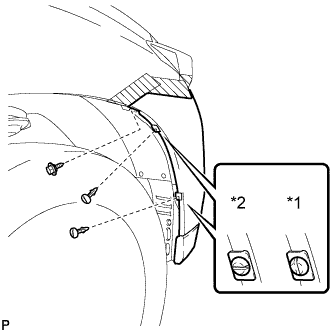
Install the front fender liner RH with the 5 clips and 8 screws.
Install the bolt.
Install 3 new grommets.
Using a 4 mm hexagon wrench, install the 2 screws.
Install the screw and 2 pin hold clips.
Text in Illustration
*1
Correct
*2
Incorrect
NOTICE:
Insert the pin hold clip with the slot aligned vertically. Do not rotate the clip after inserting it. After installation, confirm that the slot is aligned vertically.
4.
INSTALL FRONT FENDER MOULDING SUB-ASSEMBLY RH
HINT:
Use the same procedure as for the LH side.
5.
INSTALL FRONT BUMPER ASSEMBLY
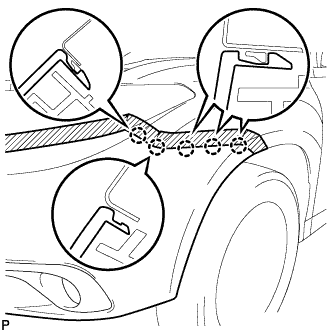
Connect each fog light connector, and then install the front bumper assembly.
Engage the 5 claws.
HINT:
Use the same procedure for the RH side and LH side.
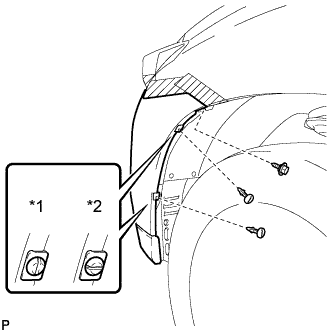
Install the 3 clips and 8 screws.
Install the screw and 2 pin hold clips.
Text in Illustration
*1
Correct
*2
Incorrect
NOTICE:
Insert the pin hold clip with the slot aligned vertically. Do not rotate the clip after inserting it. After installation, confirm that the slot is aligned vertically.
HINT:
Use the same procedure for the RH side and LH side.
6.
INSTALL RADIATOR GRILLE SUB-ASSEMBLY
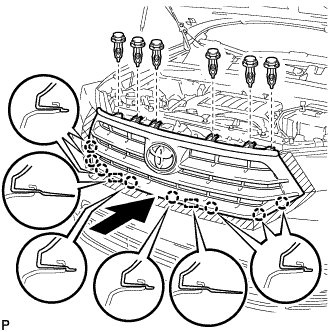
Engage the 2 guides and 8 claws, and install the radiator grille sub-assembly.
Install the 6 clips.
7.
INSTALL COOL AIR INTAKE DUCT SEAL
Install the cool air intake duct seal with the 11 clips.