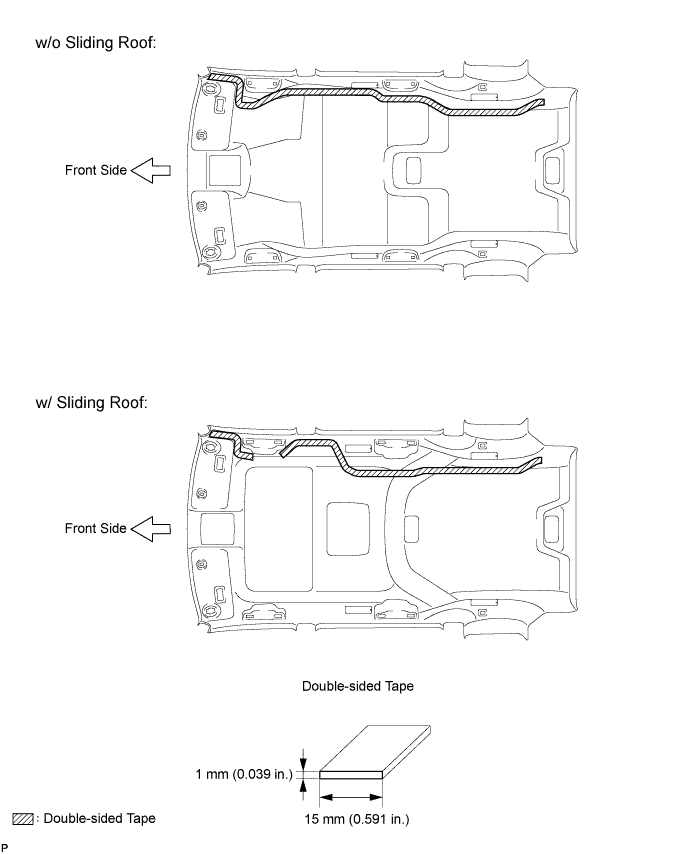
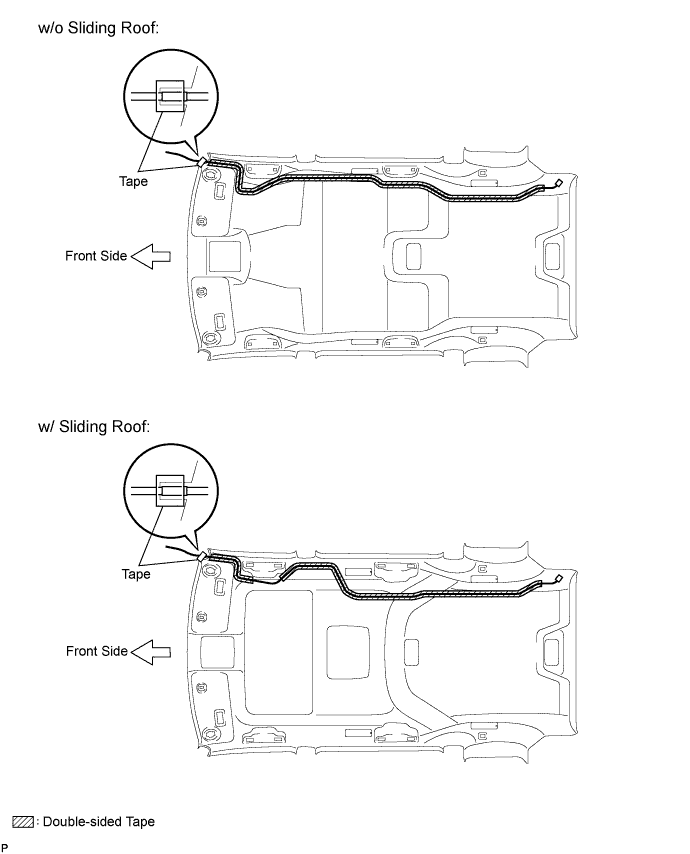
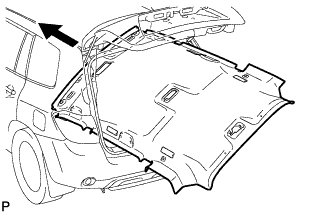
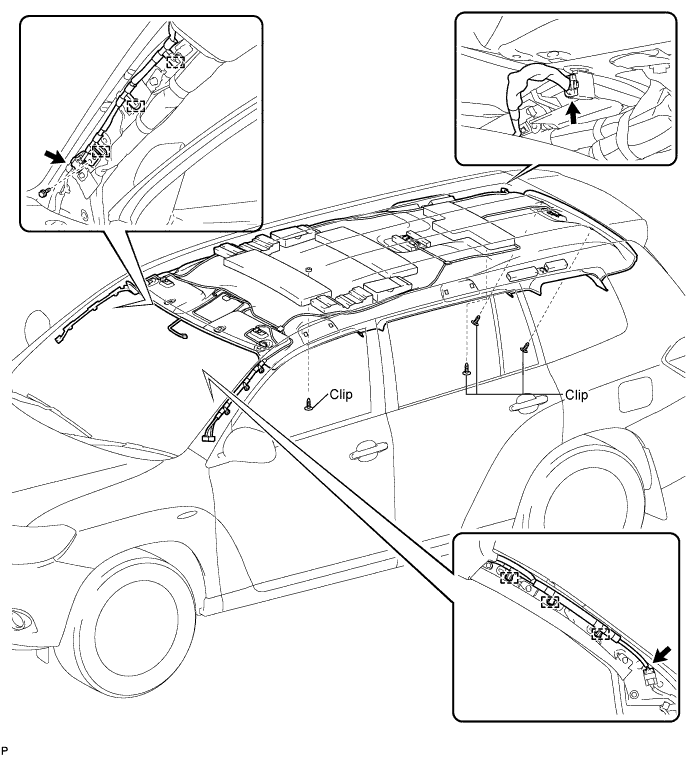
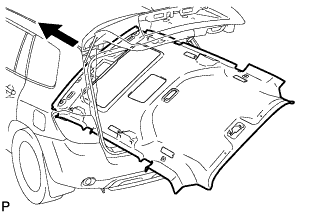
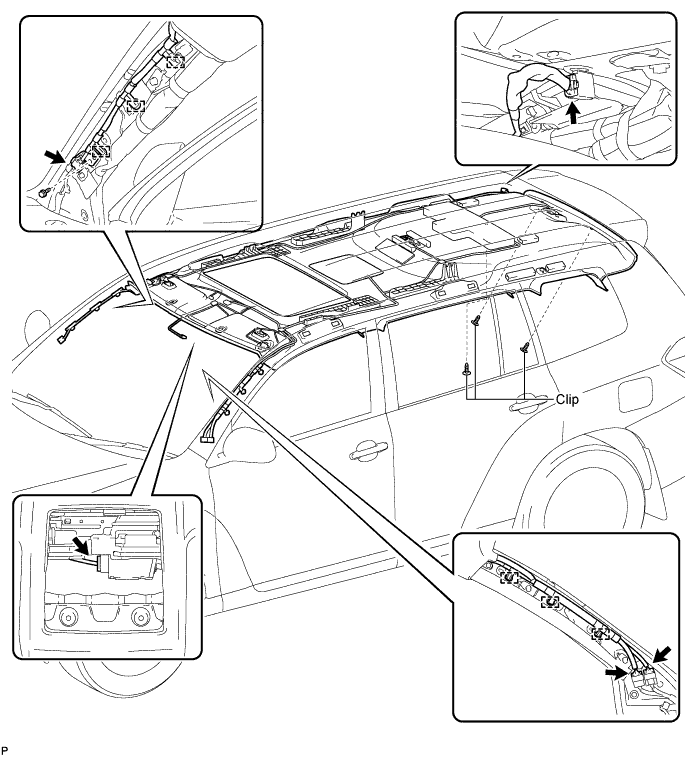
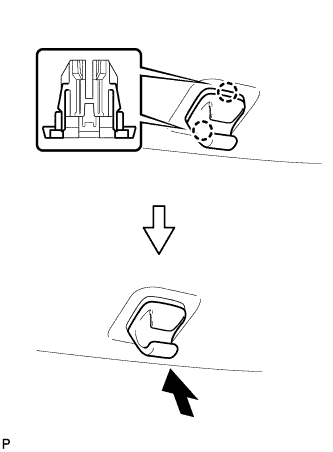
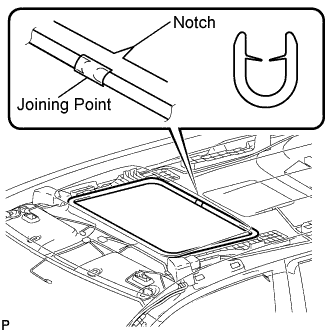
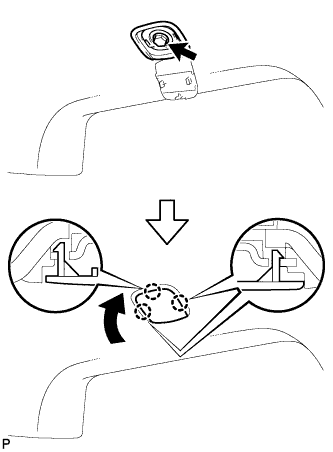
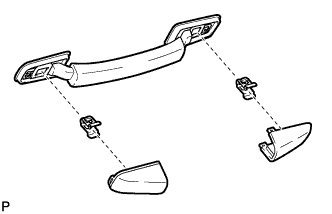
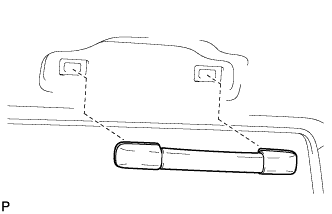
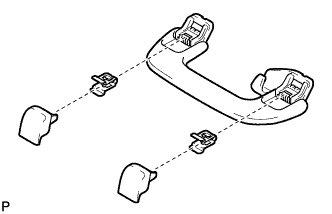
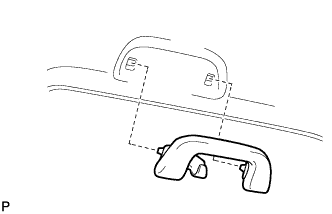
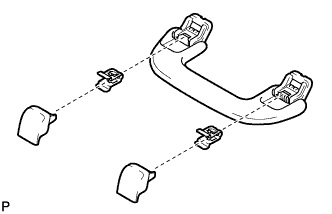
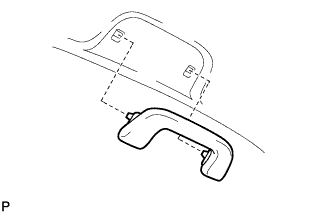
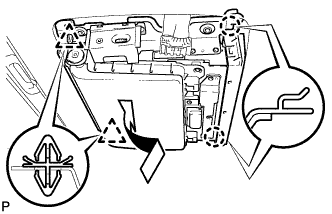
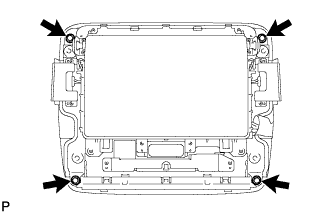
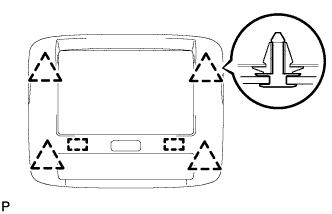
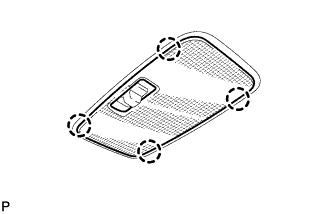
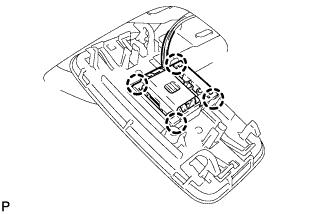
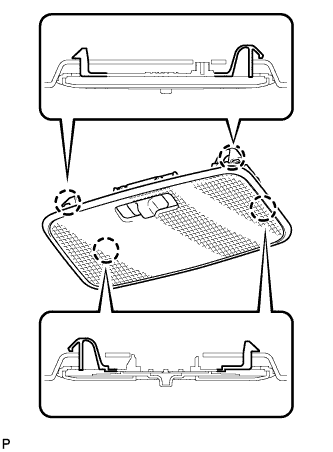
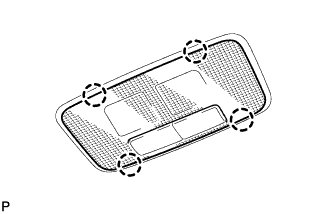
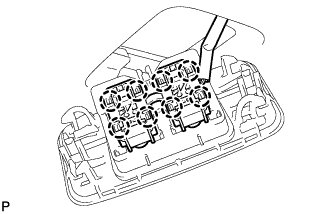
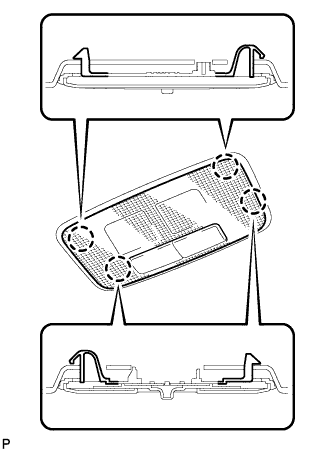
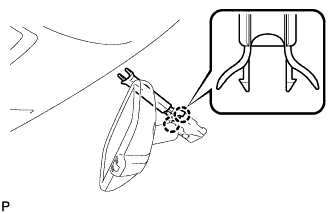
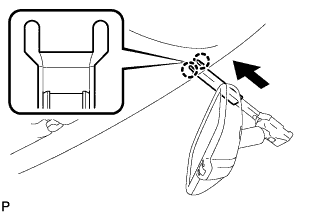
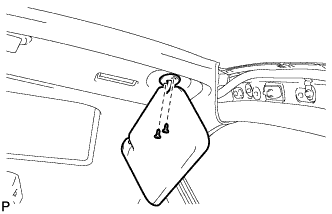
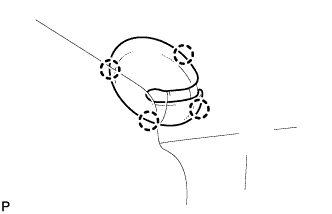
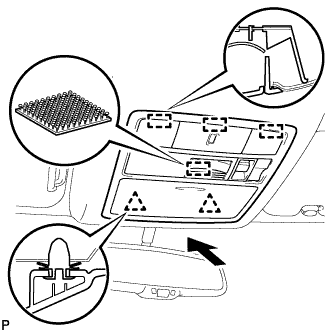
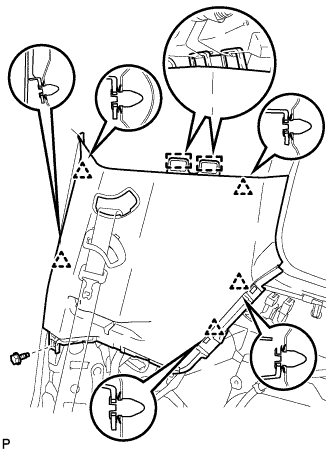
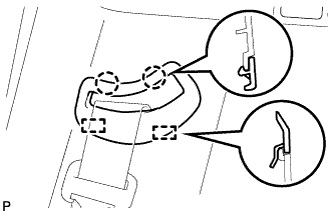
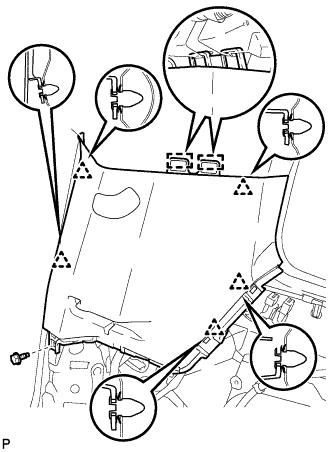
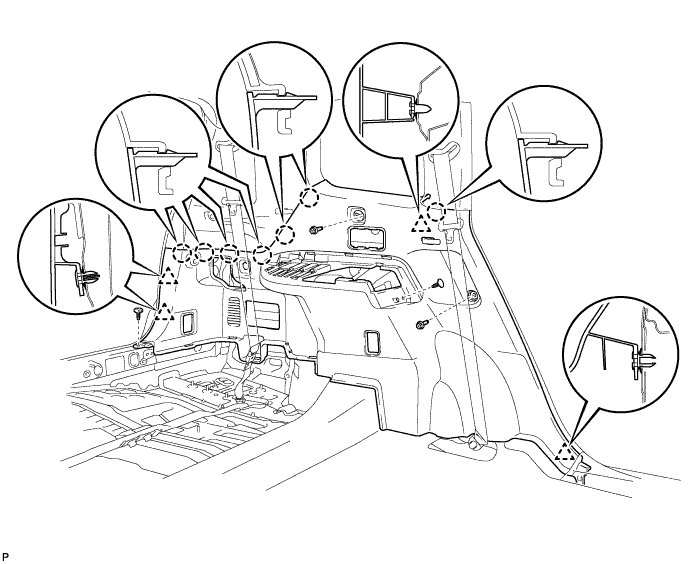
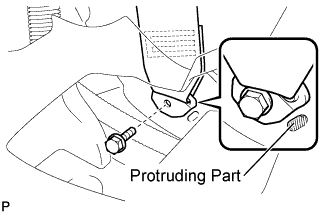
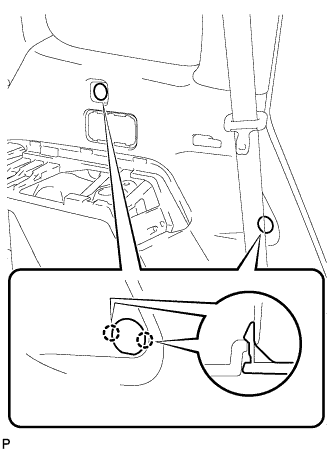
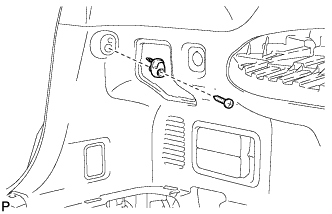
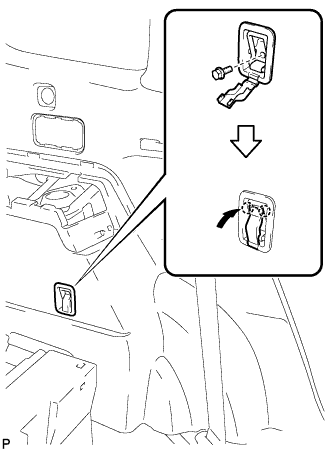
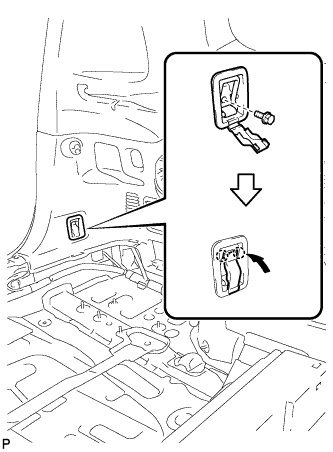
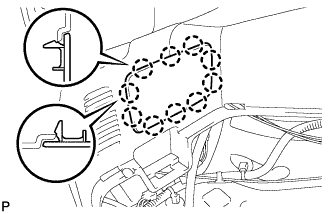
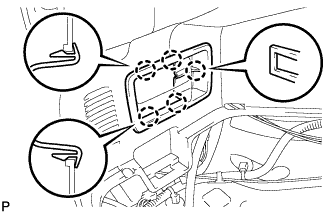
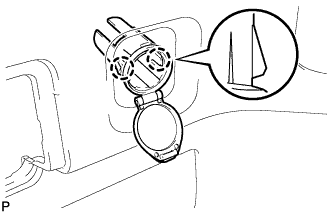
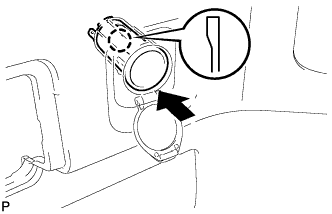
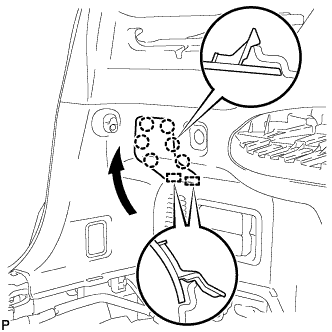
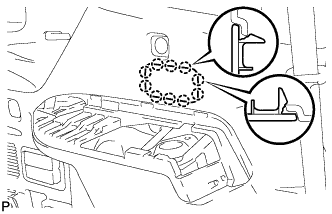
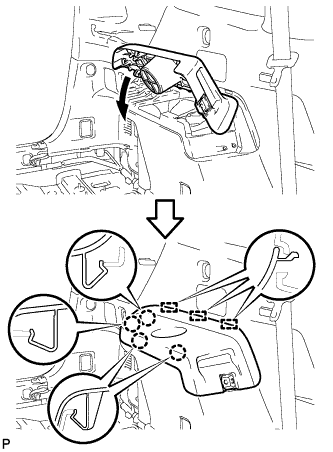
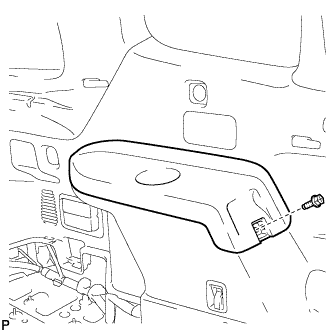
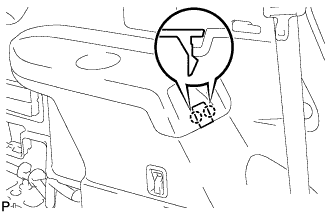
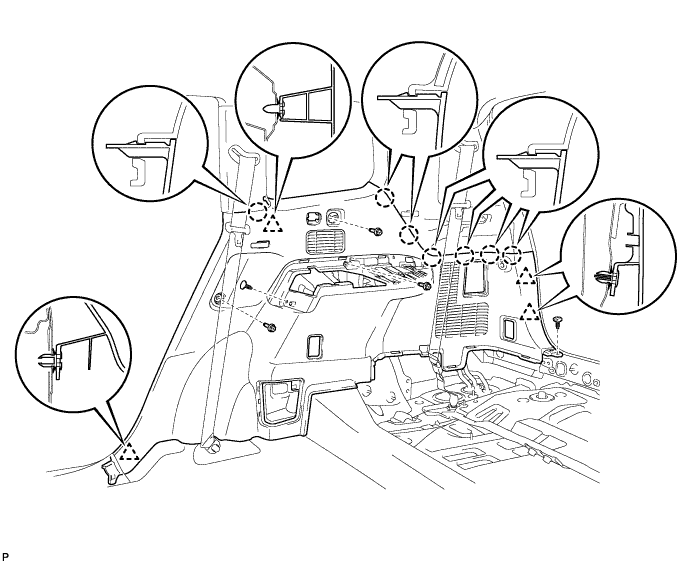
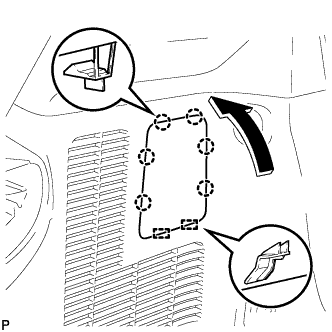
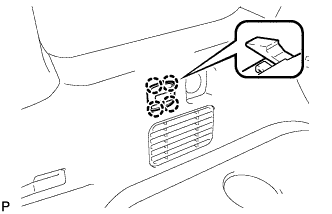
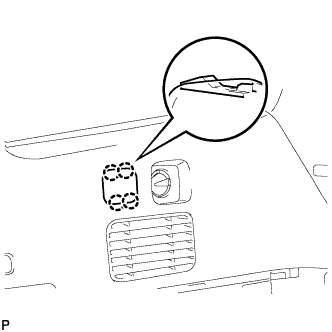
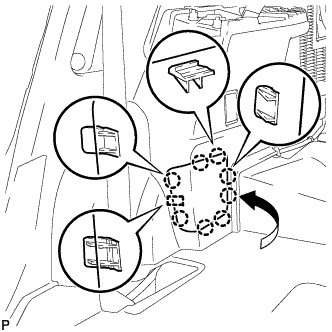
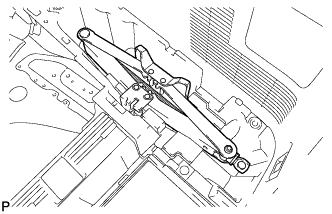
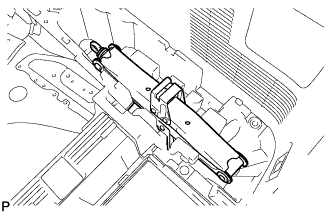
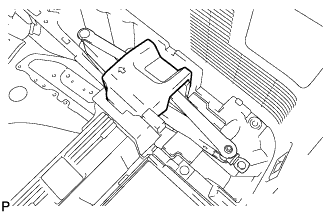
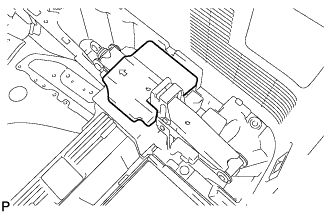
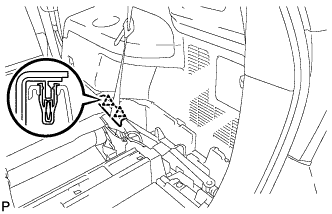
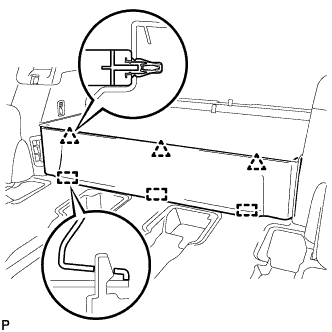
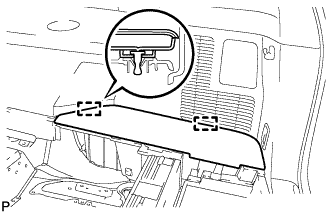
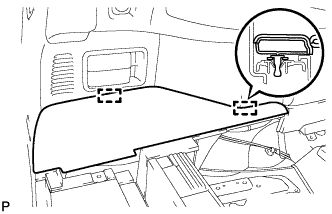
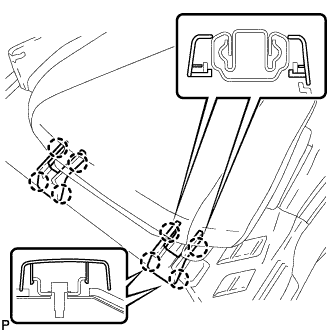
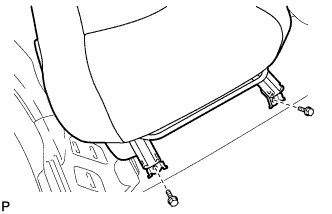
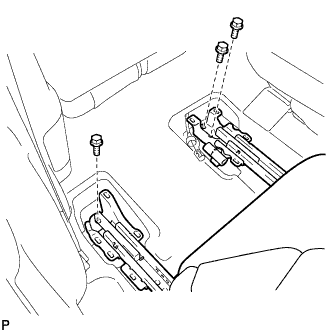
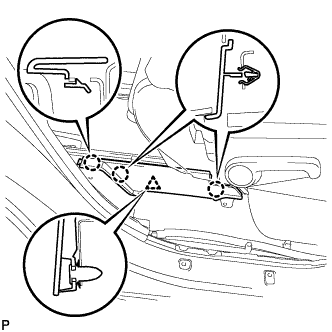
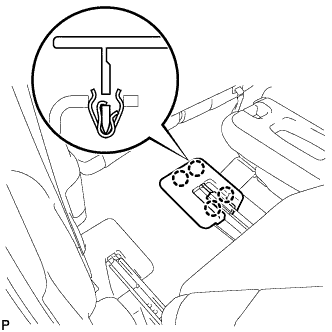
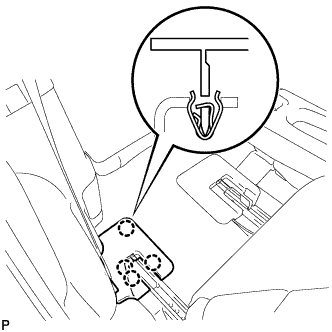
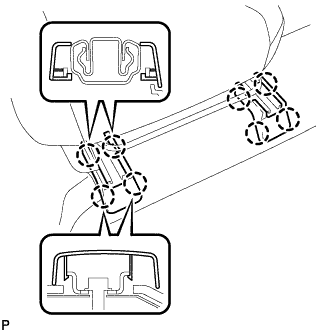
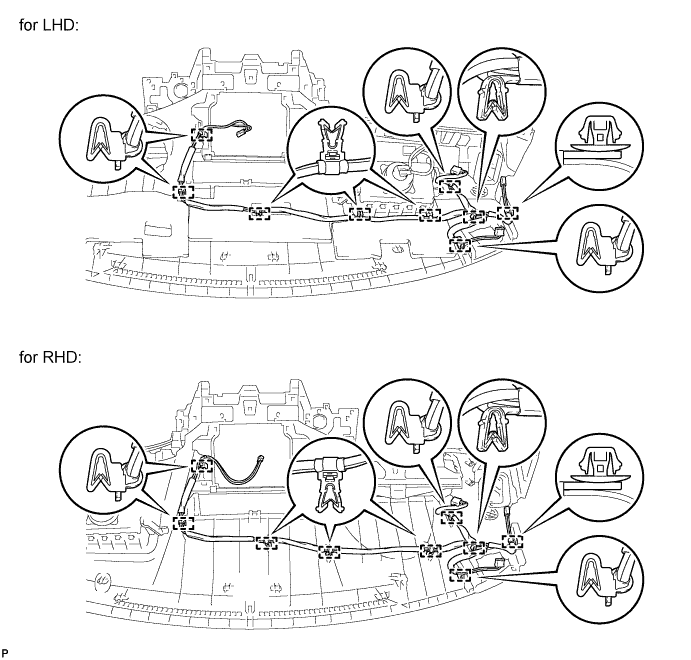
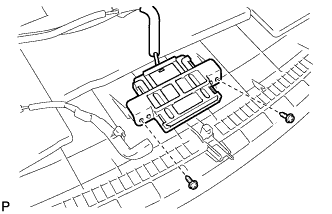
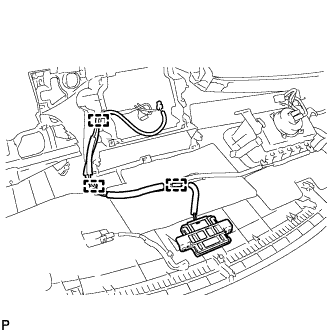
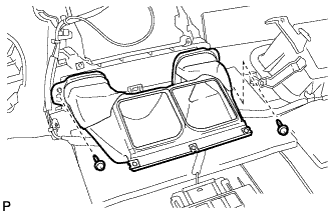
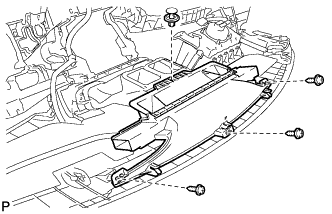
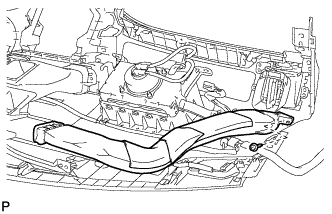
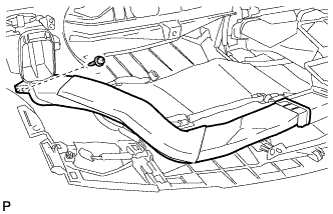
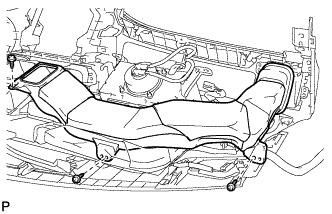
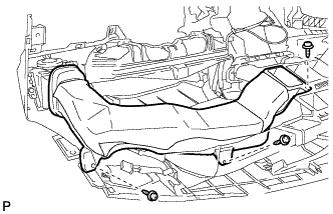
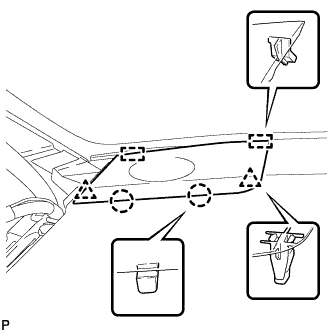
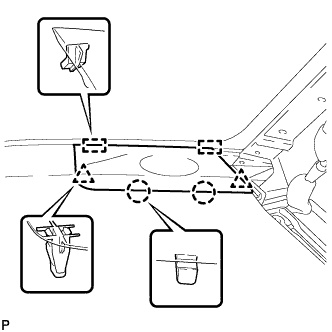
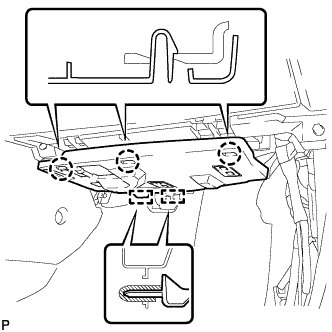
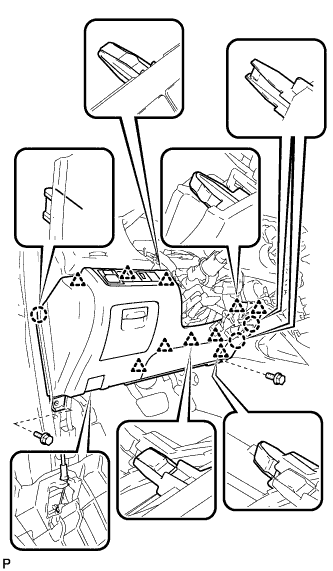
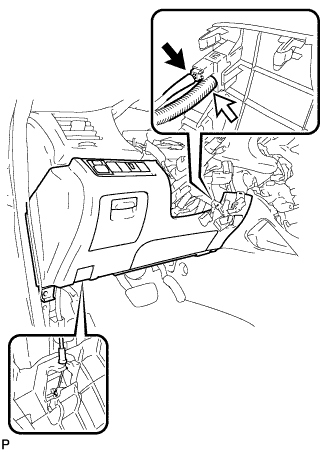
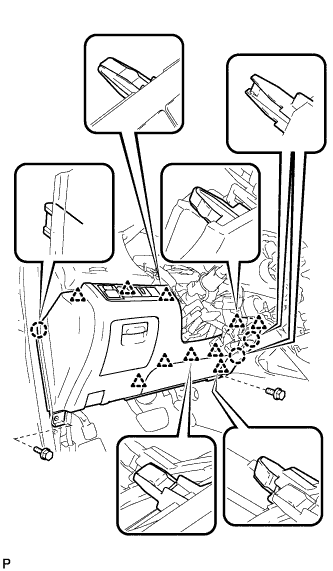
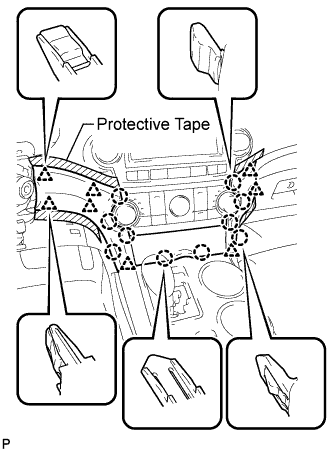
The double-sided tape and tape are not available as supply parts. If these tapes still have enough adhesion to secure the roof headlining and antenna cord, reuse the tapes. If the roof headlining has been replaced with a new one, or if the tape and/or the double-sided tape is no longer sticky, apply new tape following the procedures below.
Apply new double-sided tape.
Remove the double-sided tape from the roof headlining assembly.
Peel off the appropriate amount of new double-sided tape. Be careful not to touch the adhesive surface.
Apply the double-sided tape to the roof headlining while aligning the tape with the markings on the roof headlining assembly.
Peel off the backing sheet from the double-sided tape.
Install the antenna cord to the roof headlining assembly from the front of the vehicle.
Put the strips of the tape back to the positions shown in the illustration in order to secure the antenna cord to the roof headlining assembly.
HINT:
For the right front corner of the roof headlining assembly, align the marking tape on the antenna cord with the protrusion of the roof headlining, and wrap tape around the antenna cord and roof headlining assembly once or twice to securely hold them.
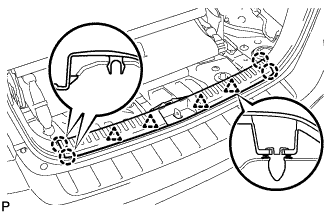
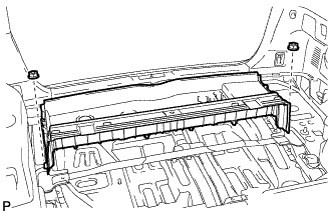
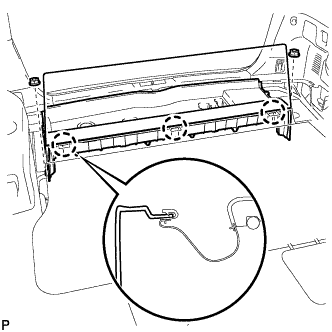
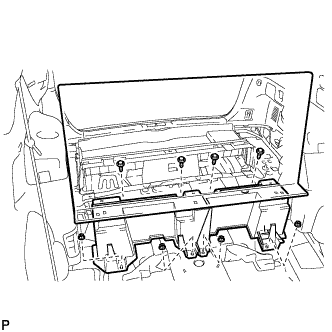
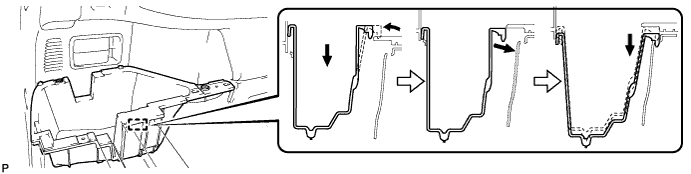
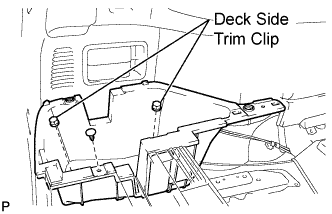
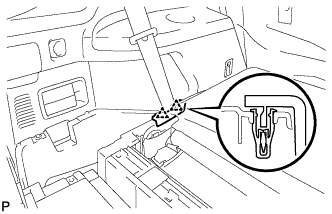
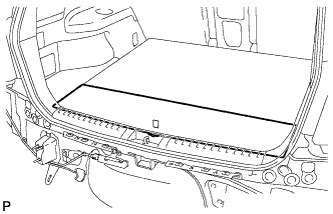
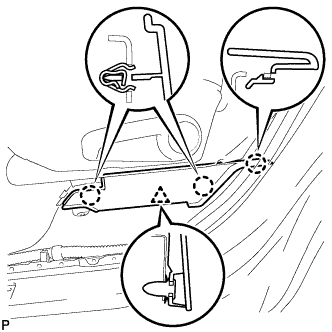
Engage the 2 guides and install the No. 2 deck board sub-assembly.
75.
INSTALL NO. 3 DECK BOARD SUB-ASSEMBLY
Engage the 2 guides and install the No. 3 deck board sub-assembly.
76.
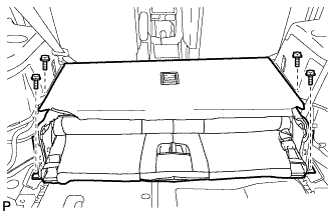
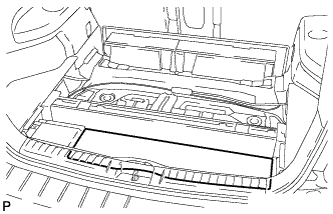
INSTALL DECK BOARD ASSEMBLY
Install the deck board sub-assembly.
77.
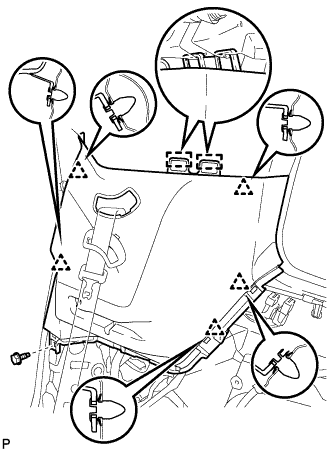
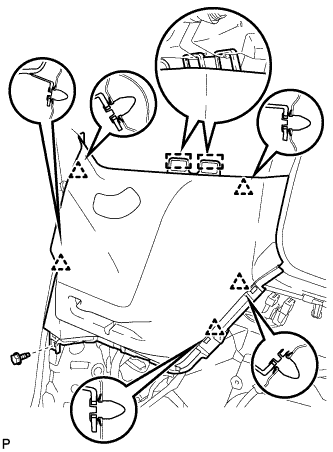
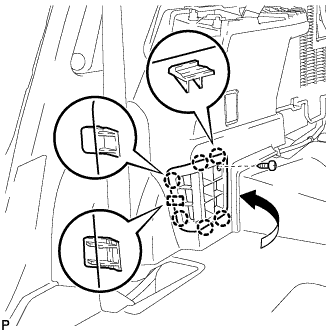
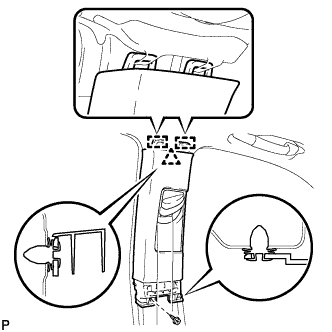
INSTALL CENTER PILLAR GARNISH LH
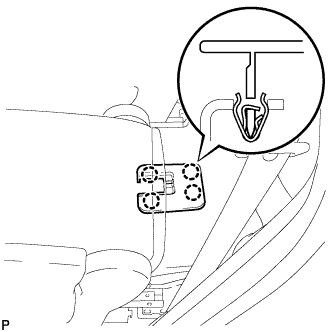
Engage the 2 guides and the clip.
Install the center pillar garnish LH with the clip and screw.
78.
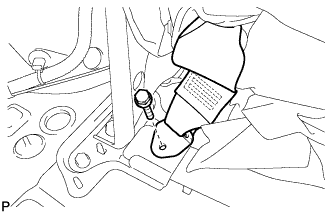
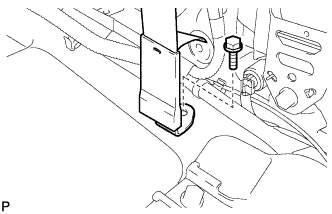
CONNECT FRONT SEAT OUTER BELT ASSEMBLY LH
Install the floor end of the front seat outer belt assembly with the bolt.
Torque:
42 N*m{
428 kgf*cm
, 31 ft.*lbf
}
Check if the ELR locks.
NOTICE:
The check should be performed with the outer belt assembly installed.
With the belt assembly installed, check that the belt locks when it is pulled out quickly.
79.
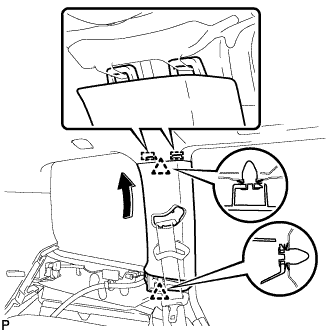
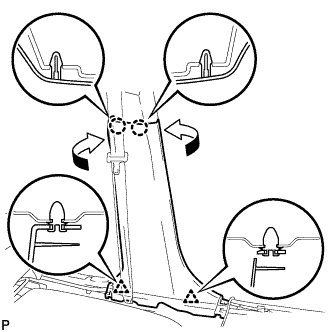
INSTALL LOWER CENTER PILLAR GARNISH LH
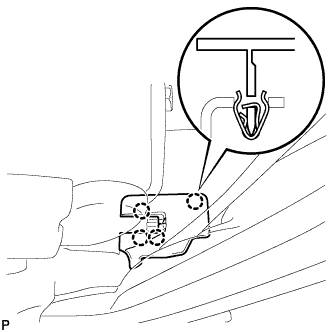
Engage the 2 claws and the 2 clips, and install the lower center pillar garnish LH.
80.
INSTALL REAR DOOR OPENING TRIM WEATHERSTRIP LH
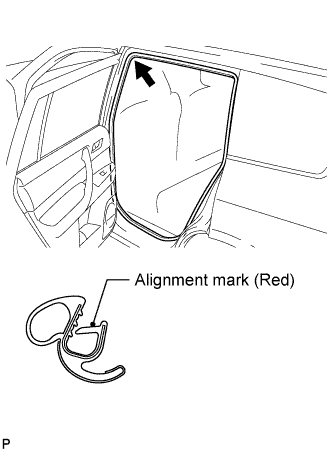
Align the alignment mark (red) on the weatherstrip with the protruding portion on the body indicated by the arrow in the illustration, and install the rear door opening trim weatherstrip LH.
NOTICE:
After installation, check that the corners fit correctly.
81.
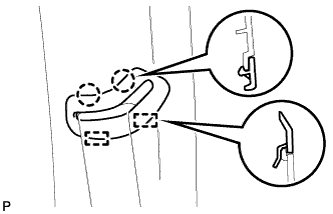
INSTALL REAR DOOR SCUFF PLATE LH
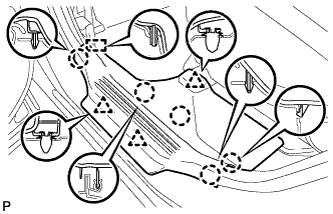
Engage the guide, 3 clips and 5 claws, and install the rear door scuff plate LH.
82.
INSTALL CENTER PILLAR GARNISH RH
HINT:
Use the same procedure for the RH side and the LH side.
83.
CONNECT FRONT SEAT OUTER BELT ASSEMBLY RH
HINT:
Use the same procedure for the RH side and the LH side.
84.
INSTALL LOWER CENTER PILLAR GARNISH RH
HINT:
Use the same procedure for the RH side and the LH side.
85.
INSTALL REAR DOOR OPENING TRIM WEATHERSTRIP RH
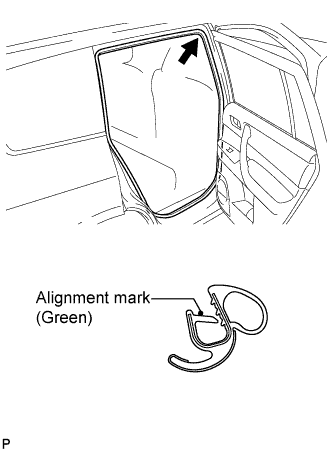
Align the alignment mark (green) on the weatherstrip with the protruding portion on the body indicated by the arrow in the illustration, and install the rear door opening trim weatherstrip RH.
NOTICE:
After installation, check that the corners fit correctly.
86.
INSTALL REAR DOOR SCUFF PLATE RH
HINT:
Use the same procedure for the RH side and the LH side.
87.
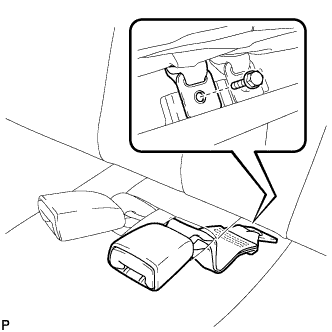
INSTALL REAR NO. 1 SEAT ASSEMBLY LH
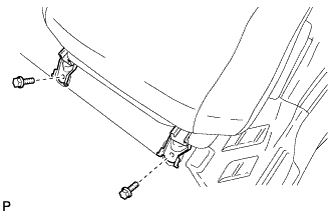
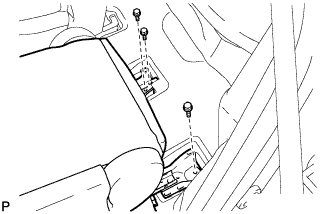
Temporarily install the 2 bolts on the front side of the seat.
Temporarily install the 3 bolts on the rear side of the seat.
Install the rear No. 1 seat assembly with the 5 bolts.
Engage the 2 claws and 2 clips, and install the No. 2 instrument panel speaker panel sub-assembly.
118.
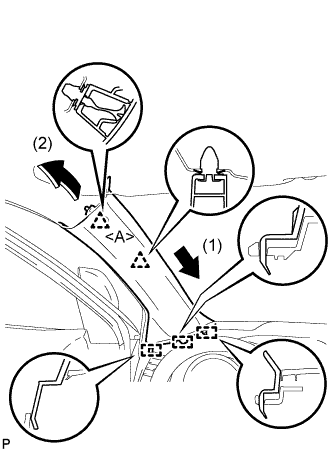
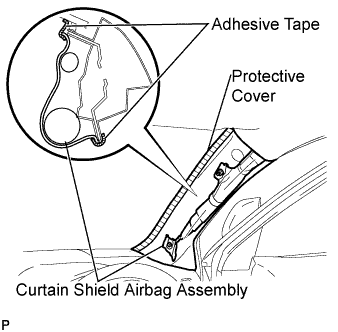
INSTALL FRONT PILLAR GARNISH LH
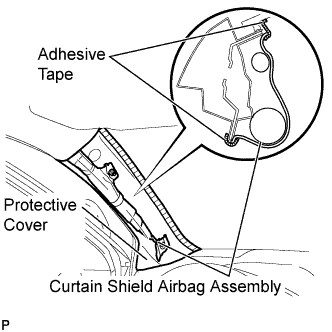
Remove the protective cover.
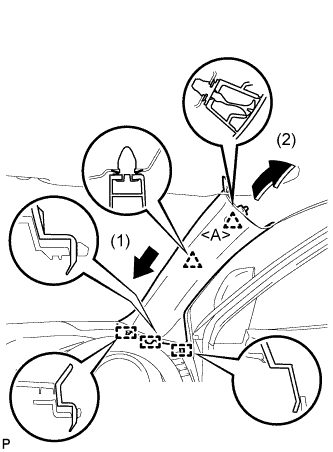
Install a new clip <A> on the front pillar garnish LH.
Engage the 3 guides and 2 clips, then install the front pillar garnish LH.
119.
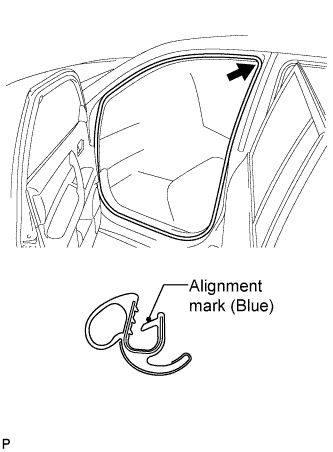
INSTALL FRONT DOOR OPENING TRIM WEATHERSTRIP LH
Align the alignment mark (blue) on the weatherstrip with the protruding portion on the body indicated by the arrow in the illustration, and install the front door opening trim weatherstrip LH.
NOTICE:
After installation, check that the corners fit correctly.
120.
INSTALL FRONT PILLAR GARNISH RH
Remove the protective cover.
Install a new clip <A> on the front pillar garnish RH.
Engage the 3 guides and 2 clips, then install the front pillar garnish RH.
121.
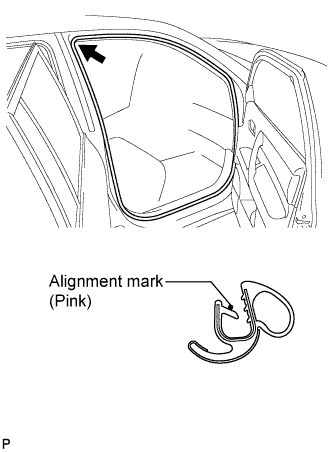
INSTALL FRONT DOOR OPENING TRIM WEATHERSTRIP RH
Align the alignment mark (pink) on the weatherstrip with the protruding portion on the body indicated by the arrow in the illustration, and install the front door opening trim weatherstrip RH.
NOTICE:
After installation, check that the corners fit correctly.
122.
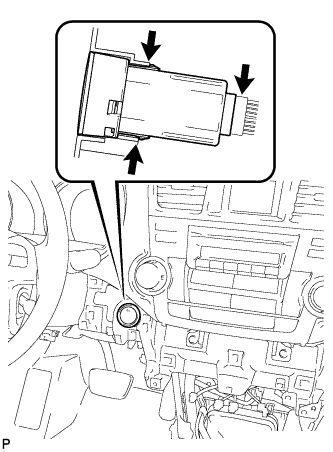
INSTALL ENGINE SWITCH (w/ Smart Entry and Start System)
Engage the 2 claws to install the switch.
Connect the switch connector.
123.
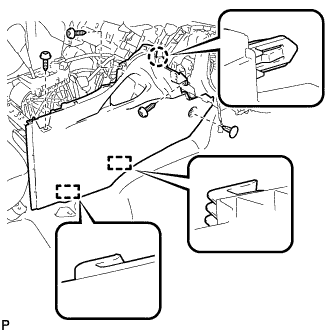
INSTALL FRONT NO. 2 CONSOLE BOX INSERT (for LHD)
Engage the claw and 2 guides.
Install the front No. 2 console box insert with the 3 screws <F> and clip.
124.
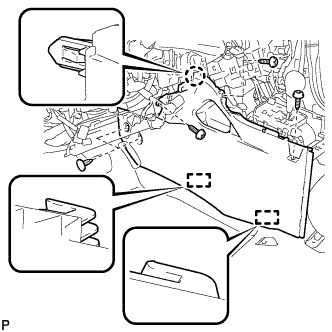
INSTALL FRONT NO. 2 CONSOLE BOX INSERT (for RHD)
Engage the claw and 2 guides.
Install the front No. 2 console box insert with the 3 screws <F> and clip.
125.
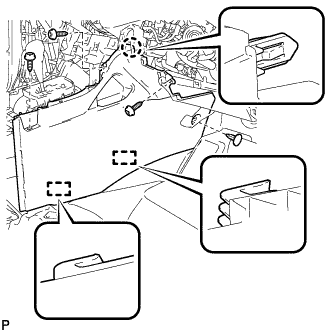
INSTALL FRONT NO. 1 CONSOLE BOX INSERT (for LHD)
Engage the claw and 2 guides.
Install the front No. 1 console box insert with the 3 screws <F> and 2 clips.
126.
INSTALL FRONT NO. 1 CONSOLE BOX INSERT (for RHD)
Engage the claw and 2 guides.
Install the front No. 1 console box insert with the 3 screws <F> and clip.
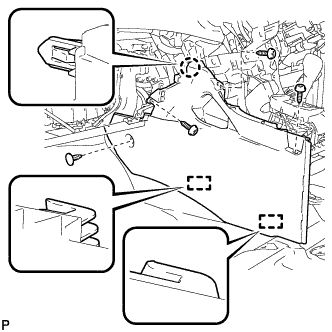
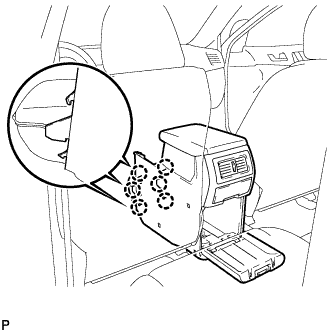
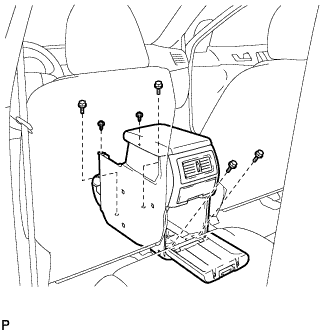
127.
INSTALL CONSOLE BOX ASSEMBLY (w/o Rear Air Conditioning System)
Engage the 6 claws.
Install the console box assembly with the 4 bolts and 2 screws.
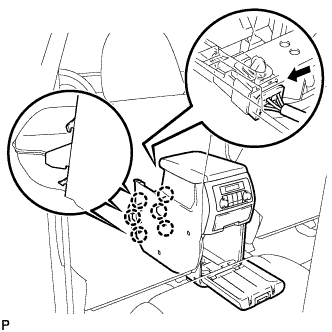
128.
INSTALL CONSOLE BOX ASSEMBLY (w/ Rear Air Conditioning System)
Engage the 6 claws.
Connect the connector.
Install the console box assembly with the 4 bolts and 2 screws.
Engage the 4 claws and 4 clips, and install the instrument cluster finish panel assembly.
150.
POSITION FRONT WHEELS STRAIGHT AHEAD
151.
INSTALL TURN SIGNAL SWITCH ASSEMBLY WITH SPIRAL CABLE SUB-ASSEMBLY
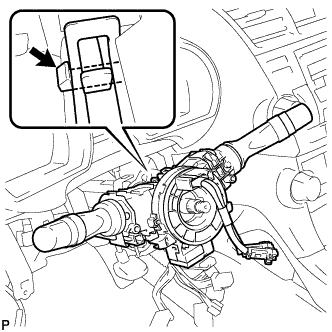
Using pliers, engage the claw. Install the turn signal switch assembly with spiral cable sub-assembly to the steering column assembly.
Connect the connectors to the turn signal switch assembly with spiral cable sub-assembly.
152.
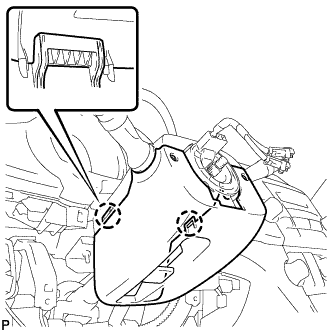
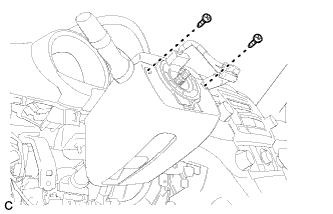
INSTALL STEERING COLUMN COVER
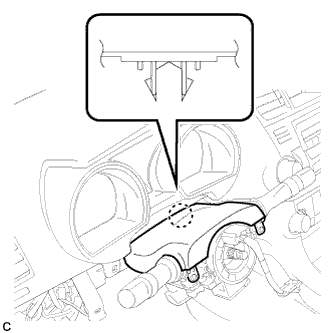
Engage the claw to install the upper steering column cover.
Engage the 2 claws to install the lower steering column cover.
Install the 2 screws.
Torque:
2.0 N*m{
20 kgf*cm
, 18 in.*lbf
}
153.
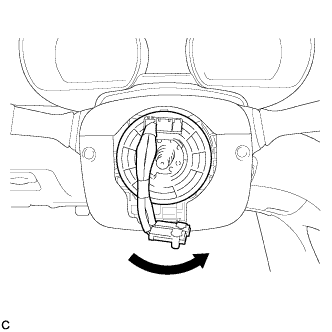
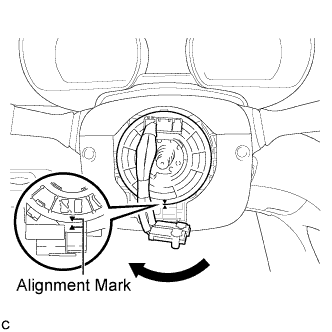
ADJUST SPIRAL CABLE SUB-ASSEMBLY
Check that the ignition switch is off.
Check that the battery negative (-) cable is disconnected.
CAUTION:
Wait for at least 90 seconds after disconnecting the cable to prevent airbag deployment.
Rotate the spiral cable counterclockwise slowly by hand until it stops.
NOTICE:
Do not turn the spiral cable using the airbag wire harness.
Rotate the spiral cable clockwise approximately 2.5 turns to align the marks.
NOTICE:
Do not turn the spiral cable using the airbag wire harness.
HINT:
The spiral cable will rotate approximately 2.5 turns to both the left and right from the center.
154.
INSTALL STEERING WHEEL ASSEMBLY
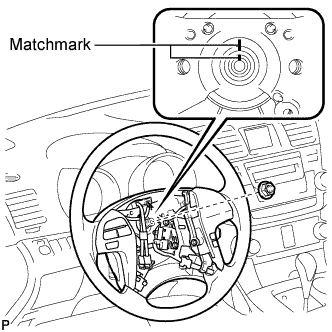
Align the matchmarks on the steering wheel assembly and steering main shaft.
Install the steering wheel assembly set nut.
Torque:
50 N*m{
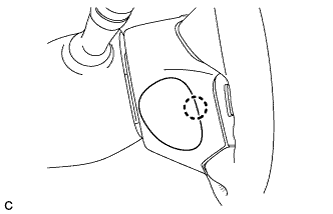
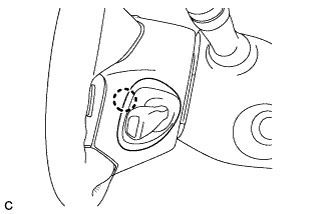
510 kgf*cm
, 37 ft.*lbf
}
Connect the connectors to the spiral cable sub-assembly.
155.
INSPECT STEERING WHEEL CENTER POINT
156.
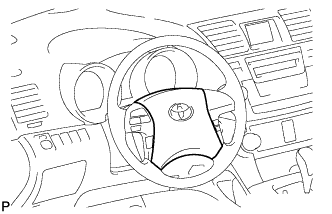
INSTALL STEERING PAD
Check that the ignition switch is off.
Check that the battery negative (-) terminal is disconnected.
CAUTION:
Wait for at least 90 seconds after disconnecting the cable to prevent airbag deployment.
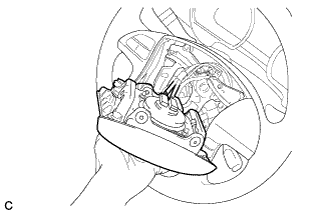
Support the steering pad with one hand as shown in the illustration.
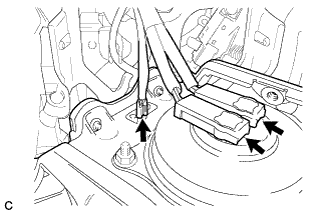
Connect the 2 airbag connectors to the steering pad.
NOTICE:
When handling the airbag connector, take care not to damage the airbag wire harness.
Connect the horn connector to the steering pad.
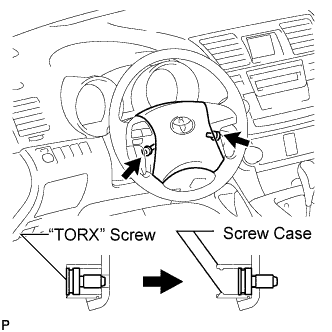
Confirm that the circumference groove of the "TORX" screw fits in the screw case, and place the steering pad onto the steering wheel assembly.
Using a "TORX" socket wrench (T30), tighten the 2 "TORX" screws.
Torque:
8.8 N*m{
90 kgf*cm
, 78 in.*lbf
}
157.
INSTALL LOWER NO. 3 STEERING WHEEL COVER
Install the lower No. 3 steering wheel cover with the claw.
158.
INSTALL LOWER NO. 2 STEERING WHEEL COVER
Install the lower No. 2 steering wheel cover with the claw.
159.
CONNECT CABLE TO NEGATIVE BATTERY TERMINAL
NOTICE:
When disconnecting the cable, some systems need to be initialized after the cable is reconnected (Click here).
160.
INSPECT STEERING PAD
With the steering pad installed on the vehicle, perform a visual check. If there are any defects as mentioned below, replace the steering pad with a new one:
Cuts, minute cracks or marked discoloration on the steering pad top surface or grooves.
Make sure that the horn sounds.
HINT:
If the horn does not sound, inspect the horn system (Click here).