2007-2013 Highlander Kluger · Service Manual BODY

REMOVAL

Removal / installation · Vehicles built from Jul 2010

Versions by build date: May 2007 – Jun 2010 from Jul 2010


1. PRECAUTION

NOTICE:
If a rear spoiler sub-assembly is removed and installed, the location of the axis of the rear wiper motor assembly (for Glass Hatch Type) will change, causing the wiping angle to change. Be sure to remove and install the rear wiper motor assembly (for Glass Hatch Type) using the centering jig.


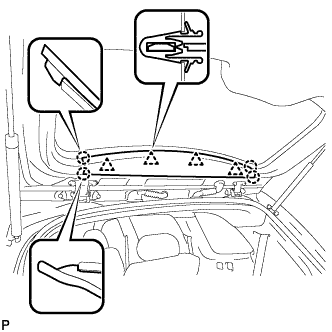
2. REMOVE BACK WINDOW UPPER TRIM PANEL ASSEMBLY

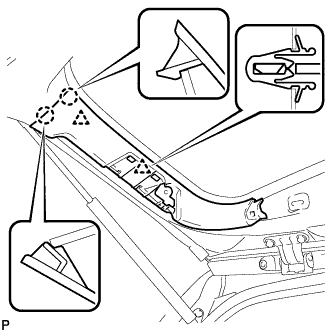
  1. B173198
    Disengage the 4 clips and 4 claws, and remove the back window upper trim panel assembly.


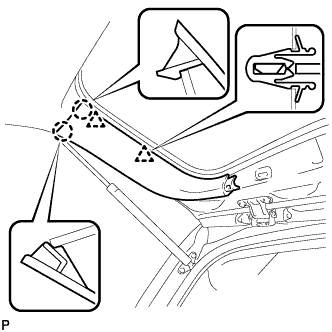
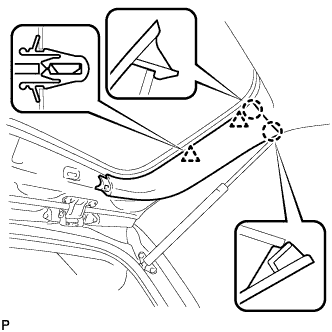
3. REMOVE BACK DOOR TRIM COVER LH (w/o Power Back Door)

  1. B173199
    Disengage the 2 clips and 2 claws, and remove the back door trim cover LH.


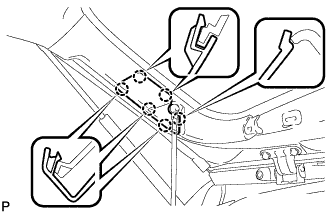
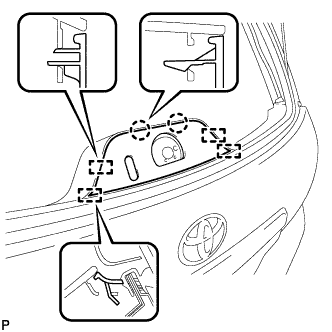
4. REMOVE BACK DOOR SERVICE HOLE COVER LH (w/ Power Back Door)

  1. B173200
    Disengage the 6 claws, and remove the back door service hole cover LH.


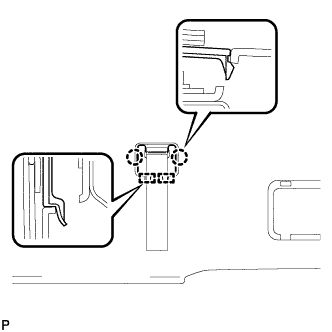
5. DISCONNECT POWER BACK DOOR ROD (w/ Power Back Door)

  1. B173201
    Disconnect the power back door rod and remove the back door stay plate.


6. REMOVE BACK DOOR TRIM COVER LH (w/ Power Back Door)

  1. B173202
    Disengage the 2 clips and 2 claws, and remove the back door trim cover LH.


7. REMOVE BACK DOOR TRIM COVER RH

  1. B174214
    Disengage the 2 clips and 2 claws, and remove the back door trim cover RH.


8. REMOVE BACK DOOR LOCK COVER (for Glass Hatch Type)

  1. B173203
    Disengage the 2 claws and 4 guides, and remove the back door lock cover.


9. REMOVE ASSIST STRAP HOLE COVER

  1. B177265
    Disengage the 2 claws and 2 guides, and remove the assist strap hole cover.


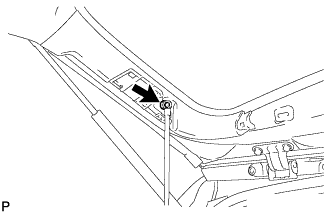
10. REMOVE ASSIST STRAP ASSEMBLY

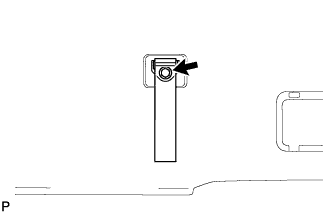
  1. B177264
    Remove the bolt and assist strap assembly.


11. REMOVE BACK DOOR TRIM PANEL ASSEMBLY

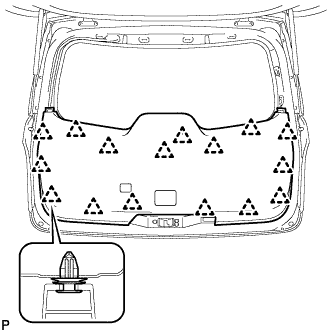
  1. B174211
    Disengage the 16 clips and remove the back door trim panel assembly.


12. REMOVE REAR WIPER SHAFT COVER (for Glass Hatch Type)

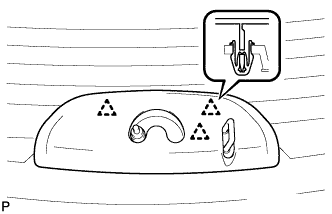
  1. E151098
    Disengage the 3 clips and remove the rear wiper shaft cover.


13. REMOVE REAR WIPER ARM HEAD CAP

  1. E150155
    Remove the rear wiper arm head cap.


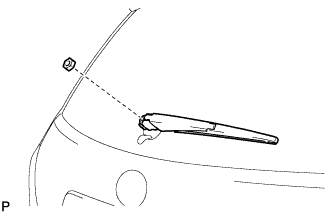
14. REMOVE REAR WIPER ARM AND BLADE ASSEMBLY

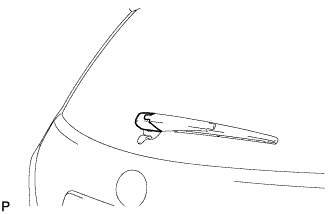
  1. E150156
    Remove the nut and the rear wiper arm and blade assembly.

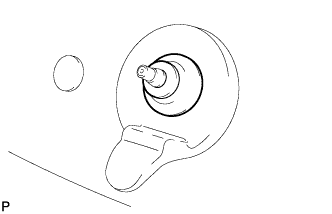
15. REMOVE REAR WIPER LINK CAP (for Glass Hatch Type)

  1. E150157
    Remove the rear wiper link cap.


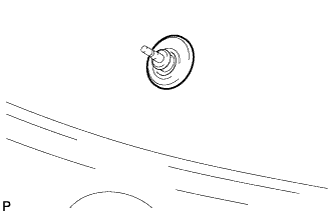
16. REMOVE REAR WIPER MOTOR GROMMET (for Fixed Glass Type)

  1. E151650
    Remove the rear wiper motor grommet.


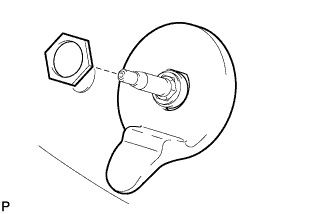
17. REMOVE REAR WIPER LINK PIVOT (for Glass Hatch Type)

  1. E150158
    Remove the nut and the rear wiper link pivot.


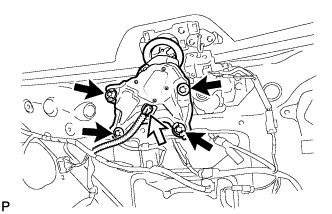
18. REMOVE REAR WIPER MOTOR ASSEMBLY (for Fixed Glass Type)

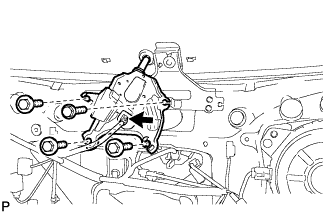
  1. E151651
    Disconnect the connector.

  1. Remove the 4 bolts and the rear wiper motor assembly.
    NOTICE:
    Be careful not to scratch the back door glass.


19. REMOVE REAR WIPER MOTOR ASSEMBLY (for Glass Hatch Type)

  1. When reinstalling the rear wiper motor assembly:

    1. Open the glass hatch.

    2. E154835
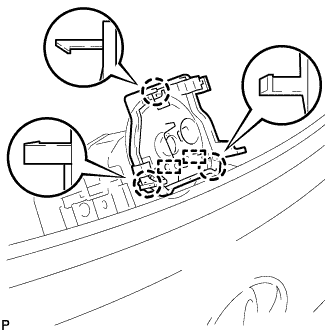
      Engage the 3 claws and 2 guides, and then install the centering jig.

      NOTICE:
      1. The centering jig cannot be reused.
      2. Do not remove the centering jig before installing the rear wiper link pivot.

    3. E152621
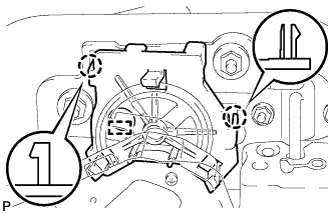
      Close the glass hatch, and engage the 2 claws and guide.

      NOTICE:
      Be sure to engage the 2 claws and guide securely.

    4. E151099
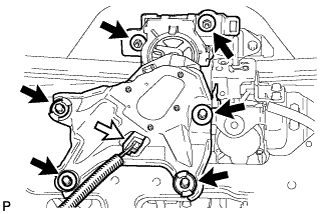
      Disconnect the connector.

    5. Remove the 2 nuts.

    6. Remove the 4 bolts and the rear wiper motor assembly.
      NOTICE:
      1. Do not hold the rear wiper motor assembly by the rear wiper link pivot.
      2. Be careful not to scratch the back door glass.

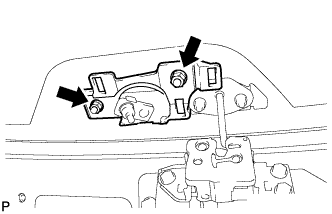
  1. When using a new rear wiper motor assembly:

    1. E150159
      Disconnect the connector.

    2. Remove the 4 bolts.

    3. E150183
      Remove the 2 nuts and the rear wiper motor assembly.
      NOTICE:
      Be careful not to scratch the back door glass.


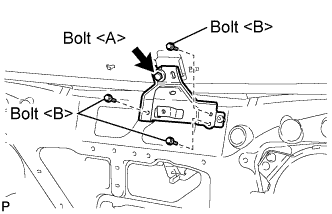
20. REMOVE BACK DOOR GLASS GUIDE BRACKET SUB-ASSEMBLY (for Fixed Glass Type)

  1. B174221E01
    Loosen the bolt <A>.

    NOTICE:
    Bolt <A> cannot be removed from the back door glass guide bracket sub-assembly.
  1. Remove the 3 bolts <B>.

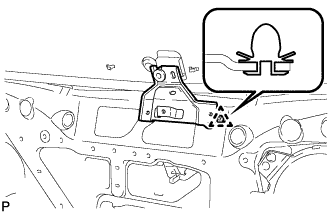
  1. B174222
    Disengage the clip and remove the back door glass guide bracket sub-assembly.

21. REMOVE REAR SPOILER SUB-ASSEMBLY

  1. B174887E01
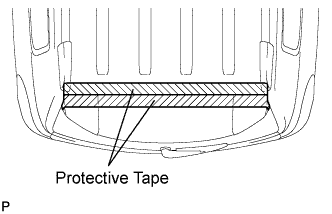
    Put protective tape around the rear spoiler sub-assembly.
  1. Disconnect the wire harness.

    NOTICE:
    Do not allow the disconnected wire harness to get caught between the back door and the vehicle body to prevent it from being damaged.


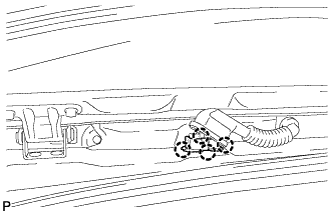
    1. B175994
      Turn back the wire harness grommet.

    2. Disengage the 4 claws and pull out the wire harness from the vehicle.

      NOTICE:
      Do not forcefully pull out the wire harness.

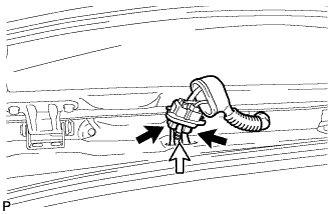
    3. B175995
      Disconnect the 2 connectors.

    4. Disconnect the rear washer hose.

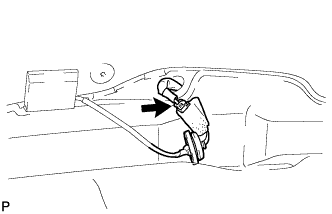
    5. B174890
      Disengage the grommet.

    6. Disconnect the connector.

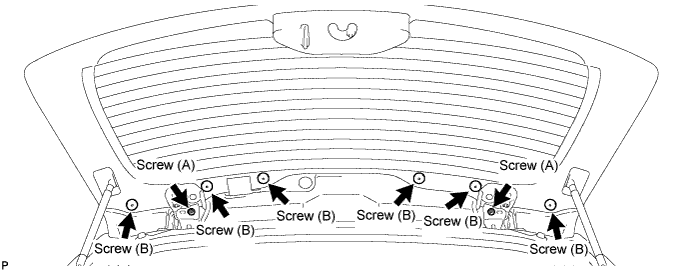
  1. Using a "TORX" socket wrench (T30), remove the 2 screws (A).

  1. Using a "TORX" socket wrench (T30), remove the 6 screws (B).

    B176357E01

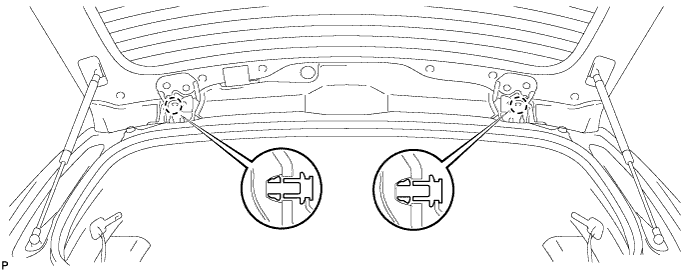
  1. Disengage the 2 claws.

    B176358

  1. B174893
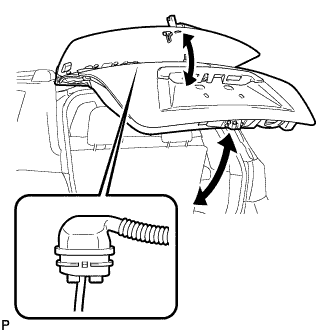
    Raise and lower the glass hatch and the back door respectively. Pull out the wire harness from the vehicle and remove the rear spoiler sub-assembly.


22. REMOVE REAR WASHER NOZZLE

  1. B174896
    Remove the screw and rear washer nozzle bracket.

  1. B174897
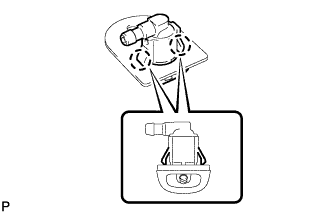
    Disengage the claws and remove the rear washer nozzle.


23. REMOVE CENTER STOP LIGHT ASSEMBLY

  1. E150066
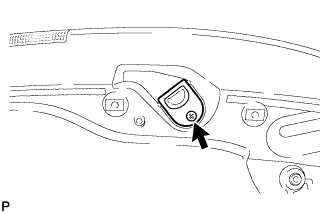
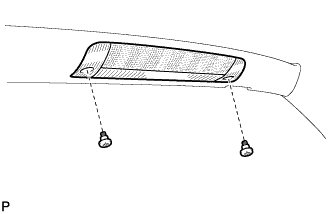
    Remove the 2 screws.

  1. Disconnect the center stop light assembly from the rear spoiler sub-assembly.

  1. Disconnect the connector and remove the center stop light assembly.

← REMOVAL (May 2007 – Jun 2010)INSTALLATION (May 2007 – Jul 2008) →