 |
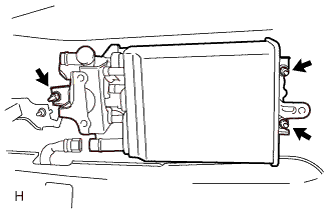
Connect the charcoal canister assembly with the 3 nuts.
- Torque:
- :
- 5.5 N*m{ 56 kgf*cm , 49 in.*lbf }
CANISTER > INSTALLATION |
| 1. INSTALL CHARCOAL CANISTER ASSEMBLY |
|
Connect the charcoal canister assembly with the 3 nuts.
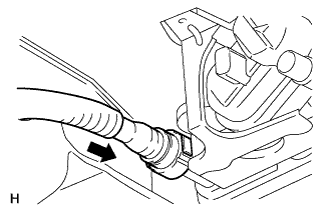 |
Align the quick connector with the pipe, then push in the quick connector until the retainer makes a "click" sound to connect the charcoal canister fuel hose to the charcoal canister assembly.
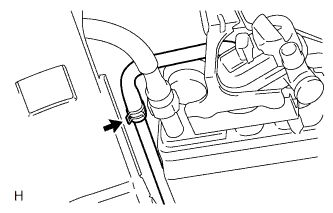 |
Connect the hose.
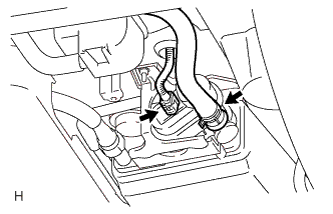 |
Connect the hose and connector.
| 2. INSTALL NO. 3 FRONT FLOOR HEAT INSULATOR |
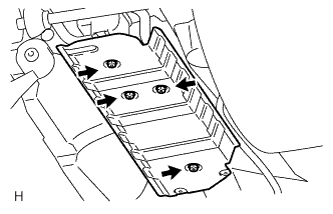 |
Install the No. 3 front floor heat insulator with the 4 bolts.
| 3. INSTALL EXHAUST CENTER PIPE ASSEMBLY |
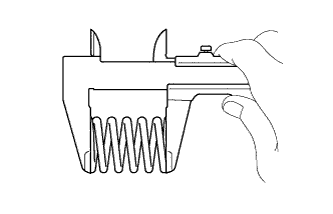 |
Using vernier calipers, measure the free length of the compression spring.
| Minimum | 41.5 mm (1.63 in.) |
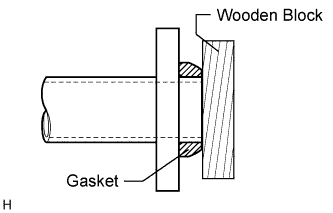 |
Using a plastic-faced hammer and wooden block, tap in a new gasket until its surface is flush with the front No. 3 exhaust pipe sub-assembly.
Connect the 3 exhaust pipe supports, and install the center exhaust pipe assembly.
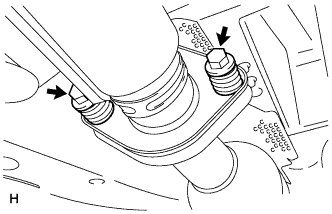 |
Install the 2 compression springs and 2 bolts.
| 4. INSTALL TAIL EXHAUST PIPE ASSEMBLY |
|
Using vernier calipers, measure the free length of the compression spring.
| Minimum | 40.5 mm (1.59 in.) |
|
Using a plastic-faced hammer and wooden block, tap in a new gasket until its surface is flush with the center exhaust pipe assembly.
Connect the exhaust pipe support, and install the tail exhaust pipe assembly.
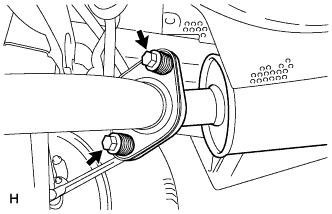 |
Install the 2 compression springs and 2 bolts.
| 5. INSPECT EXHAUST GAS LEAK |
If exhaust gas is leaking, repair the leak. Replace damaged or worn parts as necessary.