Home › ENGINE › 2GR-FE EXHAUST › EXHAUST PIPE

EXHAUST PIPE > INSTALLATION

for Preparation Click here


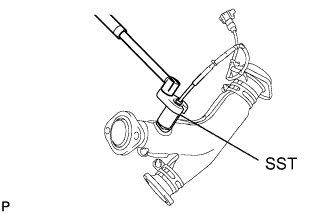
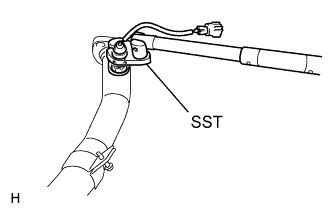
1. INSTALL HEATED OXYGEN SENSOR (for Bank 2 Sensor 2)


    A172498E01
  1. Using SST, install the heated oxygen sensor to the front exhaust pipe assembly.

    SST
    09224-00010  

    Torque:
    40 N*m{ 408 kgf*cm , 30 ft.*lbf } for use with SST
    44 N*m{ 449 kgf*cm , 32 ft.*lbf } for use without SST

    HINT:
    1. Use a torque wrench with a fulcrum length of 30 cm (11.81 in.).
    2. Make sure that SST and the wrench are connected in a straight line.
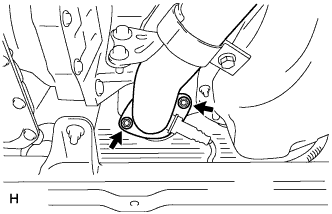


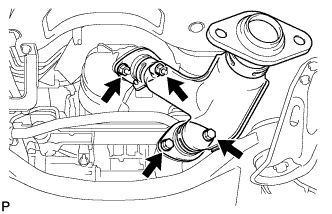
2. INSTALL FRONT EXHAUST PIPE ASSEMBLY


    A170134
  1. Install a new gasket to the front exhaust pipe assembly.

  1. Install the front exhaust pipe assembly with 2 new nuts.

    Torque:
    56 N*m{ 571 kgf*cm , 41 ft.*lbf }


    A171745
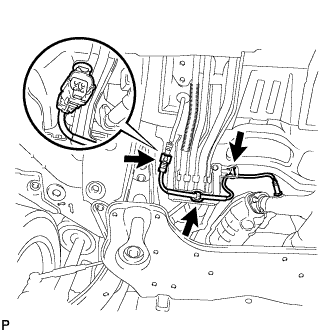
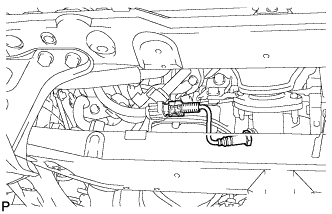
  1. Connect the heated oxygen sensor (for bank 2 sensor 2) connector.


3. INSTALL HEATED OXYGEN SENSOR (for Bank 1 Sensor 2)


    A172497E01
  1. Using SST, install the heated oxygen sensor to the front No. 3 exhaust pipe sub-assembly.

    SST
    09224-00010  

    Torque:
    40 N*m{ 408 kgf*cm , 30 ft.*lbf } for use with SST
    44 N*m{ 449 kgf*cm , 32 ft.*lbf } for use without SST

    HINT:
    1. Use a torque wrench with a fulcrum length of 30 cm (11.81 in.).
    2. Make sure that SST and the wrench are connected in a straight line.


4. INSTALL FRONT NO. 3 EXHAUST PIPE SUB-ASSEMBLY


    A170126
  1. Install 2 new gaskets to the front No. 3 exhaust pipe sub-assembly.

  1. Install the front No. 3 exhaust pipe sub-assembly with 2 new nuts and the 2 bolts.

    Torque:
    56 N*m{ 571 kgf*cm , 41 ft.*lbf }


    A171743
  1. Install the 3 clamps and connect the heated oxygen sensor (for bank 1 sensor 2) connector.


    A170135
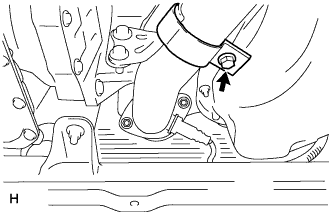
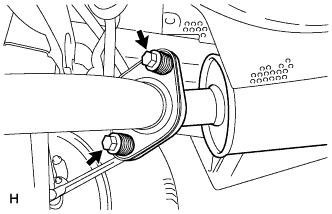
  1. Tighten the front exhaust pipe assembly bolt.

    Torque:
    21 N*m{ 214 kgf*cm , 15 ft.*lbf }


5. INSTALL CENTER EXHAUST PIPE ASSEMBLY


    A160224
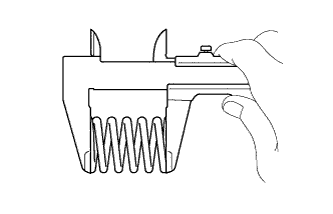
  1. Using vernier calipers, measure the free length of the compression spring.
    Minimum
    41.5 mm (1.63 in.)

    HINT:
    If the length is less than the minimum, replace the compression spring.


    A138040E01
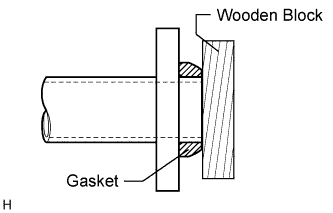
  1. Using a plastic-faced hammer and wooden block, tap in a new gasket until its surface is flush with the front No. 3 exhaust pipe sub-assembly.

    NOTICE:
    1. Tap in the gasket in the correct direction.
    2. Do not reuse the removed gasket.
    3. Do not push in the gasket while installing the center exhaust pipe assembly.

  1. Connect the 3 exhaust pipe supports, and install the center exhaust pipe assembly.


    A170125
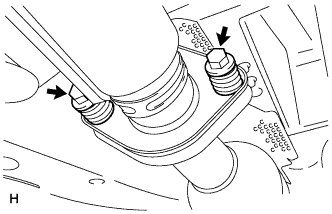
  1. Install the 2 compression springs and 2 bolts.

    Torque:
    48 N*m{ 489 kgf*cm , 35 ft.*lbf }


6. INSTALL EXHAUST PIPE DAMPER


    A174261
  1. Install the exhaust pipe damper with the 2 bolts.

    Torque:
    19 N*m{ 194 kgf*cm , 14 ft.*lbf }


7. INSTALL TAIL EXHAUST PIPE ASSEMBLY


    A160224
  1. Using vernier calipers, measure the free length of the compression spring.
    Minimum
    40.5 mm (1.59 in.)

    HINT:
    If the length is less than the minimum, replace the compression spring.


    A138040E01
  1. Using a plastic-faced hammer and wooden block, tap in a new gasket until its surface is flush with the center exhaust pipe assembly.

    NOTICE:
    1. Tap in the gasket in the correct direction.
    2. Do not reuse the removed gasket.
    3. Do not push in the gasket while installing the tail exhaust pipe assembly.

  1. Connect the exhaust pipe support, and install the tail exhaust pipe assembly.


    A170139
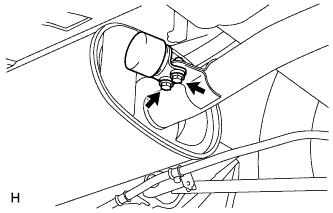
  1. Install the 2 compression springs and 2 bolts.

    Torque:
    48 N*m{ 489 kgf*cm , 35 ft.*lbf }


8. INSPECT FOR EXHAUST GAS LEAK
If exhaust gas is leaking, repair the leak. Replace damaged or worn parts as necessary.


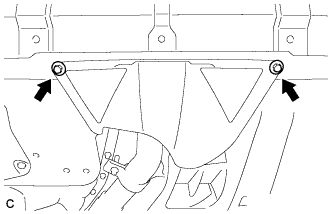
9. INSTALL NO. 2 ENGINE UNDER COVER


    A171854
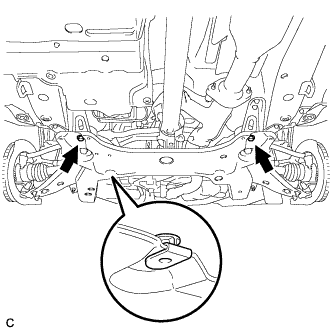
  1. Install the No. 2 engine under cover with the 2 bolts.


10. INSTALL NO. 1 ENGINE UNDER COVER


    A171855
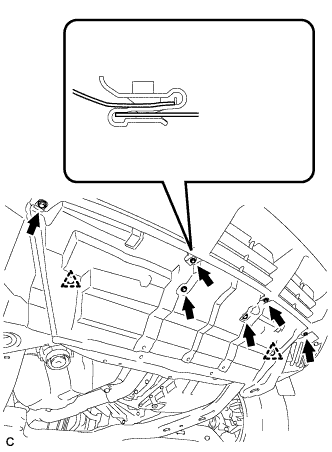
  1. Install the No. 1 engine under cover with the 6 bolts and 2 clips.


11. INSTALL ENGINE UNDER COVER ASSEMBLY


    A171850
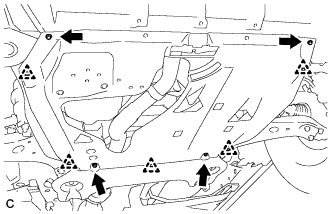
  1. Install the engine under cover assembly with the 4 bolts and 5 clips.


    A171849
  1. Install the engine under cover assembly RR with the 2 bolts.