 |
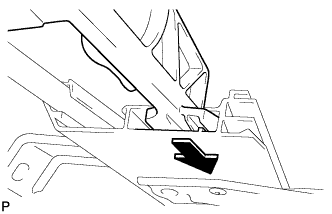
Insert the sliding roof drive cable.
SLIDING ROOF HOUSING > REASSEMBLY |
| 1. INSTALL SLIDING ROOF DRIVE CABLE SUB-ASSEMBLY |
|
Insert the sliding roof drive cable.
Align the sliding roof drive cable with the guide on the sliding roof housing and slide the cable in the direction indicated by the arrow in the illustration.
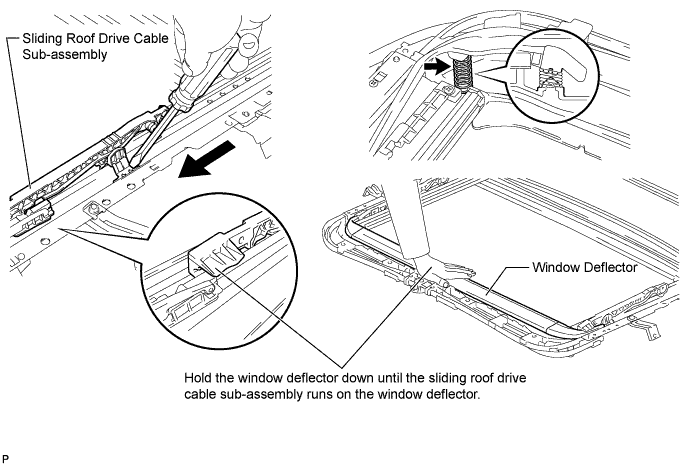
Using a screwdriver, slide the sliding roof drive cable sub-assembly in the direction indicated by the arrow in the illustration to install it.
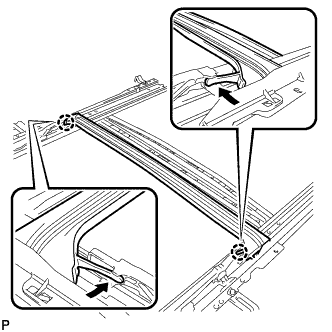 |
Engage the 2 claws and install the sliding roof drip channel.
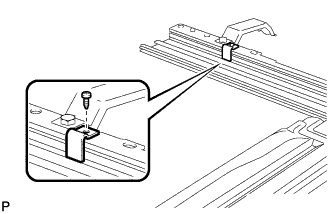 |
Install the sliding roof side stopper with the screw.
| 2. ADJUST FULLY CLOSED POSITION |
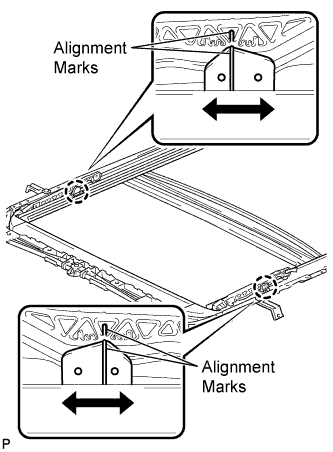 |
Using a screwdriver, slide the sliding roof drive cable sub-assembly in either direction indicated by the arrows in the illustration and alignment marks.
| 3. INSTALL SUNSHADE TRIM SUB-ASSEMBLY |
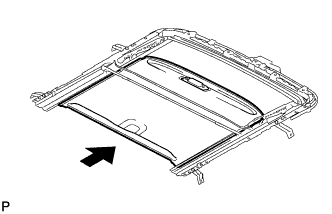 |
Insert the sunshade trim into the sliding roof housing sub-assembly.
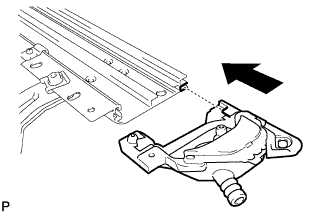 |
Align the sliding roof piece sub-assembly LH with the guide on the sliding roof housing to temporarily install it.
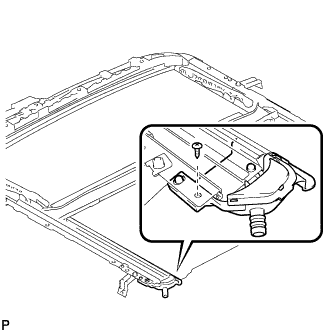 |
Install the sliding roof piece sub-assembly LH with the screw.
| 4. INSTALL SLIDING ROOF DRIVE GEAR SUB-ASSEMBLY |
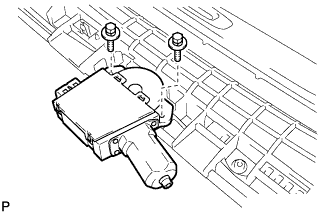 |
Install the sliding roof drive gear sub-assembly with the 2 bolts.