HEATING / AIR CONDITIONING REAR AIR CONDITIONING UNIT DISASSEMBLY
PROCEDURE

 88539K
1.REMOVE DRAIN COOLER HOSE
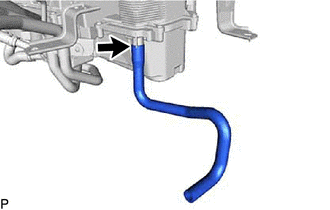
Remove the drain cooler hose.
87417A
2.REMOVE AIR DUCT PACKING
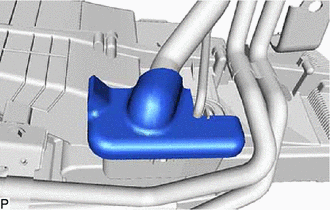
Remove the air duct packing.
88720B
3.REMOVE AIR CONDITIONING HOSE AND ACCESSORY
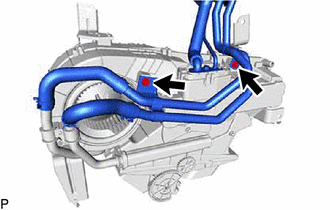
Remove the 2 screws.
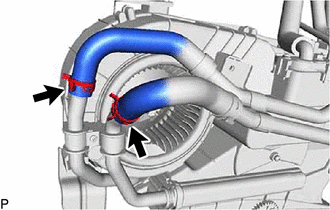
Using pliers, grip the claws of the 2 clips and slide the clips to disconnect the air conditioning hose and accessory.
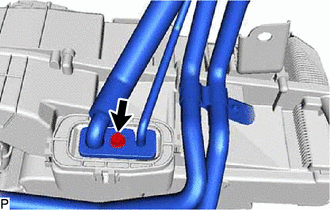
Remove the bolt and air conditioning hose and accessory.
Remove the 2 O-rings from the air conditioning hose and accessory.
- NOTICE:
-
Seal the openings of the disconnected parts using vinyl tape to prevent entry of moisture and foreign matter.
4.REMOVE REAR COOLING UNIT EXPANSION VALVE
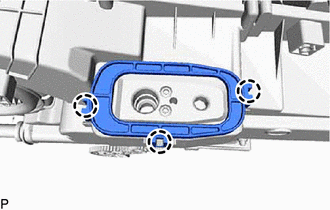
Disengage the 3 claws to remove the plate.
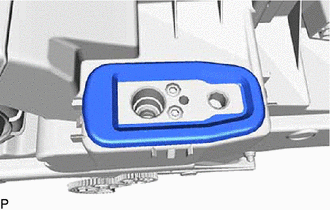
Remove the grommet.
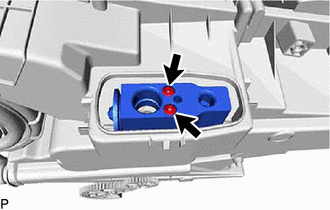
Using a 4 mm hexagon socket wrench, remove the 2 hexagon bolts and rear cooling unit expansion valve.
Remove the 2 O-rings from the rear evaporator sub-assembly.
- NOTICE:
-
Seal the openings of the disconnected parts using vinyl tape to prevent entry of moisture and foreign matter.
87107B
5.REMOVE HEATER RADIATOR UNIT SUB-ASSEMBLY
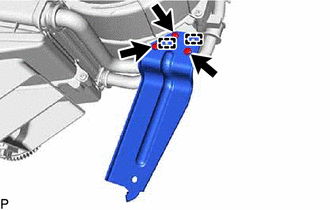
Remove the 3 screws.
Disengage the 2 guides and remove the bracket.
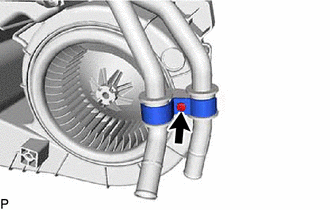
Remove the screw and clamp.
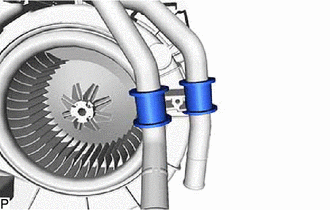
Remove the 2 bushes.
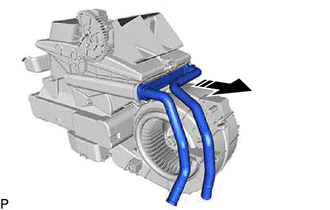

|
Remove in this Direction |
Remove the heater radiator unit sub-assembly as shown in the illustration.
- NOTICE:
-
Prepare a drain pan or cloth in case the coolant leaks.
87103D
6.REMOVE REAR BLOWER MOTOR WITH FAN SUB-ASSEMBLY
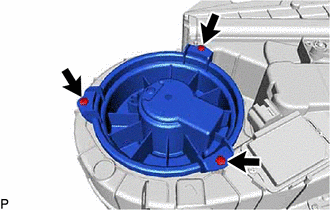
Remove the 3 screws and rear blower motor with fan sub-assembly.
87165C
7.REMOVE BLOWER MOTOR CONTROL
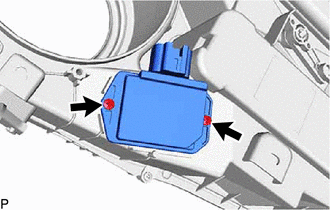
Remove the 2 screws and blower motor control.
87106X
8.REMOVE REAR MODE DAMPER SERVO SUB-ASSEMBLY
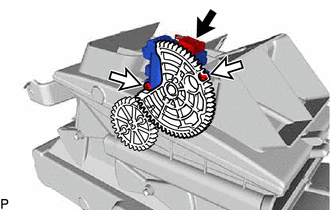
Disconnect the connector.
Remove the 2 screws and rear mode damper servo sub-assembly.
87106W
9.REMOVE REAR AIR MIX DAMPER SERVO SUB-ASSEMBLY
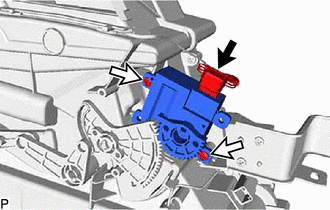
Disconnect the connector.
Remove the 2 screws and rear air mix damper servo sub-assembly.
82210L
10.REMOVE NO. 2 AIR CONDITIONING HARNESS ASSEMBLY
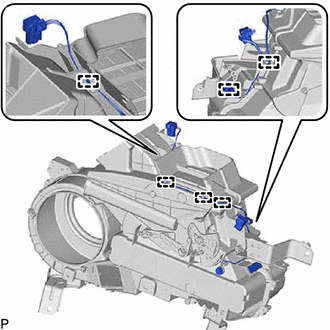
Disengage each clamp and disconnect the No. 2 air conditioning harness assembly.
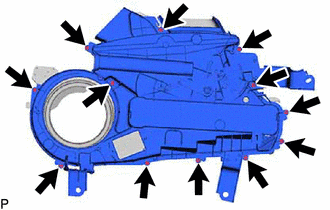
Remove the 12 screws and rear cooling unit cover LH.
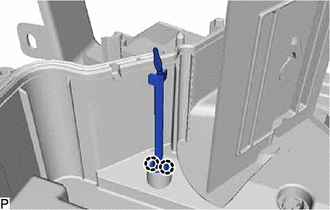
Disengage the 2 claws to remove the No. 2 air conditioning harness assembly.
88501R
11.REMOVE REAR EVAPORATOR SUB-ASSEMBLY
|
|
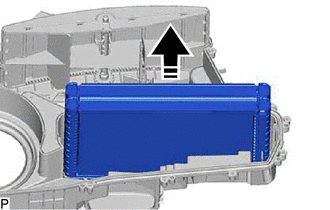
Remove in this Direction |
Remove the rear evaporator sub-assembly as shown in the illustration.