REFRIGERANT > REPLACEMENT |
| 1. DISCHARGE REFRIGERANT FROM REFRIGERATION SYSTEM |
Start up the engine.
A/C switch is ON.
Operate the cooler compressor with an engine speed of approximately 1,000 rpm for 5 to 6 minutes to circulate the refrigerant and collect the compressor oil remaining in each component into the cooler compressor.
Stop the engine.
Using SST, discharge the refrigerant gas.
| 2. CHARGE REFRIGERANT |
Perform vacuum purging using a vacuum pump.
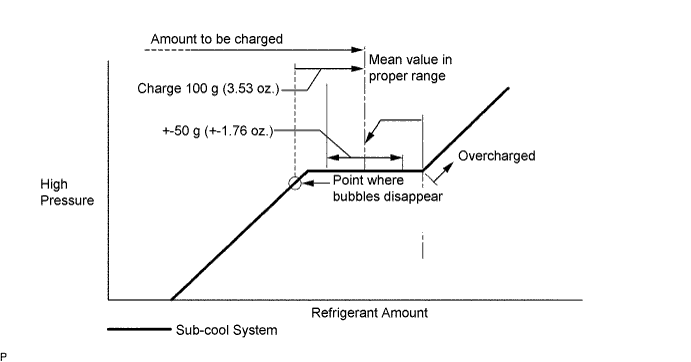
Charge refrigerant HFC-134a (R134a).

| 3. WARM UP ENGINE |
Warm up the engine at less than 1,850 rpm for 2 minutes or more after charging refrigerant.
| 4. CHECK FOR LEAKAGE OF REFRIGERANT |
After recharging the refrigerant gas, prepare the vehicle for a refrigerant gas leakage check by making sure the following conditions are met.
![]() |
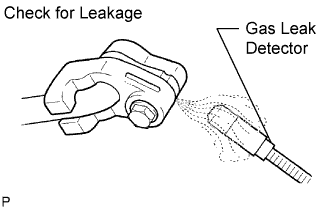
Check for refrigerant gas leakage from the refrigerant line.
After the blower motor stops, wait at least 15 minutes.
Using a gas leak detector, check that gas is not leaking from the refrigerant line. If leakage is found, tighten parts or replace damaged parts as necessary to stop the leak.
Check for refrigerant gas leakage from the cooling unit.
Hold the gas leak detector so that the sensor is under the drain hose, as shown in the illustration.
Check that gas is not leaking from the drain hose. If leakage is found, tighten parts or replace damaged parts as necessary to stop the leak.
Check for refrigerant gas leakage from the cooling unit.
Remove the blower motor control from the unit. Insert the gas leak detector's sensor into the unit.
Check that gas is not leaking from the unit. If leakage is found, tighten parts or replace damaged parts as necessary to stop the leak.
Check for refrigerant gas leakage from the pressure switch.
Disconnect the pressure switch connector and wait approximately 20 minutes.
Using a gas leak detector, check that gas is not leaking from the pressure switch. If leakage is found, tighten parts or replace damaged parts as necessary to stop the leak.
Repeat all steps above 2 to 3 times.