 |
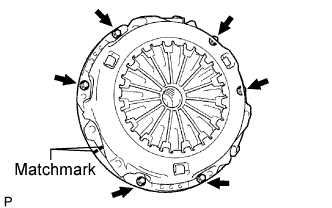
Place matchmarks on the clutch cover and flywheel.
CLUTCH UNIT (for 5L-E) > REMOVAL |
| 1. REMOVE MANUAL TRANSMISSION UNIT ASSEMBLY |
| 2. REMOVE CLUTCH RELEASE FORK BOOT |
| 3. REMOVE CLUTCH RELEASE BEARING ASSEMBLY |
Remove the clutch release bearing assembly together with the clutch release fork sub-assembly from the clutch housing.
Remove the clutch release fork sub-assembly from the clutch release bearing assembly.
Remove the release bearing hub clip from the clutch release bearing assembly
| 4. REMOVE RELEASE FORK SUPPORT |
Remove the release fork support from the manual transmission unit.
| 5. REMOVE CLUTCH COVER ASSEMBLY |
|
Place matchmarks on the clutch cover and flywheel.
Loosen each set bolt 1 turn at a time until spring tension is released.
Remove the 6 set bolts and pull off the clutch cover.
| 6. REMOVE CLUTCH DISC ASSEMBLY |
| 7. INSPECT INPUT SHAFT FRONT BEARING |
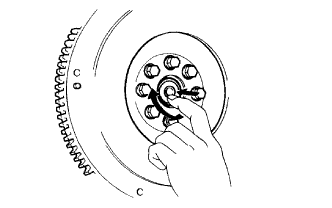 |
Turn the bearing by hand by applying rotational force.
If the bearing sticks or has much resistance, replace the input shaft bearing.
| 8. REMOVE INPUT SHAFT FRONT BEARING |
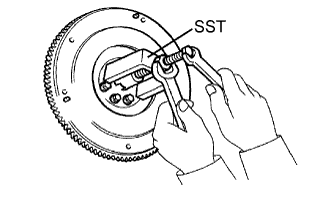 |
Remove any 2 diametrically opposite bolts.
Using SST, remove the input shaft bearing.
| 9. INSPECT CLUTCH DISC ASSEMBLY |
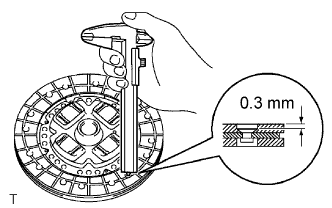 |
Using a vernier caliper, measure the rivet head depth.
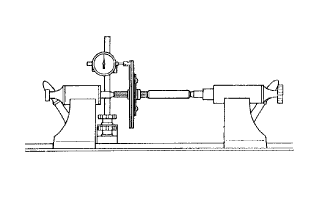 |
Install the clutch disc to the transmission unit.
Using a dial indicator, check the disc runout.
| 10. INSPECT CLUTCH COVER ASSEMBLY |
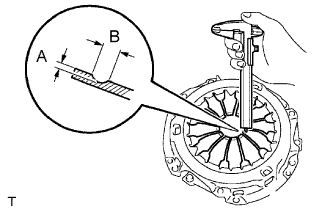 |
Using a vernier caliper, measure the depth and width of the worn areas of the diaphragm spring.
| Measurement | Specified Condition |
| A (Depth) | 0.5 mm (0.020 in.) |
| B (Width) | 6.0 mm (0.236 in.) |
| 11. INSPECT FLYWHEEL SUB-ASSEMBLY |
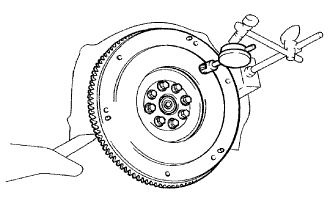 |
Using a dial indicator, measure the flywheel runout.
| 12. INSPECT CLUTCH RELEASE BEARING ASSEMBLY |
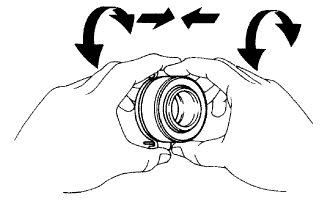 |
Turn the bearing by hand while applying force in the axial direction.
If the bearing sticks or has much resistance, replace the release bearing.