2014 Hilux · Service Manual TRANSMISSION

REMOVAL

Removal / installation · Vehicles built from Aug 2013

Versions by build date: Jun 2011 – Jul 2012 Aug 2012 – Jul 2013 from Aug 2013


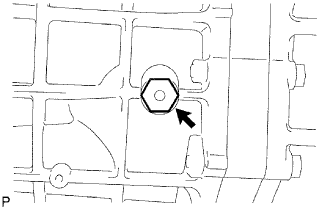
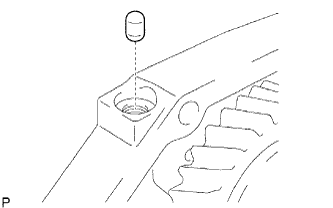
1. REMOVE FILLER PLUG

D029023E01
  1. Remove the filler plug and gasket from the transmission case.


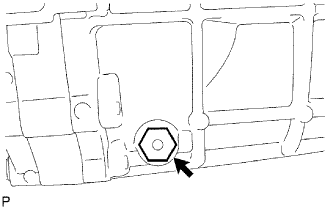
2. REMOVE DRAIN PLUG

D029024E01
  1. Remove the drain plug and gasket from the transmission case.


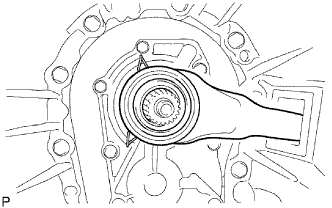
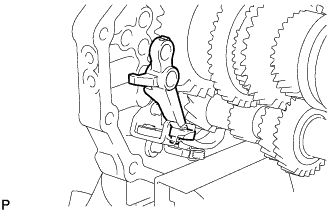
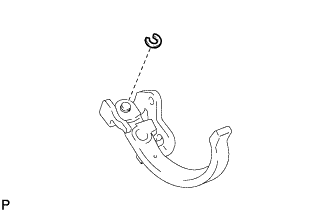
3. REMOVE CLUTCH RELEASE FORK SUB-ASSEMBLY

D029025E01
  1. Remove the release fork and release bearing from the clutch housing.


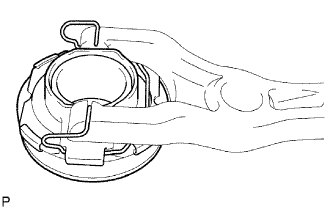
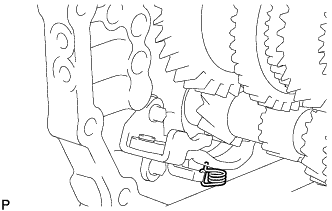
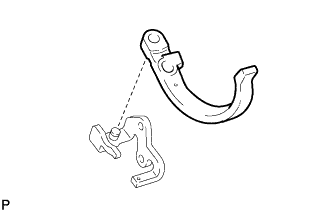
4. REMOVE CLUTCH RELEASE BEARING ASSEMBLY

D029026E01
  1. Remove the clip, and then remove the release bearing from the release fork.


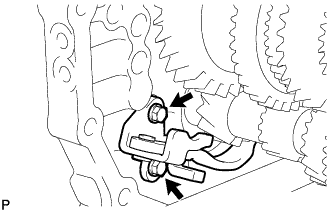
5. REMOVE RELEASE FORK SUPPORT

D025933E01
  1. Remove the release fork support from the clutch housing.


6. REMOVE CLUTCH RELEASE FORK BOOT

D029027E01
  1. Remove the release fork boot from the clutch housing.


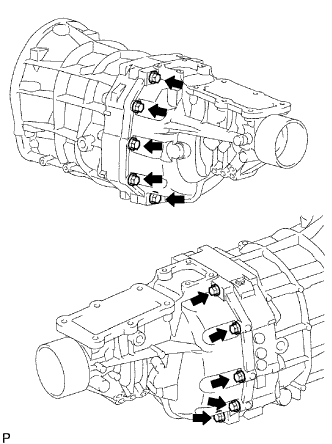
7. REMOVE CLUTCH HOUSING

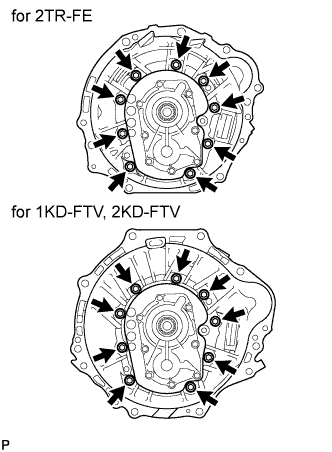
C238801E03
  1. Remove the 9 bolts.

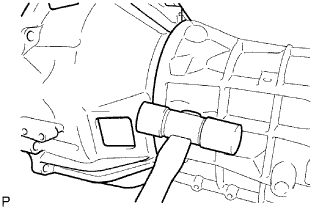
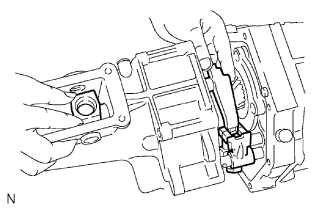
  1. D029029E01
    Using a plastic-faced hammer, tap out the clutch housing from the transmission case.


8. REMOVE BACK-UP LIGHT SWITCH ASSEMBLY

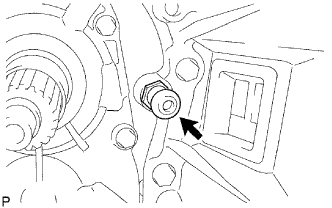
D029030E01
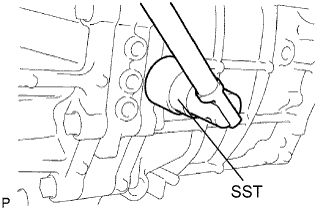
  1. Using SST, remove the back-up light switch and gasket from the transmission case.

    SST
    09817-16011  


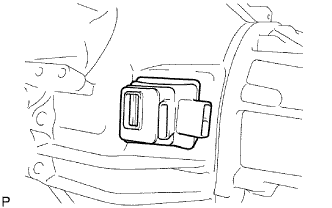
9. REMOVE SPEEDOMETER SENSOR
  1. Remove the bolt and speedometer sensor.

  1. Remove the O-ring from the speedometer sensor.


10. REMOVE RESTRICT PIN

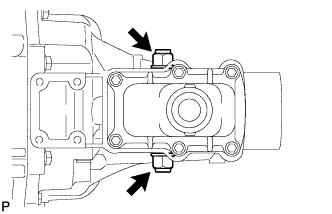
C116362
  1. Remove the 2 restrict pins from the extension housing.


11. REMOVE CONTROL SHIFT LEVER RETAINER

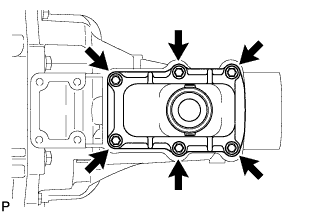
C116363
  1. Remove the 6 bolts.

  1. Remove the control shift lever retainer.

  1. Remove the control shift lever retainer gasket.


12. REMOVE EXTENSION HOUSING

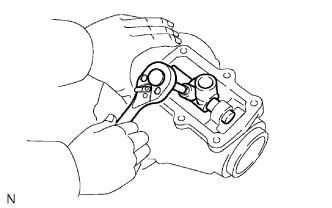
G034547E01
  1. Remove the bolt from the shift lever housing.

  1. B085186E01
    Remove the 10 bolts.

  1. G034242E03
    Using a plastic-faced hammer, tap the extension housing and remove the shift lever housing and shift and select lever from the transmission case.


13. REMOVE OIL RECEIVER PIPE

D029037E01

14. REMOVE OIL RECEIVER
  1. Remove the bolt and oil receiver.


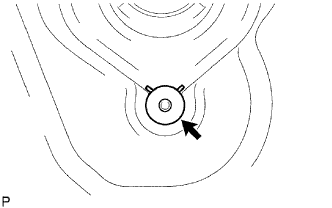
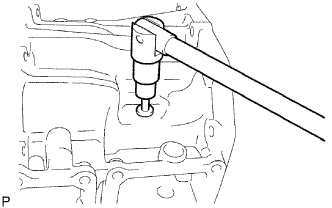
15. REMOVE REVERSE RESTRICT PIN

D029040E01
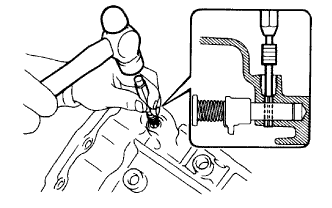
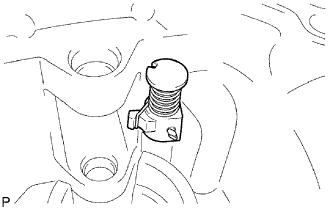
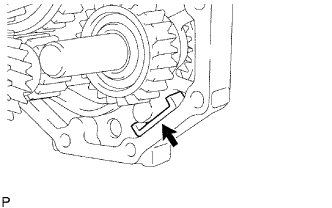
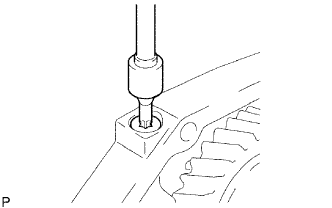
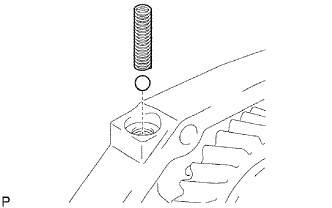
  1. Using a T40 ''torx'' socket wrench, remove the plug.

  1. D033421E01
    Using a 5 mm pin punch and a hammer, tap out the restrict slotted pin.

  1. D029042E01
    Remove the restrict pin.


16. REMOVE EXTENSION HOUSING OIL SEAL
  1. Using a screwdriver and a hammer, tap out the oil seal from the transfer adapter.


17. REMOVE FRONT BEARING RETAINER

D025950E01
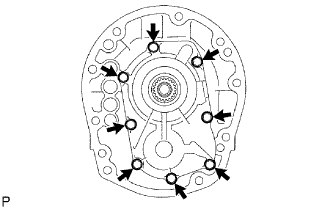
  1. Remove the 8 bolts.

  1. D025951E01
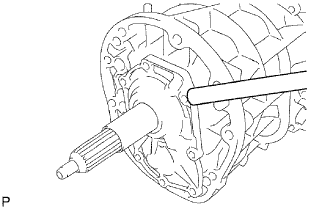
    Using a brass bar and a hammer, tap out the retainer from the transmission case.


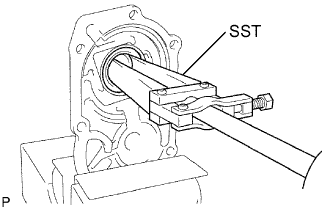
18. REMOVE TRANSMISSION FRONT BEARING RETAINER OIL SEAL

D025952E01
  1. Fix the front bearing retainer in a vise.

  1. Using SST, tap out the oil seal.

    SST
    09308-00010  


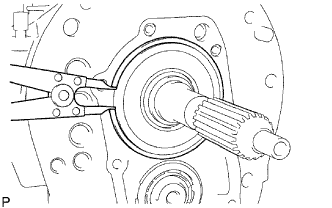
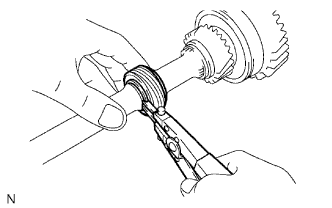
19. REMOVE FRONT BEARING SHAFT SNAP RING

D025953E01
  1. Using a snap ring expander, remove the snap ring from the transmission case.


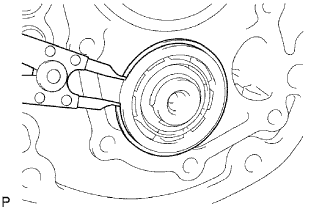
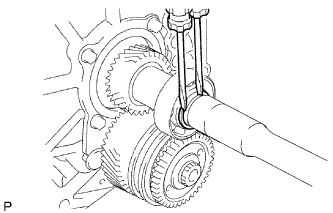
20. REMOVE NO. 1 COUNTER GEAR FRONT BEARING SNAP RING

D025954E01
  1. Using a snap ring expander, remove the snap ring from the transmission case.


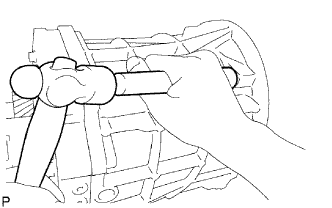
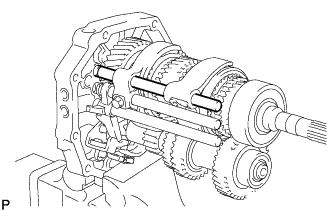
21. REMOVE MANUAL TRANSMISSION CASE

D029044E01
  1. Using a brass bar and a hammer, tap out the transmission case from the intermediate plate.


22. REMOVE TRANSMISSION MAGNET

D025957E01
  1. Remove the magnet from the intermediate plate.


23. FIX INTERMEDIATE PLATE

C288239
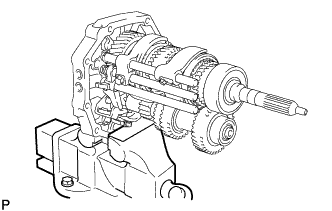
  1. Fix the intermediate plate in a vise between the aluminum plates.


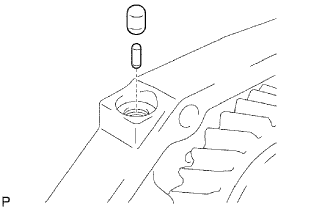
24. REMOVE NO. 1 SHIFT DETENT BALL SPRING SEAT

D029046E01
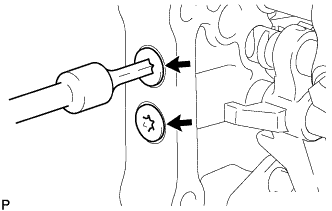
  1. Using a T40 ''torx'' socket wrench, remove the spring seat from the intermediate plate.

  1. D025960E01
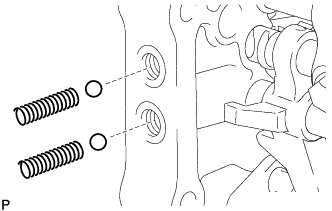
    Using a magnet hand, remove the compression spring and detent ball from the intermediate plate.

  1. C288240
    Using a T40 ''torx'' socket wrench, remove the 2 spring seats from the intermediate plate.

  1. C288241
    Using a magnet hand, remove the 2 compression springs and 2 detent balls from the intermediate plate.


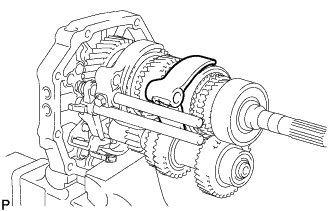
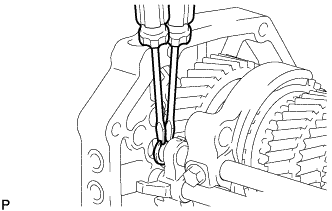
25. REMOVE NO. 2 SHIFT FORK SHAFT

  1. C288242
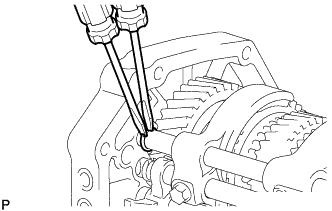
    Using 2 screwdrivers and a hammer, tap out the snap ring from the No. 2 shift fork shaft.

    NOTICE:
    Use a cloth to prevent the snap ring from flying off.

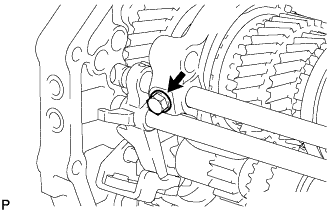
  1. C288243
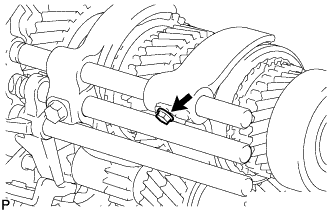
    Remove the bolt from the No. 2 shift fork.

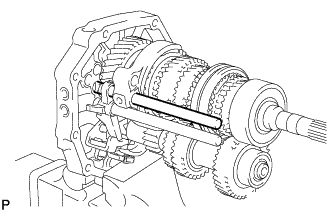
  1. C288244
    Remove the No. 2 shift fork shaft from the intermediate plate.

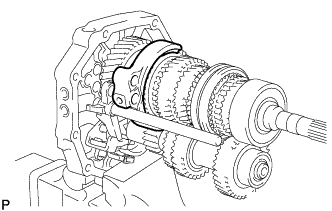
  1. C288245
    Remove the No. 2 shift fork from the No. 2 transmission hub sleeve.

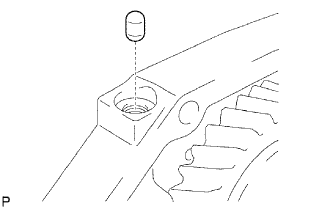
  1. D025967E01
    Using a magnet hand, remove the No. 1 shift interlock roller and shift interlock pin from the intermediate plate.


26. REMOVE NO. 1 SHIFT FORK SHAFT

  1. C288246
    Using 2 screwdrivers and a hammer, tap out the snap ring from the No. 1 shift fork shaft.

    NOTICE:
    Use a cloth to prevent the snap ring from flying off.

  1. C288247
    Remove the shift fork set bolt from the No. 1 shift fork.

  1. C288248
    Remove the No. 1 shift fork shaft from the intermediate plate.

  1. C288249
    Remove the No. 1 shift fork from the reverse gear.

  1. D025975E01
    Using a magnet hand, remove the No. 1 shift interlock roller from the intermediate plate.


27. REMOVE NO. 3 SHIFT FORK SHAFT

C272920
  1. Using a 5 mm pin punch and a hammer, tap out the shift fork set slotted pin from the No. 3 shift fork.

  1. C288250
    Using 2 screwdrivers and a hammer, tap out the snap ring from the shift fork shaft.

    NOTICE:
    Use a cloth to prevent the snap ring from flying off.

  1. C289009
    Using a magnet hand, remove the straight pin from the reverse shift fork.

  1. C272922
    Remove the No. 3 shift fork and No. 3 shift fork shaft from the intermediate plate.

  1. D025975E02
    Using a magnet hand, remove the No. 1 shift interlock roller from the intermediate plate.


28. REMOVE REVERSE SHIFT FORK

  1. C290803
    Remove the reverse shift fork from the reverse shift arm.


29. REMOVE REVERSE SHIFT ARM BRACKET

  1. C291033
    Remove the torsion spring from the reverse shift arm bracket.

  1. C291034
    Remove the 2 bolts and reverse shift arm bracket from the intermediate plate.

  1. C291035
    Using a screwdriver, pry out the snap ring from the reverse shift arm bracket.

  1. C291036
    Remove the reverse shift arm from the reverse shift arm bracket.


30. REMOVE SPEEDOMETER DRIVE GEAR

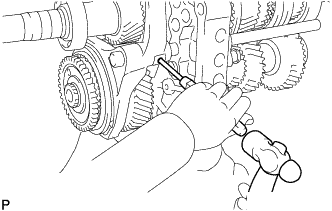
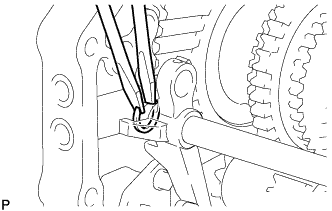
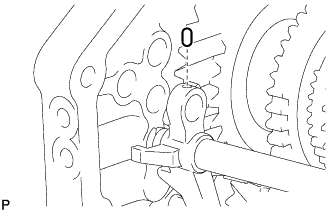
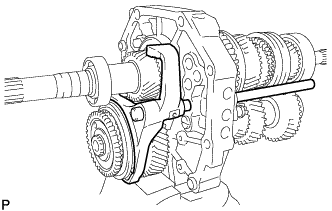
G034243E03
  1. Using snap ring pliers, remove the snap ring.

  1. Remove the drive gear.

  1. Using a magnet hand, remove the steel ball.

  1. Using snap ring pliers, remove the snap ring.


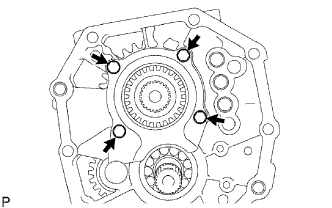
31. REMOVE OUTPUT SHAFT BEARING SHAFT SNAP RING

C238817
  1. Using 2 screwdrivers and a hammer, tap out the shaft snap ring from the output shaft.


32. REMOVE OUTPUT SHAFT REAR BEARING

C268994E03
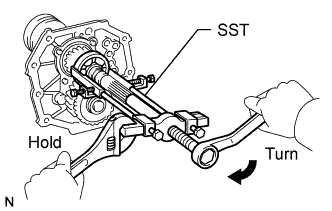
  1. Using SST, remove the rear bearing and output shaft spacer from the output shaft.

    SST
    09950-40011   (09951-04010, 09952-04010, 09953-04020, 09954-04010, 09955-04051, 09957-04010, 09958-04011)


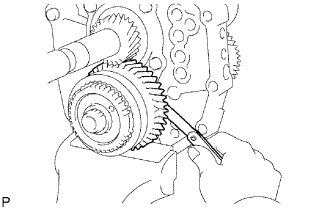
33. INSPECT COUNTER 5TH GEAR CLEARANCE

  1. D025991E01
    Using a feeler gauge, measure the thrust clearance.

    Standard clearance:
    0.10 to 0.35 mm (0.0039 to 0.0138 in.)

    If the clearance is not as specified, replace the counter 5th gear.


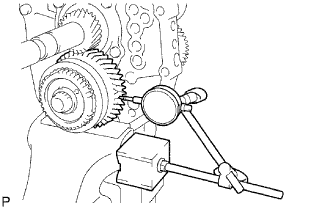
34. INSPECT COUNTER 5TH GEAR RADIAL CLEARANCE

D025992E01
  1. Using a dial indicator, measure the radial clearance.

    Standard clearance:
    0.015 to 0.068 mm (0.0059 to 0.0027 in.)

    If the clearance is not as specified, replace the counter 5th gear bearing with a new one.


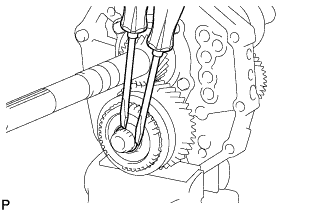
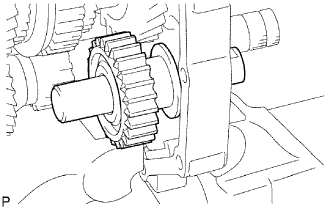
35. REMOVE COUNTER GEAR REAR SHAFT SNAP RING

C272924
  1. Using 2 screwdrivers and a hammer, tap out the snap ring from the counter gear.


36. REMOVE NO. 3 TRANSMISSION HUB SLEEVE

  1. C272925
    Remove the No. 3 transmission hub sleeve from the counter 5th gear.


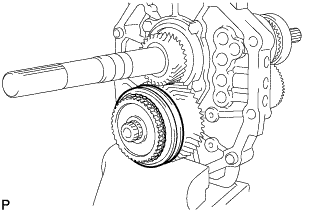
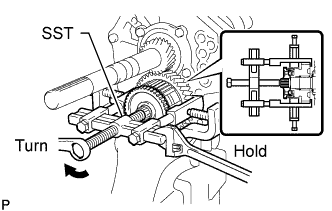
37. REMOVE COUNTER 5TH GEAR

  1. C272926E03
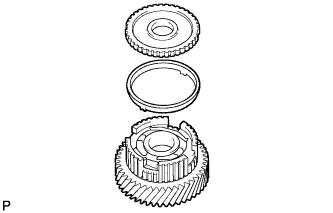
    Using SST, remove the counter 5th gear together with the 2 No. 3 synchromesh shifting keys, 2 No. 3 synchromesh shifting key springs, No. 3 synchronizer ring and No. 5 gear spline piece from the counter gear.
    SST
    09950-40011   (09951-04020, 09952-04010, 09953-04020, 09954-04010, 09955-04021, 09957-04010, 09958-04011)


38. REMOVE NO. 5 GEAR SPLINE PIECE

  1. C250776
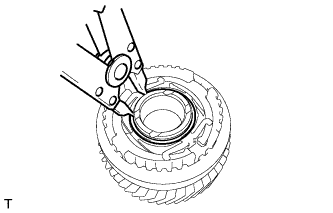
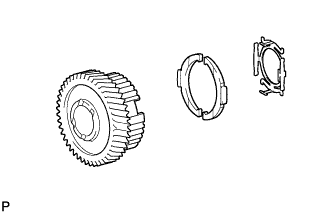
    Remove the No. 5 gear spline piece from the counter 5th gear.


39. REMOVE NO. 3 SYNCHRONIZER RING
  1. Remove the synchronizer ring from the counter 5th gear.


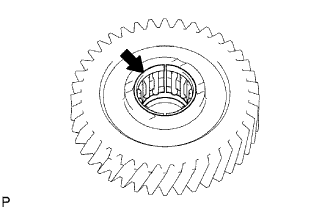
40. REMOVE COUNTER 5TH GEAR BEARING

  1. C089839E01
    Remove the bearing from the counter 5th gear.


41. REMOVE NO. 3 SYNCHROMESH SHIFTING KEY

  1. C247403
    Using a snap ring expander, remove the snap ring.

  1. C250077
    Remove the No. 3 synchromesh shifting key spring and 2 No. 3 synchromesh shifting keys from the counter 5th gear.


42. REMOVE 5TH GEAR THRUST WASHER

C272928
  1. Remove the thrust washer from the counter gear.


43. REMOVE 5TH GEAR THRUST WASHER PIN

C272930
  1. Remove the thrust washer pin from the counter gear.


44. REMOVE REAR BEARING RETAINER

D026001E01
  1. Remove the 4 bolts and bearing retainer from the intermediate plate.


45. REMOVE REVERSE IDLER GEAR

D026002E01
  1. Pull out the reverse idler gear shaft to the rear side and remove the reverse idler gear from the intermediate plate.


46. REMOVE COUNTER SHAFT CENTER BEARING

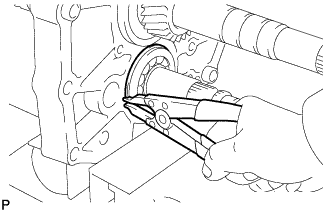
C272932
  1. Using a snap ring expander, remove the snap ring.

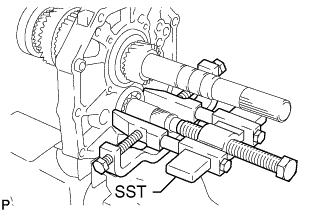
  1. C272934E01
    Using SST, remove the center bearing from the intermediate plate.
    SST
    09950-40011   (09951-04010, 09952-04010, 09953-04020, 09954-04010, 09955-04011, 09957-04010, 09958-04011)

    HINT:
    Remove the bearing while tapping the tip of the counter gear so that the counter gear does not hit the side wall of the output shaft gear by being pushed forward.


47. REMOVE COUNTER GEAR

D026005E01
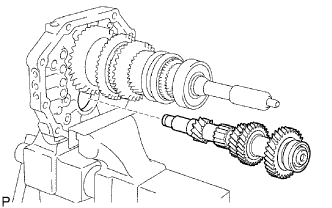
  1. Remove the counter gear from the intermediate plate.


48. REMOVE INPUT SHAFT ASSEMBLY

D026006E01
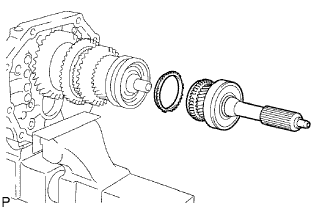
  1. Remove the input shaft and No. 2 synchronizer ring from the output shaft.

    NOTICE:
    Do not drop the input shaft bearing and the No. 2 synchronizer ring.


49. REMOVE OUTPUT SHAFT BEARING SHAFT SNAP RING

C272936
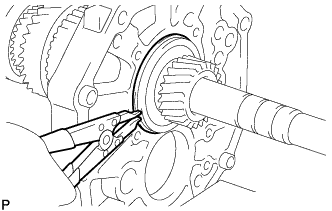
  1. Using a snap ring expander, remove the snap ring from the output shaft.


50. REMOVE OUTPUT SHAFT ASSEMBLY

C272937
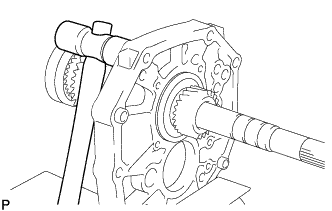
  1. Using a plastic-faced hammer, remove the output shaft by tapping the intermediate plate.


51. INSPECT NO. 3 SYNCHRONIZER RING

D029110E01
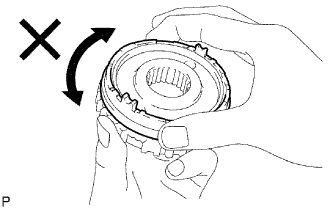
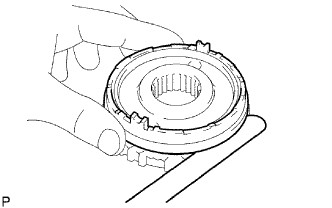
  1. Apply gear oil to the cone part of the No. 5 gear spline piece, and check that it does not turn in both directions while pushing the No. 3 synchronizer ring to the No. 5 gear spline piece.
    If it can turn, replace the No. 3 synchronizer ring.

  1. D029111E01
    Push the No. 3 synchronizer ring outer to the cone part of the No. 5 gear spline piece. Measure the clearance between the No. 3 synchronizer ring outer and No. 5 gear spline piece.

    Standard clearance:
    0.68 to 1.32 mm (0.0268 to 0.0519 in.)

    If the clearance is not as specified, replace No. 3 synchronizer ring outer with a new one.


52. INSPECT NO. 3 TRANSMISSION HUB SLEEVE

D026011E01
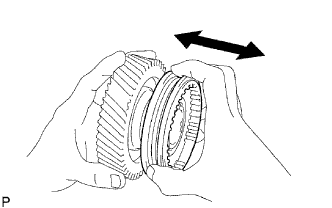
  1. Check the sliding condition between the counter shaft 5th gear and No. 3 transmission hub sleeve.

  1. Check the tip of the spline gear of the No. 3 transmission hub sleeve for wear.
    If there are any defects, replace the No. 3 transmission hub sleeve.

  1. D026012E02
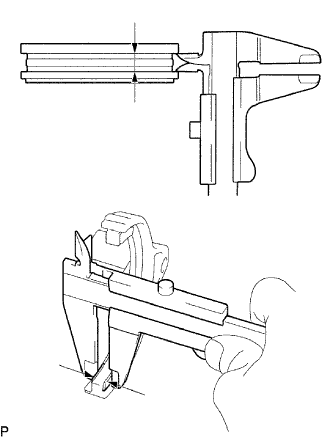
    Using a vernier caliper, measure the No. 3 transmission hub sleeve groove and the thickness of the claw part of the No. 3 shift fork to calculate the clearance.

    Standard clearance:
    0.26 to 0.84 mm (0.0102 to 0.0331 in.)

    If the clearance is not as specified, replace the No. 3 transmission hub sleeve and No. 3 shift fork with new ones.


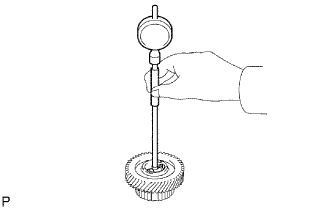
53. INSPECT COUNTER 5TH GEAR

D026013E01
  1. Using a cylinder gauge, measure the inside diameter of the counter 5th gear.

    Standard inside diameter:
    38.015 to 38.040 mm (1.4967 to 1.4976 in.)

    Maximum inside diameter:
    38.040 mm (1.4976 in.)

    If the inside diameter is greater than the maximum, replace the counter shaft 5th gear with a new one.


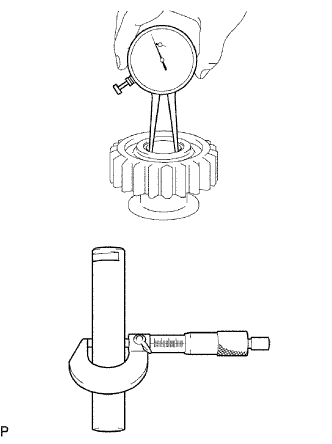
54. INSPECT REVERSE IDLER GEAR SUB-ASSEMBLY

D026014E03
  1. Using a caliper gauge, measure the inside diameter of the reverse idler gear.

    Standard inside diameter:
    24.040 to 24.061 mm (0.9465 to 0.9473 in.)

    Maximum inside diameter:
    24.061 mm (0.9473 in.)

    If the inside diameter is greater than the maximum, replace the reverse idler gear with a new one.

  1. Using a micrometer, measure the diameter of the sliding part of the reverse idler gear on the reverse idler gear shaft.

    Standard diameter:
    23.979 to 24.000 mm (0.9441 to 0.9449 in.)

    Minimum diameter:
    23.979 mm (0.9441 in.)

    If the diameter is less than the minimum, replace the reverse idler gear shaft.

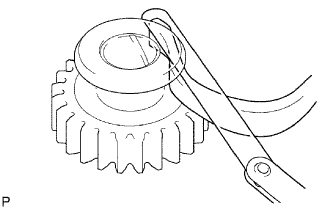
  1. D026015E01
    Using a feeler gauge, measure the thrust clearance of the shoe part between the reverse idler gear and reverse shift arm.

    Standard clearance:
    0.05 to 0.35 mm (0.0020 to 0.0138 in.)

    If the clearance is not as specified, replace the reverse idler gear and reverse shift arm.


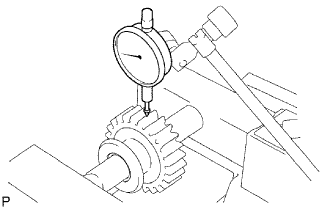
55. INSPECT REVERSE IDLER GEAR RADIAL CLEARANCE

D026016E01
  1. Install the reverse idler gear on the reverse idler gear shaft, and clamp it to a vise.

  1. Using a dial indicator, measure the radical clearance.

    Standard clearance:
    0.040 to 0.082 mm (0.0016 to 0.0032 in.)

    If the clearance is not as specified, replace the reverse idler gear.

← REMOVAL (Aug 2012 – Jul 2013)INSTALLATION (Jun 2011 – Jul 2012) →