INSTALLATION
Removal / installation · Vehicles built from Aug 2013
Versions by build date: Jun 2011 – Jul 2012 Aug 2012 – Jul 2013 from Aug 2013
| 1.
INSTALL VENTURI ASSEMBLY |
 |
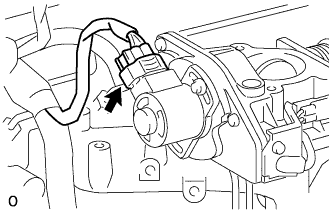
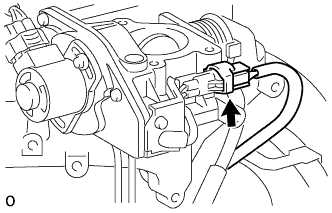
Place a new gasket and the venturi on the intake manifold.
- Connect the throttle control motor connector.
- Connect the throttle open switch connector.
| 2.
INSTALL INTAKE FLANGE |
|
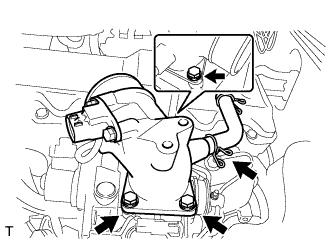
- Install a new gasket and the intake flange with the 3 nuts.
-
Torque:
- 12 N*m{
122 kgf*cm
, 9 ft.*lbf
}
Connect the ventilation hose with the clamp.
- Connect the manifold absolute pressure sensor connector.
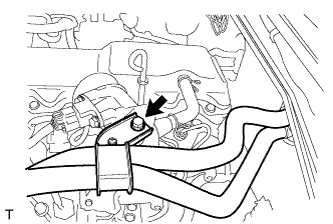
- Install the clamp of the heater hose with the bolt.
-
Torque:
- 5.0 N*m{
51 kgf*cm
, 44 in.*lbf
}
| 3.
INSTALL INTAKE PIPE ASSEMBLY |
|
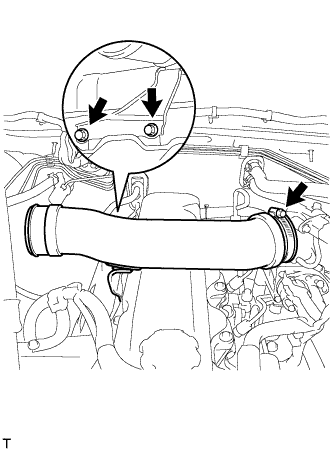
- Connect the intake pipe to the intake flange with the clamp.
Fix the intake pipe in place with the 2 bolts and clamp.
-
Torque:
- 18 N*m{
184 kgf*cm
, 13 ft.*lbf
}
for bolt
- 6.0 N*m{
61 kgf*cm
, 53 in.*lbf
}
for clamp
| 4.
CONNECT NO. 1 AIR CLEANER HOSE |
|
Connect the air cleaner hose to the air cleaner and intake pipe with the 2 clamps.
Fix the intake pipe in place with the 2 clamps.
-
Torque:
- 5.0 N*m{
51 kgf*cm
, 44 in.*lbf
}
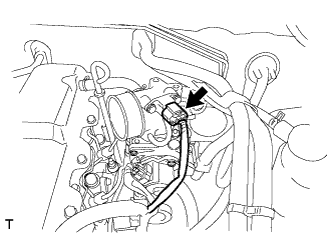
Connect the IAT sensor connector.
Attach the clamp of the IAT sensor harness.
| 5.
CONNECT CABLE TO NEGATIVE BATTERY TERMINAL |
|
| 6.
PERFORM INITIALIZATION |
|
Perform initialization (Click here).
- NOTICE:
- Certain systems need to be initialized after disconnecting and reconnecting the cable from the negative (-) battery terminal.