REASSEMBLY
Removal / installation · Vehicles built from Jun 2011
| 1. INSTALL REAR PLANETARY RING GEAR FLANGE |

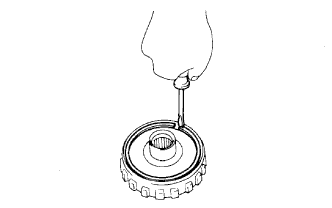  |
Install the ring gear flange.
Using a screwdriver, install the snap ring.
| 2. INSTALL REAR PLANETARY FLANGE THRUST NEEDLE ROLLER BEARING |
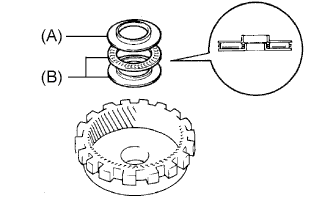 |
Coat the races and the bearing with petroleum jelly, and install them onto the planetary ring gear.
- Races and bearing diameter:
Item
Inside
Outside
Race (A)
28.5 mm (1.122 in.)
44.2 mm (1.70 in.)
Assembled bearing & race (B)
27.7 mm (1.091 in.)
44.2 mm (1.70 in.)
| 3. INSTALL NO. 1 PLANETARY CARRIER THRUST WASHER |
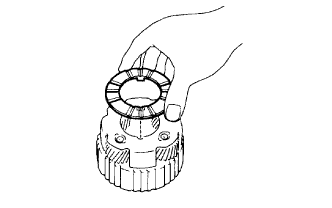 |
Coat the thrust washer with petroleum jelly.
Install the thrust washer onto both sides of the planetary gear.
- HINT:
- Make sure that the tabs of the washer fit into the cutout portions of the planetary gear.
| 4. INSTALL NO. 2 PLANETARY CARRIER THRUST WASHER |
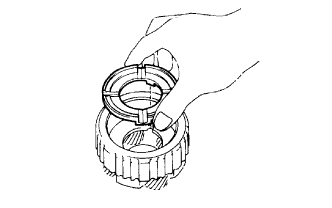 |
Coat the thrust washer with petroleum jelly.
Install the thrust washer onto both sides of the planetary gear.
- HINT:
- Make sure that the tabs of the washer fit into the cutout portions of the planetary gear.
| 5. INSTALL NO. 2 ONE-WAY CLUTCH |
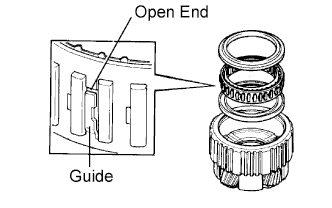 |
Install the one-way clutch and 2 retainers into the planetary gear.
- HINT:
- Make sure that the open ends of the guides on the one-way clutch are facing upward.
Using a screwdriver, install the snap ring.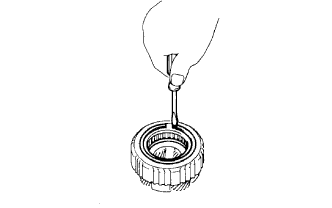
While turning the one-way clutch inner race counterclockwise, install the one-way clutch inner race to the planetary gear.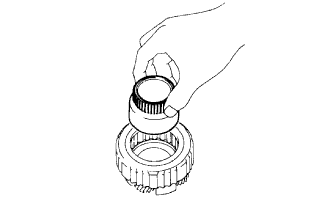
| 6. INSPECT NO. 2 ONE-WAY CLUTCH |
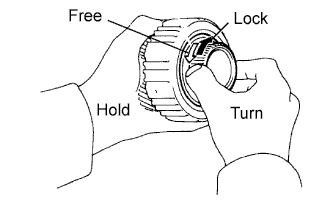 |
Hold the planetary gear and turn the one-way clutch inner race. Check that the one-way clutch inner race can be turned freely counterclockwise and locks when turned clockwise.
| 7. INSTALL REAR PLANETARY RING GEAR |
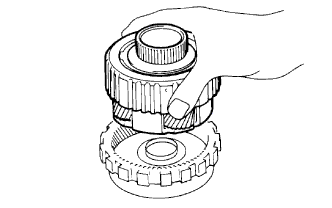 |
| 8. INSTALL PLANETARY OUTPUT SHAFT OIL SEAL RING |
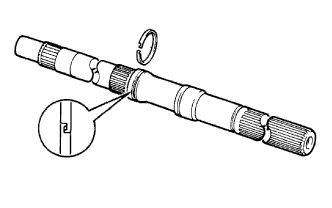 |
Coat the oil seal ring with ATF, and install it to the output shaft.
- HINT:
- After installing the oil seal ring, check that it rotates smoothly.
- NOTICE:
- Do not expand the ring excessively.
| 9. INSTALL OUTPUT SHAFT |
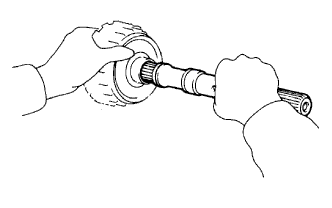 |