1KD-FTV BATTERY / CHARGING GENERATOR(for BOSCH Made) DISASSEMBLY
PROCEDURE

 1.REMOVE GENERATOR PULLEY CAP
Using a screwdriver, remove the generator pulley cap from the generator pulley with clutch.
2.LOOSEN GENERATOR PULLEY WITH CLUTCH
Mount the generator assembly in a vise between aluminum plates.
- NOTICE:
-
Do not damage the generator.
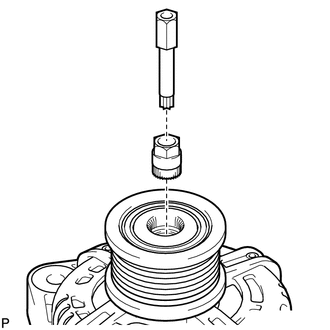
| *1 | 8 mm Bi-hexagon Wrench |
Set SST and an 8 mm bi-hexagon wrench to the pulley as shown in the illustration.
- SST
- 09820-30010
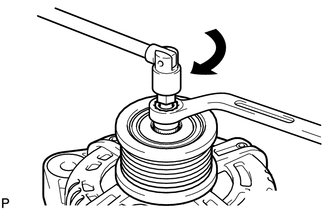
| *1 | 8 mm Bi-hexagon Wrench |
| *a | Hold |

|
Turn |
Hold SST in place, rotate the 8 mm bi-hexagon wrench clockwise, and loosen the generator pulley with clutch.
3.REMOVE GENERATOR REAR END COVER
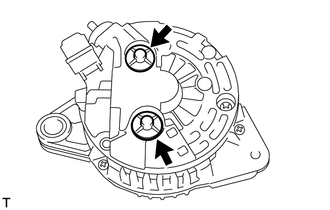
Remove the 2 terminal covers by turning them counterclockwise.
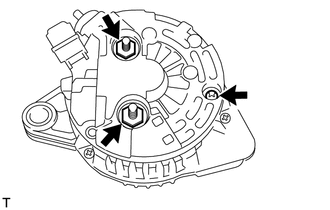
Using a 15 mm socket wrench, remove the 2 nuts from the end cover.
Remove the screw and end cover.
4.REMOVE VOLTAGE REGULATOR ASSEMBLY WITH BRUSH
Remove the protective tower.
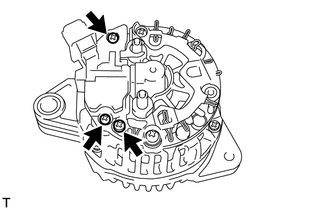
Remove the 3 screws and regulator.
5.REMOVE GENERATOR STATOR SUB-ASSEMBLY WITH RECTIFIER
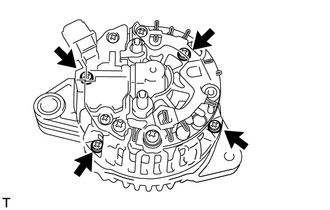
Remove the 4 screws.
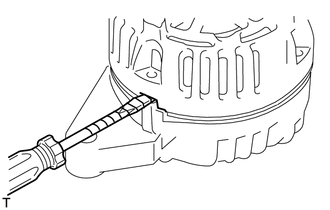
Using a screwdriver, pry off the stator.
6.REMOVE FITTING RING
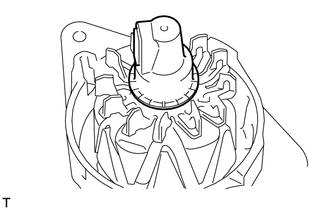
7.REMOVE GENERATOR ROTOR ASSEMBLY
- NOTICE:
-
Do not drop the generator rotor assembly.
Remove the generator pulley with clutch.
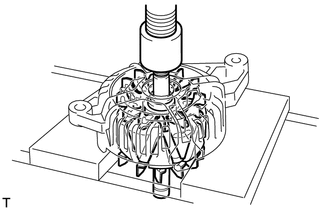
Using a press, press out the generator rotor and remove the spacer ring.
8.REMOVE GENERATOR DRIVE END FRAME BEARING
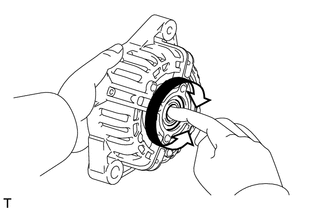
|
|
Free |
Check that the bearing is not rough or worn, and that it rotates smoothly.
If necessary, replace the drive end frame bearing.
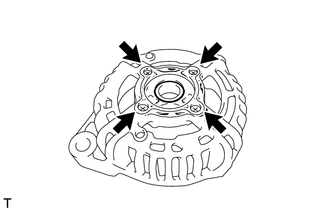
Remove the 4 screws and retainer plate.
- SST
- 09950-60010 (09951-00250)
09950-70010 (09951-07100)
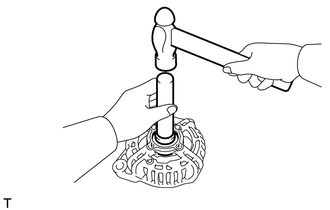
Using SST and a hammer, tap out the bearing.