1GR-FE BATTERY / CHARGING GENERATOR DISASSEMBLY
PROCEDURE

 1.REMOVE GENERATOR REAR END COVER
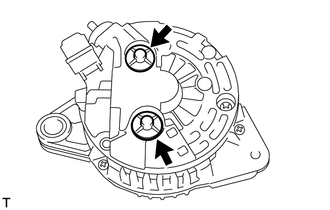
Remove the 2 terminal covers by turning them counterclockwise.
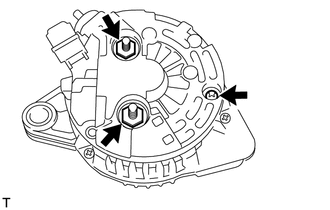
Using a 15 mm socket wrench, remove the 2 nuts from the end cover.
Remove the screw and end cover.
2.REMOVE VOLTAGE REGULATOR SUB-ASSEMBLY WITH BRUSH
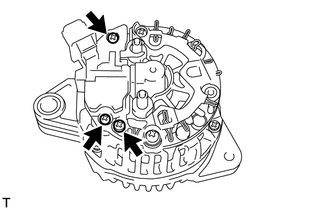
Remove the 3 screws and regulator.
3.REMOVE GENERATOR STATOR SUB-ASSEMBLY WITH RECTIFIER
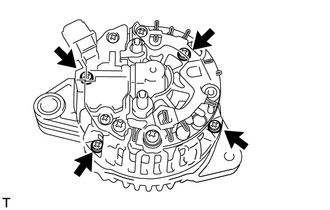
Remove the 4 screws.
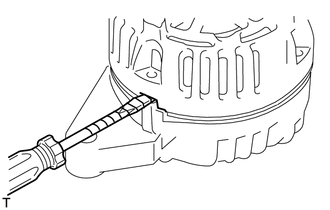
| *1 | Protective Tape |
Using a screwdriver, pry out the stator.
- HINT:
-
Tape the screwdriver tip before use.
4.REMOVE FITTING RING
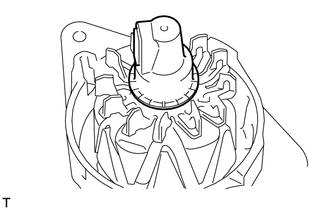
5.REMOVE GENERATOR PULLEY
Mount the generator in a vise between aluminum plates.
- NOTICE:
-
Do not damage the generator.
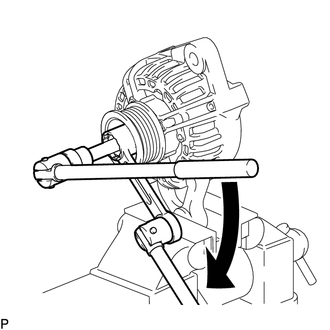
| *1 | 8 mm Bi-hexagon Wrench |
| *2 | Ball Joint Lock Nut Wrench |
| *a | Hold |

|
Turn |
Set SST, a ball joint lock nut wrench and an 8 mm bi-hexagon wrench as shown in the illustration.
- SST
- 09820-30020
Hold the 8 mm bi-hexagon wrench in place and turn SST and the ball joint lock nut wrench counterclockwise to loosen the nut.
Remove the nut, washer and generator pulley.
6.REMOVE GENERATOR ROTOR ASSEMBLY
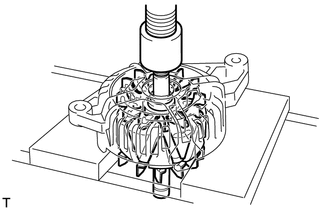
Using a press, press out the rotor, and then remove the spacer ring.
- NOTICE:
-
Do not drop the generator rotor assembly.
7.INSPECT GENERATOR DRIVE END FRAME BEARING
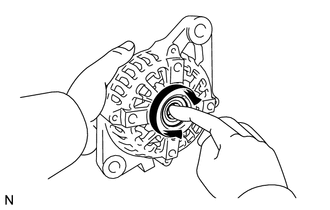
Check that the bearing is not rough or worn and that it rotates smoothly.
If necessary, replace the drive end frame bearing.
8.REMOVE GENERATOR DRIVE END FRAME BEARING
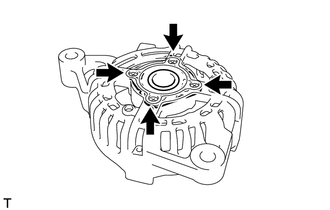
Remove the 4 screws and retainer plate.
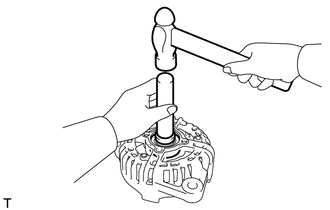
Using SST and a hammer, tap out the bearing.
- SST
- 09950-60010 (09951-00250)
09950-70010 (09951-07100)