 |
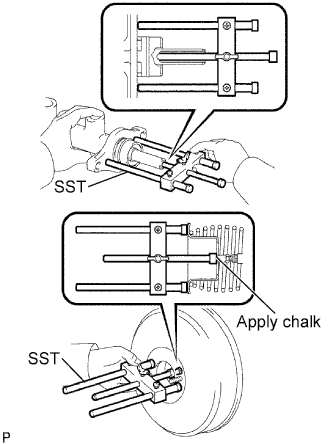
Set SST on the master cylinder and lower the rod of SST until it just touches the piston.
- SST
- 09737-00013
- HINT:
- SST 09737-00012 can also be used.
BRAKE MASTER CYLINDER (for TMT Made) > INSTALLATION |
| 1. INSPECT AND ADJUST BRAKE BOOSTER PUSH ROD |
|
Set SST on the master cylinder and lower the rod of SST until it just touches the piston.
Apply chalk to the flat tip of the rod of SST. Turn SST upside down and measure the clearance between the brake booster push rod and SST.
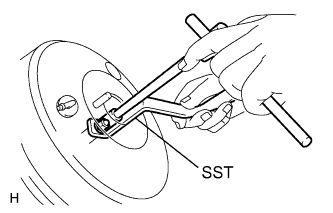 |
If the clearance is not as specified, adjust the length by holding the rod using SST and turning the tip of the rod using a 7 mm socket driver.
| 2. INSTALL BRAKE MASTER CYLINDER SUB-ASSEMBLY |
Install a new O-ring to the master cylinder.
Install the master cylinder and bracket (with 3-way) to the booster with the 2 nuts.
Using a union nut wrench, connect the 5 brake lines to the master cylinder and 3-way.
Connect the brake fluid level warning switch connector to the master cylinder.
| 3. FILL RESERVOIR WITH BRAKE FLUID |
| 4. BLEED AIR FROM BRAKE MASTER CYLINDER |
Remove the brake master cylinder reservoir filler cap assembly.
Add brake fluid to keep the level between the MIN and MAX lines of the reservoir while bleeding the brakes.
Using a union nut wrench, disconnect the 2 brake lines from the master cylinder.
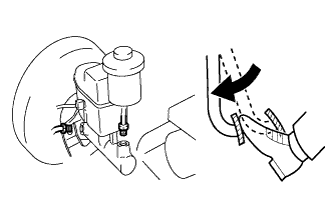 |
Slowly depress and hold the brake pedal.
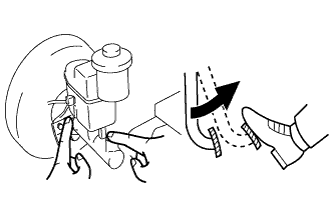 |
Block the tube holes with your fingers, and then release the brake pedal.
Remove your fingers, slowly depress and hold the brake pedal, block the tube holes with your fingers again, and then release the brake pedal. Repeat this step 3 or 4 times.
Using a union nut wrench, connect the 2 brake tube to the brake master cylinder assembly.
| 5. BLEED AIR FROM BRAKE LINE |
Remove the bleeder plug cap.
Connect the vinyl tube to the bleeder plugs.
Depress the brake pedal several times, and then loosen the bleeder plug with the pedal depressed.
When fluid stops coming out, immediately tighten the bleeder plug. Then release the pedal.
Repeat the 2 previous steps until all the air in the brake fluid is gone.
Tighten the bleeder plug.
Install the cap.
Bleed air from the brake line for each wheel by repeating the above procedures.
| 6. CHECK BRAKE FLUID LEVEL IN RESERVOIR |
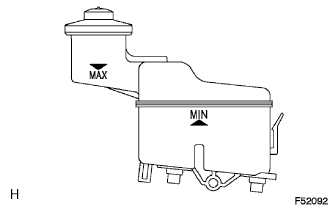 |
Check the fluid level and add fluid if necessary.
| 7. CHECK FOR BRAKE FLUID LEAKAGE |