LIGHT CONTROL RHEOSTAT > REMOVAL |
| 1. REMOVE NO. 1 SWITCH HOLE BASE |
|
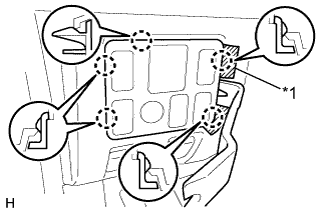
Put protective tape around the No. 1 switch hole base.
| *1 | Protective Tape |
Using a moulding remover, detach the 5 claws.
Disconnect the connectors and remove the No. 1 switch hole base.
| 2. REMOVE LIGHT CONTROL RHEOSTAT KNOB |
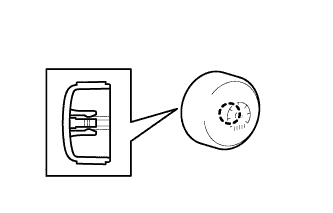 |
Detach the claw and remove the light control rheostat knob.
| 3. REMOVE LIGHT CONTROL RHEOSTAT |
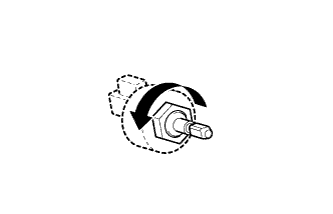 |
Remove the nut and light control rheostat.