2KD-FTV FUEL COMMON RAIL REMOVAL
CAUTION / NOTICE / HINT
- CAUTION:
- ·
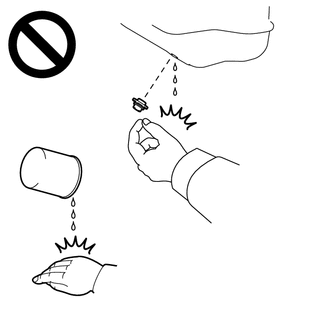
To prevent burns, do not remove the oil pan drain plug and oil filter sub-assembly while the engine is hot.
- ·
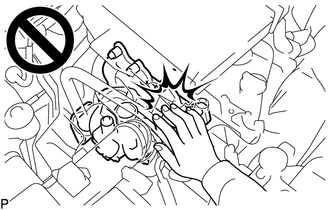
To prevent burns, do not touch the engine, exhaust manifold or other high temperature components while the engine is hot.
- NOTICE:
- ·
When replacing the parts in the following chart (A), replace the No. 1 injection pipe sub-assembly, No. 2 injection pipe sub-assembly, No. 3 injection pipe sub-assembly, No. 4 injection pipe sub-assembly and/or fuel inlet pipe sub-assembly with new ones.
·After removing the No. 1 injection pipe sub-assembly, No. 2 injection pipe sub-assembly, No. 3 injection pipe sub-assembly, No. 4 injection pipe sub-assembly and fuel inlet pipe sub-assembly, clean them with a brush and compressed air.
·When replacing the common rail assembly, do not remove the foreign object mixing prevention caps of the common rail assembly until just before the No. 1 injection pipe sub-assembly, No. 2 injection pipe sub-assembly, No. 3 injection pipe sub-assembly, No. 4 injection pipe sub-assembly and fuel inlet pipe sub-assembly are connected to the common rail assembly.
Replaced Parts (A) Pipes Requiring New Replacement ·Injector assembly (including shuffling the injector assemblies between the cylinders)
·Common rail assembly
·Cylinder head sub-assembly
·No. 1 injection pipe sub-assembly
·No. 2 injection pipe sub-assembly
·No. 3 injection pipe sub-assembly
·No. 4 injection pipe sub-assembly
·Supply pump assembly
·Common rail assembly
·Cylinder block sub-assembly
·Cylinder head sub-assembly
·Cylinder head gasket
·Timing Gear Case Assembly
Fuel inlet pipe sub-assembly
PROCEDURE

 1. PRECAUTION
- NOTICE:
-
After turning the ignition switch off, waiting time may be required before disconnecting the cable from the battery terminal. Therefore, make sure to read the disconnecting the cable from the battery terminal notice before proceeding with work.
-
Click hereGeneral>INTRODUCTION>REPAIR INSTRUCTION>PRECAUTION
2.DISCONNECT CABLE FROM NEGATIVE BATTERY TERMINAL
- NOTICE:
-
When disconnecting the cable, some systems need to be initialized after the cable is reconnected.
-
Click hereGeneral>INTRODUCTION>REPAIR INSTRUCTION>INITIALIZATION
51410
3.REMOVE NO. 1 ENGINE UNDER COVER ASSEMBLY
51442
4.REMOVE NO. 2 ENGINE UNDER COVER
5.DRAIN ENGINE OIL
17113E
6.REMOVE NO. 1 INTAKE PIPE
17118
7.REMOVE MANIFOLD STAY
15601
8.REMOVE OIL FILTER SUB-ASSEMBLY
23701
9.REMOVE NO. 1, NO. 2 AND NO. 3 INJECTION PIPE SUB-ASSEMBLY
23704
10.REMOVE NO. 4 INJECTION PIPE SUB-ASSEMBLY
23770
11.REMOVE NO. 2 NOZZLE LEAKAGE PIPE ASSEMBLY
11452
12.REMOVE ENGINE OIL LEVEL DIPSTICK GUIDE
23804C
13.REMOVE FUEL INLET PIPE SUB-ASSEMBLY
23810A
14.REMOVE COMMON RAIL ASSEMBLY
Disconnect the connector from the pressure discharge valve.
Disconnect the connector from the fuel pressure sensor connector.
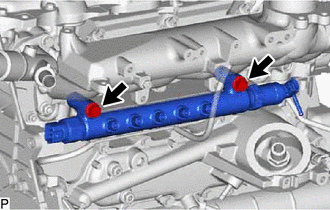
Remove the 2 bolts, common rail assembly from the cylinder head sub-assembly.
- NOTICE:
-
Do not remove the pressure discharge valve or fuel pressure sensor from the common rail assembly.