2013-2015 Land Cruiser Prado · Service Manual Engine / Hybrid System

REMOVAL

Removal / installation · Vehicles built Aug 2013 – Jul 2014

Versions by build date: Aug 2013 – Jul 2014 from Aug 2014

NOTICE:
  1. When replacing the injectors (including shuffling the injectors between the cylinders), common rail or cylinder head, it is necessary to replace the injection pipes with new ones.
  2. When replacing the fuel supply pump, common rail, cylinder block, cylinder head, cylinder head gasket or timing gear case, it is necessary to replace the fuel inlet pipe with a new one.
  3. After removing the injection pipes, clean them with a brush and compressed air.
  4. Remove the glow plugs while they are still warm after completely warming up the engine.


1. DISCONNECT CABLE FROM NEGATIVE BATTERY TERMINAL

NOTICE:
  1. After turning the ignition switch off, waiting time may be required before disconnecting the cable from the battery terminal. Therefore, make sure to read the disconnecting the cable from the battery terminal notice before proceeding with work (Click here).
  2. When disconnecting the cable, some systems need to be initialized after the cable is reconnected (Click here).

2. REMOVE ELECTRIC EGR CONTROL VALVE ASSEMBLY
(Click here)

3. REMOVE MANIFOLD ABSOLUTE PRESSURE SENSOR

  1. A239598
    Disconnect the manifold absolute pressure sensor connector and vacuum hose.

  1. Remove the bolt and manifold absolute pressure sensor.


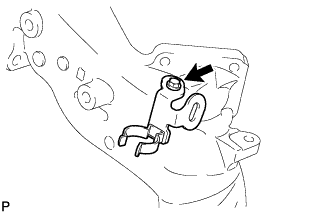
4. REMOVE EMISSION CONTROL VALVE BRACKET

  1. A239639
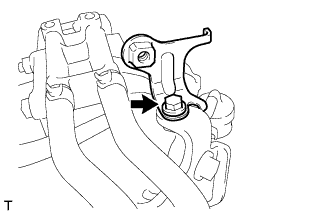
    Remove the bolt and emission control valve bracket.


5. REMOVE THROTTLE BODY BRACKET

  1. A244614
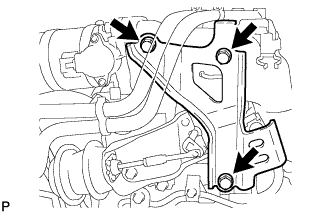
    Remove the 3 bolts and throttle body bracket.


6. REMOVE NO. 1 GAS FILTER

  1. A244608
    Disconnect the vacuum hose and remove the No. 1 gas filter from the gas filter bracket.


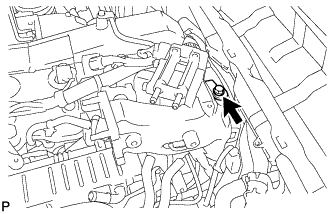
7. REMOVE GAS FILTER BRACKET

  1. A246247
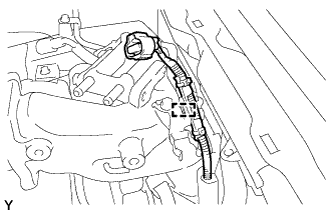
    Detach the clamp and disconnect the wire harness.

  1. A244609
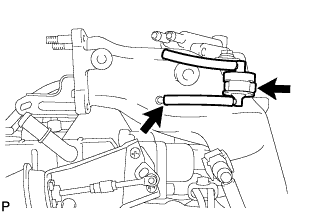
    Remove the bolt and gas filter bracket.


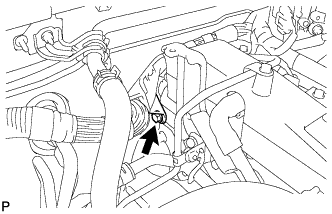
8. DISCONNECT WIRE HARNESS

  1. A245686
    Remove the bolt and disconnect the wire harness.

  1. A246260
    for LHD:
    Remove the bolt and disconnect the wire harness.

  1. Detach the 5 clamps and disconnect the wire harness from the cowl top panel.


9. REMOVE INTAKE AIR CONNECTOR

  1. A245684
    Remove the 3 bolts, intake air connector and gasket.


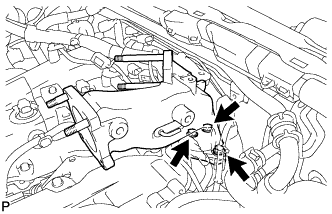
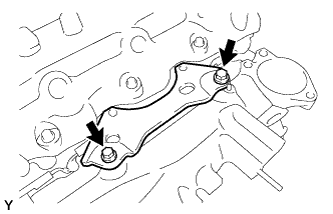
10. REMOVE NO. 2 MANIFOLD STAY

  1. A245458
    Remove the bolt and No. 2 manifold stay.


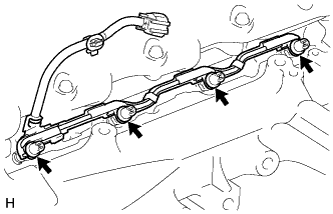
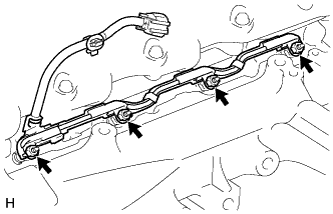
11. REMOVE NO. 1 GLOW PLUG CONNECTOR
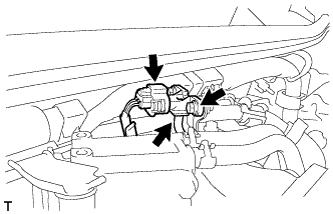
  1. Disconnect the No. 1 glow plug connector from the wire harness.

  1. A247184
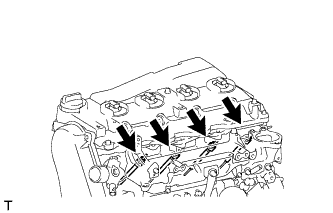
    Remove the 4 screw grommets.

  1. A247185
    Remove the 4 nuts and No. 1 glow plug connector.


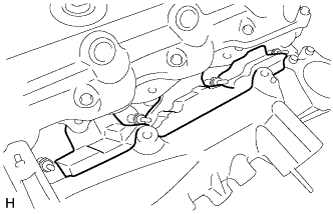
12. REMOVE NO. 1 INTAKE MANIFOLD INSULATOR

A245851

13. REMOVE GLOW PLUG

A222608
  1. Using a 12 mm deep socket wrench, remove the 4 glow plugs.

← ON-VEHICLE INSPECTION (from Aug 2014)REMOVAL (from Aug 2014) →