Removal / installation · Vehicles built from Aug 2013
CAUTION:
Wear protective gloves. Sharp areas on the parts may injure your hands.
HINT:
Use the same procedure for RHD and LHD vehicles.
The procedure listed below is for LHD vehicles.
1.
REMOVE FRONT SEAT HEADREST ASSEMBLY
Remove the front seat headrest assembly.
2.
REMOVE FRONT OUTER SEAT TRACK BRACKET COVER RH
Operate the seat track adjusting handle and move the front seat assembly RH to the rearmost position.
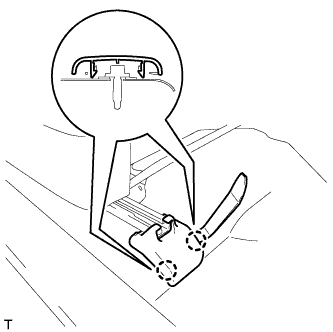
Using moulding remover A, detach the 2 claws and remove the front outer seat track bracket cover RH.
3.
REMOVE FRONT INNER SEAT TRACK BRACKET COVER RH
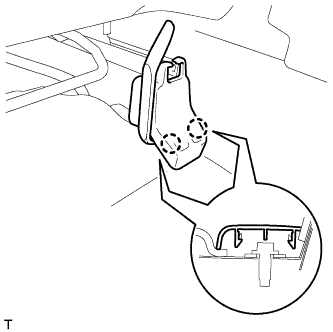
Using moulding remover A, detach the 2 claws and remove the front inner seat track bracket cover RH.
4.
REMOVE SEAT TRACK COVER RH
Operate the seat track adjusting handle and move the front seat assembly RH to the foremost position.
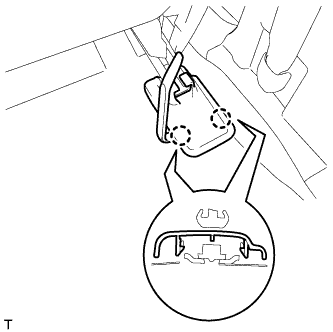
Using moulding remover A, detach the 2 claws and remove the seat track cover RH.
5.
REMOVE INNER SEAT TRACK BRACKET COVER RH
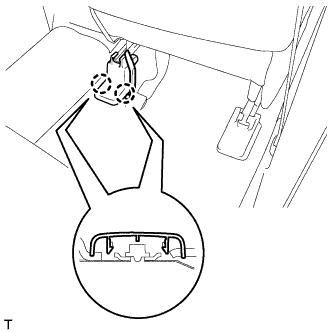
Using moulding remover A, detach the 2 claws and remove the inner seat track bracket cover RH.
6.
REMOVE FRONT SEAT ASSEMBLY RH
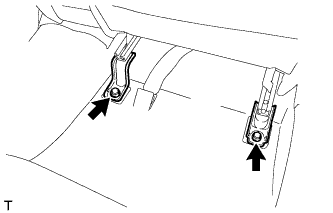
Remove the 2 bolts.
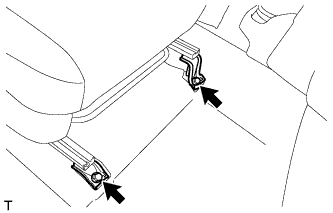
Operate the seat track adjusting handle and move the seat to the rearmost position.
Remove the 2 bolts.
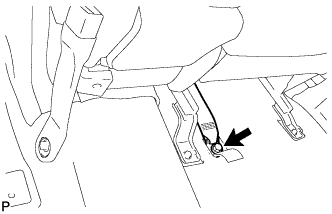
Disconnect the connector and detach the wire harness clamp from under the seat.
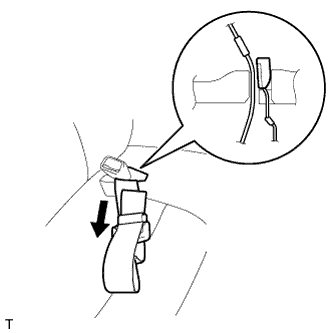
Remove the bolt and disconnect the anchor part of the front seat lap outer belt sub-assembly.
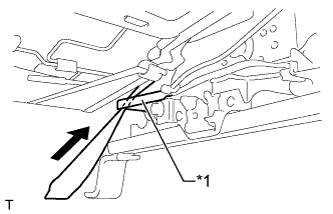
Pass the front seat lap outer belt sub-assembly through the rubber band of the front seat inner belt assembly RH.
Text in Illustration
*1
Rubber Band
Pull out the front seat lap outer belt sub-assembly through the hole of the front seat cushion, and remove the front seat lap outer belt sub-assembly.
Operate the seat track adjusting handle and move the front seat assembly RH to the center position, and then operate the reclining adjusting handle and move the front seatback to the upright position.
Remove the front seat assembly RH from the vehicle.