DISASSEMBLY
Removal / installation · Vehicles built from Aug 2013
| 1. REMOVE BLOWER ASSEMBLY |

Remove the screw.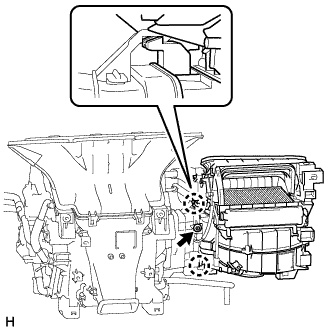

Disconnect the connector and clamp.
Detach the 2 claws and remove the blower unit assembly.
| 2. REMOVE DEFROSTER NOZZLE ASSEMBLY |
Detach the 6 claws and remove the defroster nozzle assembly.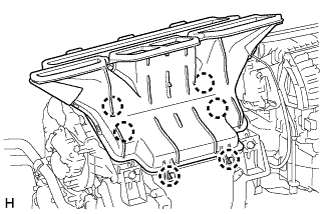
| 3. REMOVE ASPIRATOR HOSE |
Detach the 2 claws and remove the aspirator hose.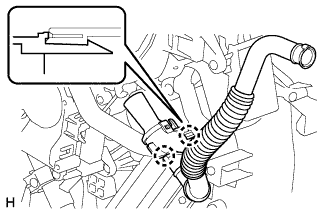
| 4. REMOVE DRAIN COOLER HOSE |
Remove the drain cooler hose.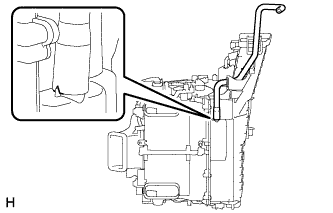
| 5. REMOVE QUICK HEATER ASSEMBLY (w/ PTC Heater) |
Remove the 2 screws.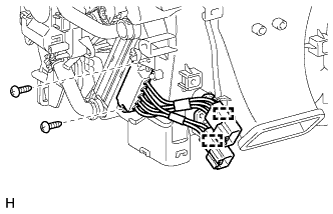
Detach the 2 clamps and remove the quick heater assembly.
| 6. REMOVE HEATER RADIATOR UNIT SUB-ASSEMBLY |
Remove the 2 screws and 2 radiator brackets.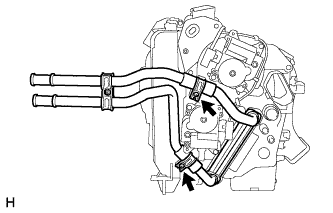
Remove the heater radiator unit sub-assembly.
| 7. REMOVE AIR CONDITIONING HARNESS |
Disconnect the connectors.
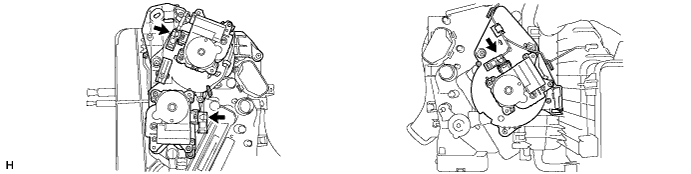
Detach the clamps and remove the harness.
| 8. REMOVE AIR CONDITIONING TUBE AND ACCESSORY ASSEMBLY |
Remove the packing.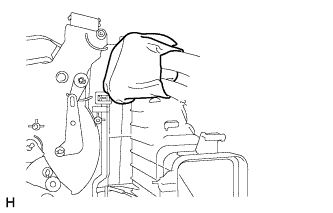
Remove the butyl tape.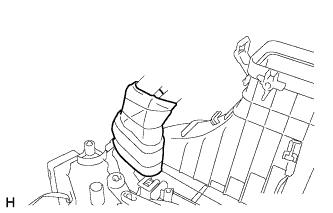
Using a 4 mm hexagon wrench, remove the 2 hexagon bolts, air conditioner tube and accessory assembly.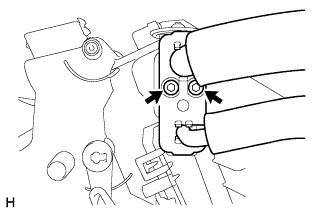
| 9. REMOVE COOLER EXPANSION VALVE |
Remove the 2 O-rings from the air conditioner tube and accessory assembly.
Remove the expansion valve.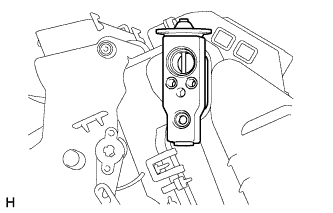
| 10. REMOVE DAMPER SERVO SUB-ASSEMBLY LH |
Remove the 4 screws and damper servo sub-assembly LH.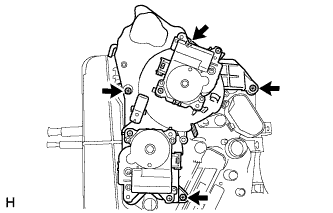
| 11. REMOVE DAMPER SERVO SUB-ASSEMBLY RH |
Remove the 3 screws and damper servo sub-assembly RH.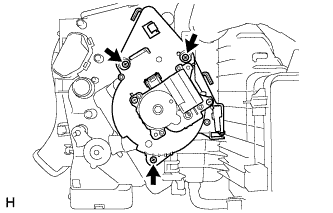
| 12. REMOVE NO. 1 COOLER EVAPORATOR SUB-ASSEMBLY |
Remove the 6 screws.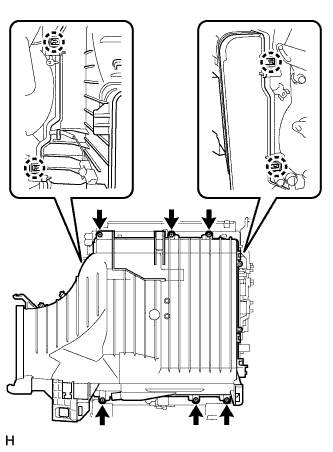
Detach the 4 claws and remove the unit case.
Remove the evaporator.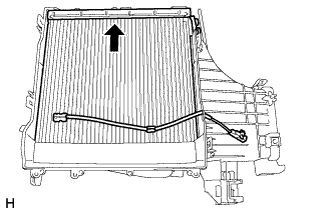
Remove the 2 O-rings from the evaporator.
| 13. REMOVE NO. 1 COOLER THERMISTOR |
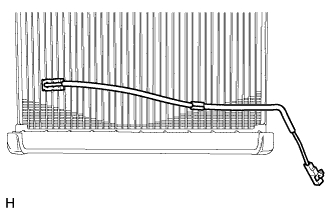
Remove the No. 1 cooler thermistor.