DISASSEMBLY
Removal / installation · Vehicles built Sep 2011 – Dec 2011
Versions by build date: Sep 2011 – Dec 2011 from Jan 2012
- HINT:
- Use the same procedure for both the RH and LH sides.
- The procedure described below is for the LH side.
| 1.
REMOVE OUTER REAR VIEW MIRROR GLASS |
 |
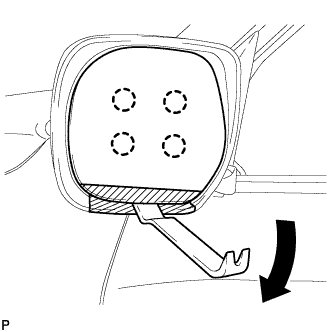
Push the upper part of the mirror surface and tilt it.
- Using a moulding remover, detach the 4 claws and separate the outer rear view mirror glass from the mirror body.
- HINT:
- Apply protective tape to the outer rear view mirror to prevent it from being damaged.
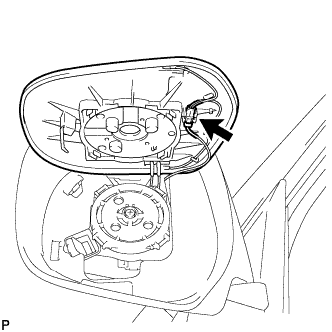
- w/ EC Mirror:
Disconnect the connector and remove the mirror glass.
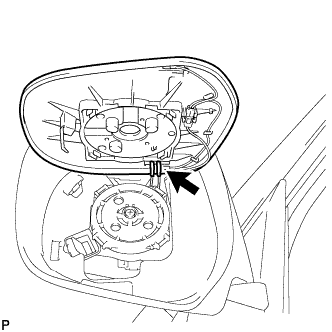
- w/ Mirror Heater:
Disconnect the 2 connectors and remove the mirror glass.
| 2.
REMOVE OUTER MIRROR COVER |
|
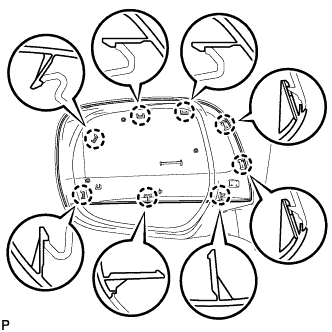
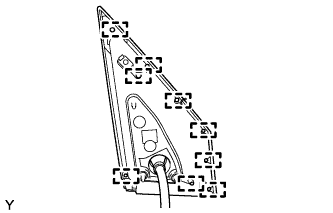
- Using a screwdriver, detach the 8 claws and remove the mirror cover.
- HINT:
- Tape the screwdriver tip before use.
| 3.
REMOVE OUTER MIRROR RETRACTOR (w/ Retract Mirror) |
|
Remove the gasket
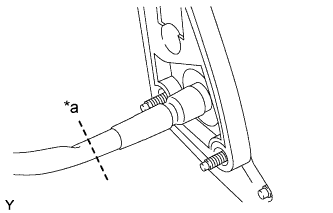
- Cut the wire harness at the position shown in the illustration.
Text in Illustration
*a
|
Cut the wire harness here
|
Remove the tape.
- Disengage the 9 guides and remove the gasket.
- NOTICE:
- Make sure to replace the gasket with a new one.
Remove the lower mirror cover
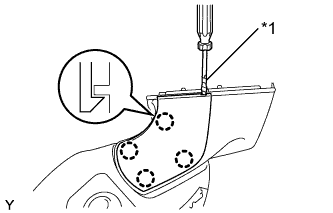
- Using a screwdriver with its tip wrapped in protective tape, disengage the 4 claws and remove the lower mirror cover.
Text in Illustration
*1
|
Protective Tape
|
- NOTICE:
- Make sure to replace the mirror cover lower with a new one.
Remove the base
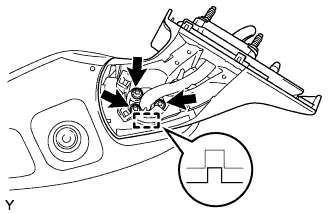
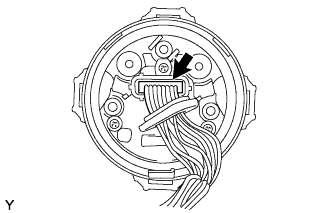
Remove the wire harness.
- Using "TORX" socket wrench T25, remove the 3 screws.
- NOTICE:
- Make sure to replace the "TORX" screws with new ones.
Disengage the guide and remove the base.
Remove the body
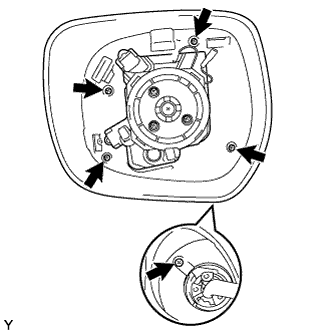
- Remove the 5 screws and body.
Remove the body cover
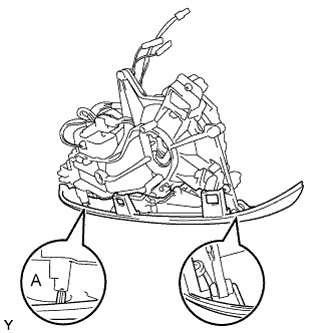
- Disengage the 2 guides and remove the body cover.
- NOTICE:
- Be careful not to break the guide shown in the part of the illustration labeled A.
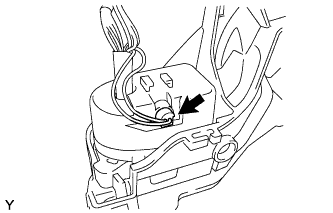
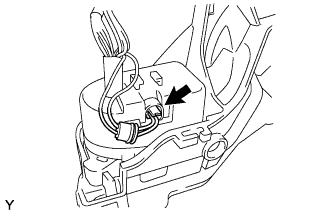
Remove the actuator
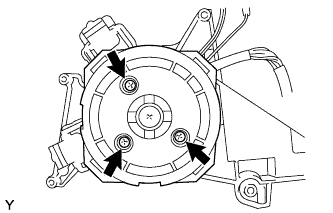
- Remove the 3 screws.
- Disengage the 2 clamps and open the cover.
- Disconnect the connector and remove the actuator.
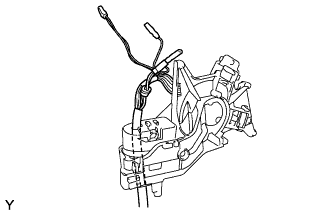
Remove the wire harness
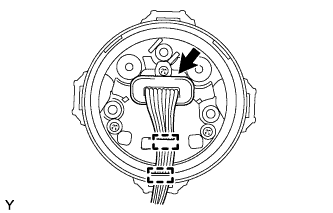
- Open the cover.
- Disconnect the connector.
- Remove the wire harness.
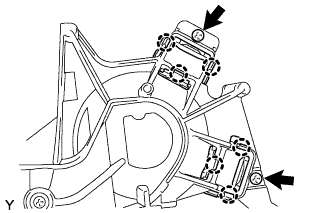
Remove the support spring
- Remove the 2 screws.
Disengage the 6 claws and remove the 2 support springs.